FIXED! Filament Spleißer / Splicer
thingiverse
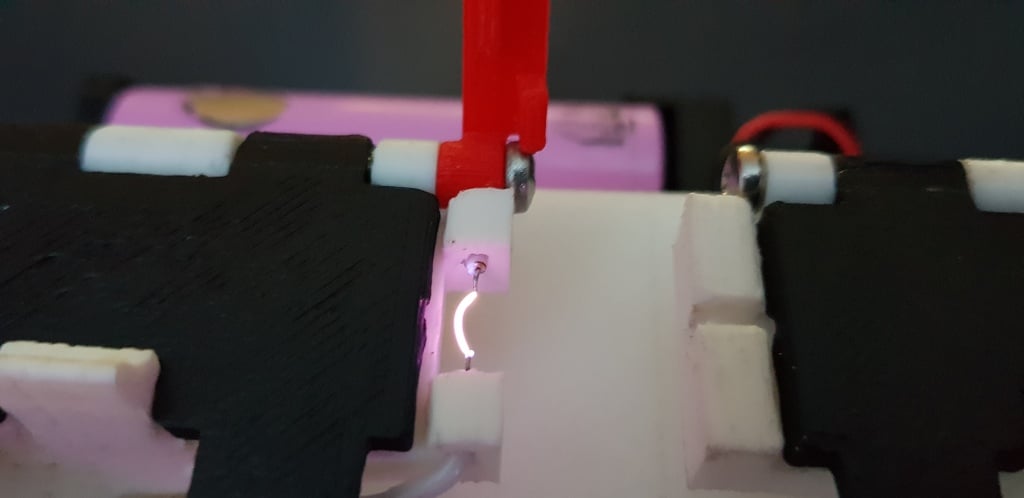
It's done! :-) Finally repair the filament during operation and continue printing. Combine leftovers and whatever your heart desires. The idea comes from fiber optic technique, splicing! In the photo gallery many pictures are, I believe, much to explain. Here is a short video: https://www.youtube.com/watch?v=wcfxJ7KrrtY FIX: Fixed bug in the "base_1.3.stl" file. Required modules are: 1 x 18650 battery charger module https://www.ebay.de/itm/2-5-10-stucke-5V-Mini-USB-1A-18650-Lithium-Batterie-Ladeplatine-Ladegerat-PD/273500726896?hash=item3fade9e670:m:mC1szFbL_ObDegv73v9327w 1 x 15kv Generator https://www.ebay.de/itm/15KV-High-Frequency-Inverter-Generator-High-Voltage-Electric-Ignitor-Coil-Arc-U/232784772434?ssPageName=STRK%3AMEBIDX%3AIT&var=532297426587&_trksid=p2060353.m2749.l2649 1 x Button https://www.conrad.de/de/sci-r13-24a1-05-rd-drucktaster-250-vac-15-a-1-x-ausein-tastend-1-st-705012.html Use: Fold in the spacer, push the two filament holders together, insert the filament until it stops, preferably warm it up first and pull it straight, and then fold it. Open the spacer again and press the button for a few seconds. Now slide the two holders together. Important cool down and beware of ABS, burns very easily, so blow. I gladly accept suggestions and suggestions for improvement.
With this file you will be able to print FIXED! Filament Spleißer / Splicer with your 3D printer. Click on the button and save the file on your computer to work, edit or customize your design. You can also find more 3D designs for printers on FIXED! Filament Spleißer / Splicer.
