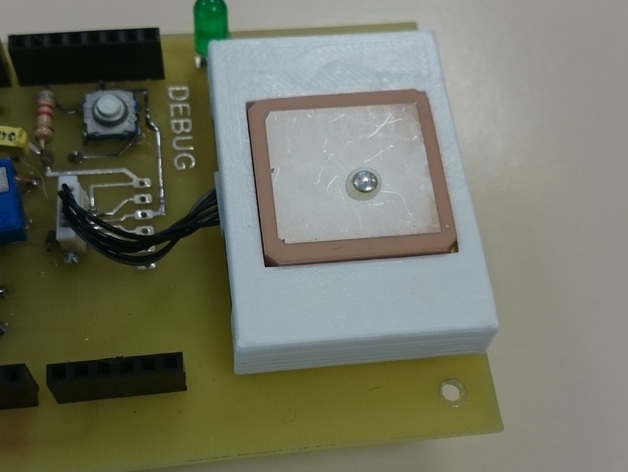
Fixation GPS pour shield arduino
thingiverse
GPS Fixation System for Arduino The GPS fixation system is a crucial component of any navigation project that requires precise location tracking. In this tutorial, we will guide you through setting up a reliable GPS fixation system using the popular microcontroller platform, Arduino. To begin with, let's discuss the components required to build a basic GPS fixation system. You will need: 1. A GPS module (e.g., U-Blox NEO-6M or similar) 2. An Arduino board (any version will do) 3. A breadboard for prototyping 4. Jumper wires for connections Now that we have our components, let's dive into the hardware setup. First, connect the GPS module to the Arduino board using jumper wires. Make sure to follow the datasheet guidelines for the specific GPS module you are using. Next, upload the GPS fixation code to your Arduino board. You can find a sample code in the next section. The GPS fixation system relies on a combination of hardware and software components working together seamlessly. In the following sections, we will discuss the software aspect of this project. GPS Fixation Software The software component is responsible for interpreting the data received from the GPS module and processing it into meaningful information. This involves: 1. Reading the GPS signals 2. Decoding the navigation data 3. Calculating the device's location (latitude, longitude, altitude) 4. Displaying the location on a map or screen To implement this functionality, you will need to use a library specifically designed for GPS modules. One popular option is the TinyGPS++ library. Once you have installed the necessary libraries and set up your Arduino board, it's time to test the system. Testing the GPS Fixation System Before you start testing the system, ensure that: 1. The GPS module is correctly connected 2. The software is uploaded to the Arduino board 3. The power source is stable (e.g., USB connection) To test the system, open the serial monitor on your computer and observe the output from the GPS module. You should see a stream of data containing navigation information. In this tutorial, we have covered the basics of setting up a reliable GPS fixation system for Arduino. By following these steps, you will be able to track your location with precision using a GPS module and an Arduino board.
With this file you will be able to print Fixation GPS pour shield arduino with your 3D printer. Click on the button and save the file on your computer to work, edit or customize your design. You can also find more 3D designs for printers on Fixation GPS pour shield arduino.
