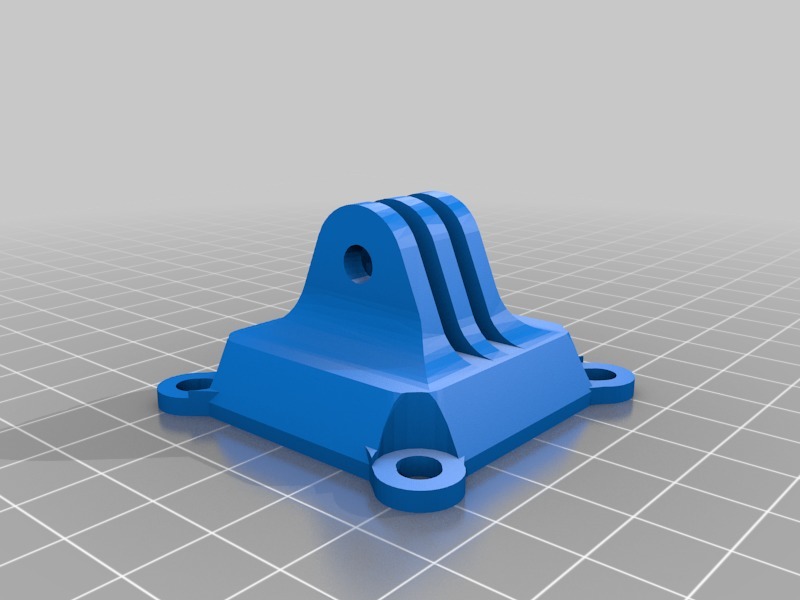
fixation gopro
thingiverse
Fixation Gopro for Eachine Racer 250 Setup Instructions for Beginners The first step is to locate a flat surface to set up your camera. Make sure it's not too close to any reflective surfaces, like windows or mirrors. Position the camera so that its lens is facing straight at the area you want to capture. Hold the camera steady with one hand while using the other hand to gently adjust the position of the device until it feels secure. Next, ensure your Gopro is properly mounted on the Eachine Racer 250 frame by aligning the mount's screws with the designated holes on the drone. Secure the Gopro firmly in place by tightening these screws clockwise. Be cautious not to overtighten them as this could damage either the camera or the drone. Now, power up your drone and make sure it's set to the correct mode for aerial photography. This typically involves selecting the "Stabilized" setting on your controller. Take off and start flying slowly over open areas to get accustomed to the drone's movements and stability. Practice hovering at a steady height before attempting more complex maneuvers like ascending or descending. For optimal results, it's advisable to perform test flights in an empty parking lot or similar area with minimal obstacles. This will help you become familiar with how your equipment responds to different environments and conditions.
With this file you will be able to print fixation gopro with your 3D printer. Click on the button and save the file on your computer to work, edit or customize your design. You can also find more 3D designs for printers on fixation gopro.
