firstextrude cube&sphere
grabcad
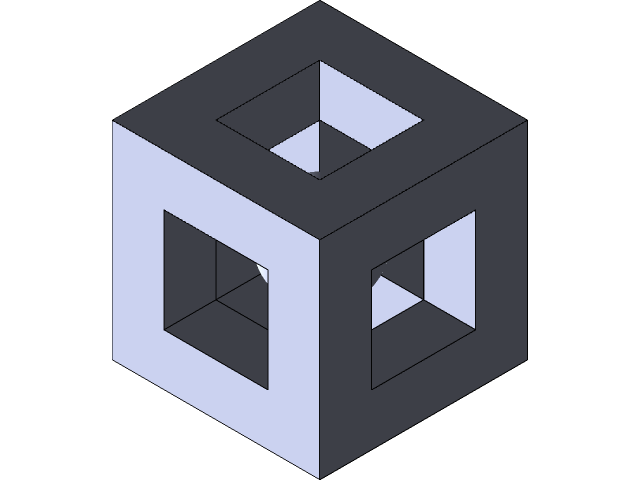
step1: highlight planesstep2: using center rectangle tool click center point nd drag outstep3: define object by using smart dimension tool setting height and width to 90 mmstep4: once shape is made click boss extrude in the features tab and click the shape that was made setting length to 90mm making a perfect cubestep5: then right click any face of the cube and click the sketch ( the surface of the object should light up blue) looking at the object head on usually makes sketching the easiest step6:choosing the line tool and selecting centerline you can create a CenterPoint by drawing two lines vertically and horizontally from the middle of the edge making a crossing point.step7: now that a point has been made you can use the center rectangle tool and select the CenterPoint you createdstep8: drag the tool out and set size to 45mm using smart dimension toolstep9: trim lines inside the square you made by selecting the trim entities tool step10: by clicking the shape you made then clicking extruded cut you will then set the length to 90mm creating a cut out through the whole object.step 11: repeat steps 5-10 on two more faces of the object step12: create a line through the object on the front plane by using the center line tool step13: using the circle tool, click the center of the line then drag to any size wanted step 14: cut circle in half by using trim entities tool creating a half circlestep15: using revolve boss base, click the straight edge of the circle then set the rotation to 360 creating a sphere
With this file you will be able to print firstextrude cube&sphere with your 3D printer. Click on the button and save the file on your computer to work, edit or customize your design. You can also find more 3D designs for printers on firstextrude cube&sphere.