First Layer, Flow, Calibration, Temp, Speed, Adhesion Test
thingiverse
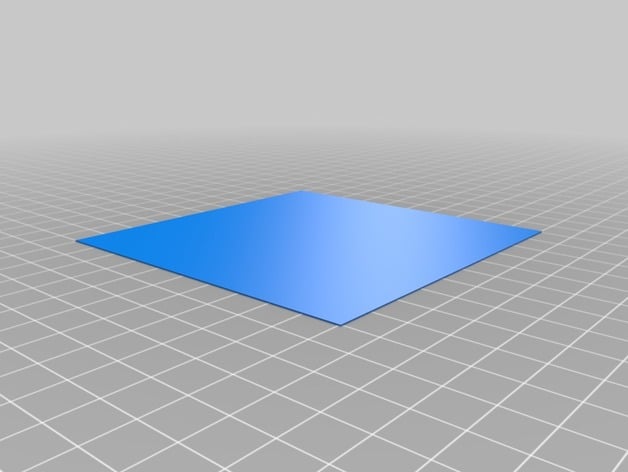
A Little on My Take on the Whole Bed Gap (Bed Leveling) It's safer and easier to level your bed while it's cold, rather than hot. There isn't a set standard for what size feeler gauge to use, as everyone has their own preferred tension. You can start with another person's gauge and adjust from there. When the machine is cold, place a gap between the nozzle and the print bed. Heat makes things expand, so your print bed and glass will rise upwards while your extruder and nozzle will drop downwards. Once everything is preheated, they should touch. This is because that's where the printer thinks zero is - on the bed. If you gap your bed incorrectly, it can lead to problems with adhesion, warping, and prints popping off mid-print. If the bed is gapped too close to the nozzle, it can scrape the bed or damage the print bed or nozzle. Excessive clogging can also occur due to back pressure. I've added different layer thicknesses in case you need to adjust them. As a first layer, it should make only one pass and measure the same as your initial layer height. If they don't match, you'll need to adjust how you gap your bed. If you want to get detailed, scale it to the width and depth of your entire print surface. Measure to see how far off your first layer is from your slicer settings. You can also do a thicker test to check if there's a difference between layers and top layer appearance. Layers should be smooth with no gaps or overlaps. If lines are thinning, increase temperature to properly melt the filament. Mechanical issues may cause overlapping lines on one side and gaps on the other. To gap the bed with my Monoprice Maker Select v2.1, I use a piece of paper between the nozzle and check the 4 corners of the bed while it's cold. Once I feel a little drag from the nozzle pressing on the paper, I continue around the bed. It's easiest to get one edge first, then move around the bed. There isn't a set standard in what gauge thickness to use because nobody uses the same setup. Stainless nozzles, borosilicate glass, window glass, buildtack, and PEI all have different thermal expansions, requiring different gauge thicknesses. On top of that, temperature used can cause more or less expansion. Most of the time, close is good enough, but if you've ever wondered why someone else's thickness doesn't work for you, now you know.
With this file you will be able to print First Layer, Flow, Calibration, Temp, Speed, Adhesion Test with your 3D printer. Click on the button and save the file on your computer to work, edit or customize your design. You can also find more 3D designs for printers on First Layer, Flow, Calibration, Temp, Speed, Adhesion Test.
