First Layer Calibration Prusa MINI
prusaprinters
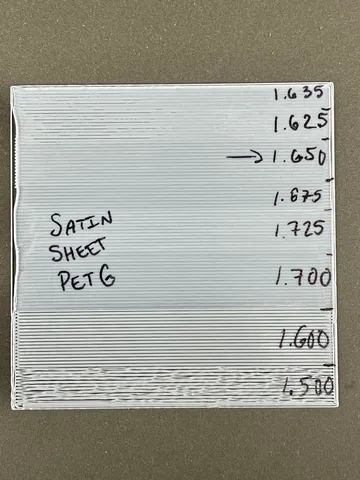
Thank you to GKMAKEIT for the original. I found this so helpful at getting the perfect first layer setup that I found myself using for all different types of materials - So, here it is.See the original author's video below, or follow this step by step guide:Clean your build plate and set the sheet your are using in the firmwareRun the print GCODE and set a Z-offset that is at least above the bed, not gouging itAs the printer extrudes the skirt, get the Live-Z down so at least the material is sticking to the bed. While printing perimeter, just get a decent line. Don't worry about gaps.Give it about 10 passes on each Z-offset, then adjust down or up accordingly. I Use 0.05mm then 0.025mm adjustments typically.I Suggest writing the live Z for each section on the side with a sharpie so you can refer back to the print.https://rumble.com/vb9fxr-3d-printer-first-layer-calibration-process.html
With this file you will be able to print First Layer Calibration Prusa MINI with your 3D printer. Click on the button and save the file on your computer to work, edit or customize your design. You can also find more 3D designs for printers on First Layer Calibration Prusa MINI.
