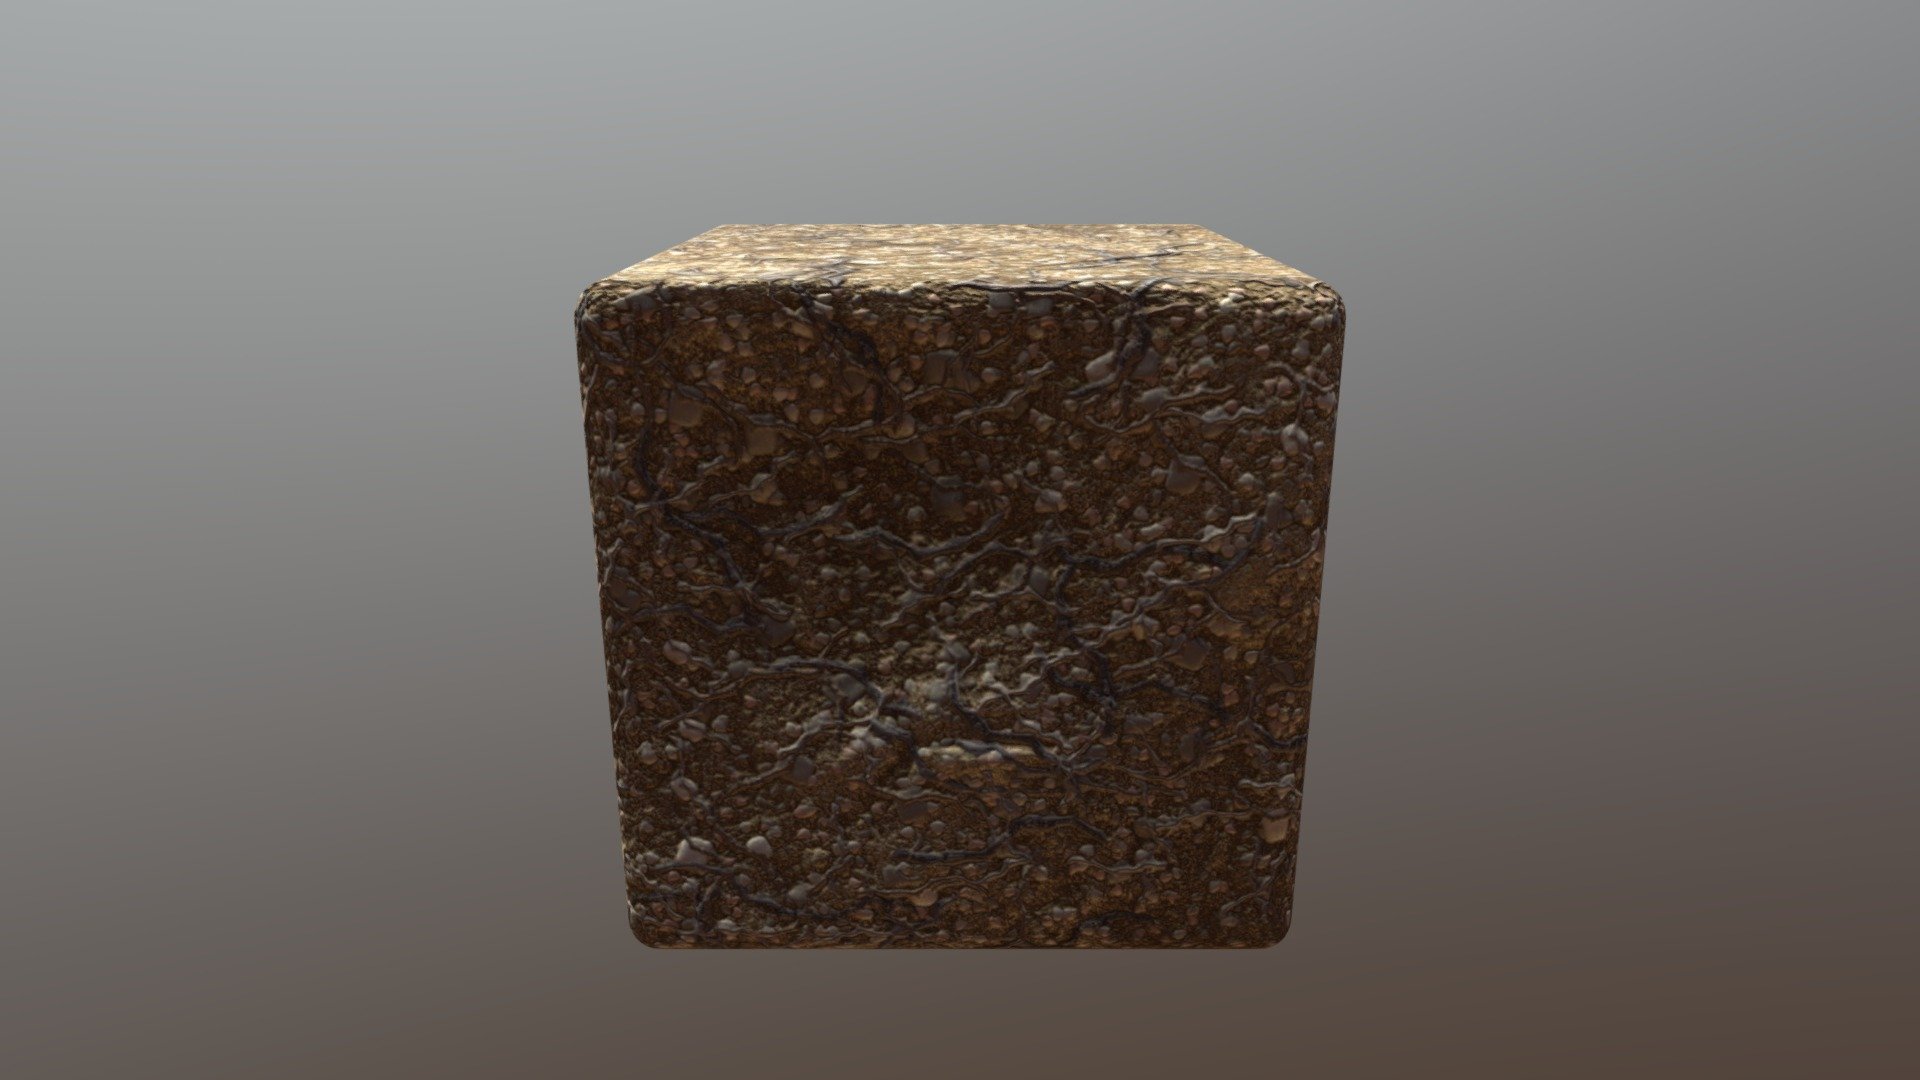
First Ground Texture
sketchfab
Here's how I approached creating a ground texture based on the Substance Academy tutorials. First off, I watched all of the tutorials, taking mental notes on what was being done and why, which helped me to grasp the concepts quickly. Then, I fired up Substance Painter and got started on my first attempt at making a ground texture. I began by setting up a new project in Substance Painter, choosing the "Ground" template as it seemed like the most fitting choice for this type of asset. Next, I created a new layer and set its base color to a medium gray, which would serve as the foundation for my texture. With that done, I moved on to adding some basic details to the ground, such as dirt paths and rocks. I used the "Normal" brush tool to add these details, making sure to keep them relatively small so they wouldn't overpower the rest of the texture. Once those were in place, I started working on the grass and weeds that would cover much of the ground. I added some basic foliage using the "Texture Paint" tool, making sure to blend the edges of the grass so it looked more natural. Finally, I added a few finishing touches to the ground, such as some additional dirt and debris. And with that, my first attempt at creating a ground texture was complete!
With this file you will be able to print First Ground Texture with your 3D printer. Click on the button and save the file on your computer to work, edit or customize your design. You can also find more 3D designs for printers on First Ground Texture.
