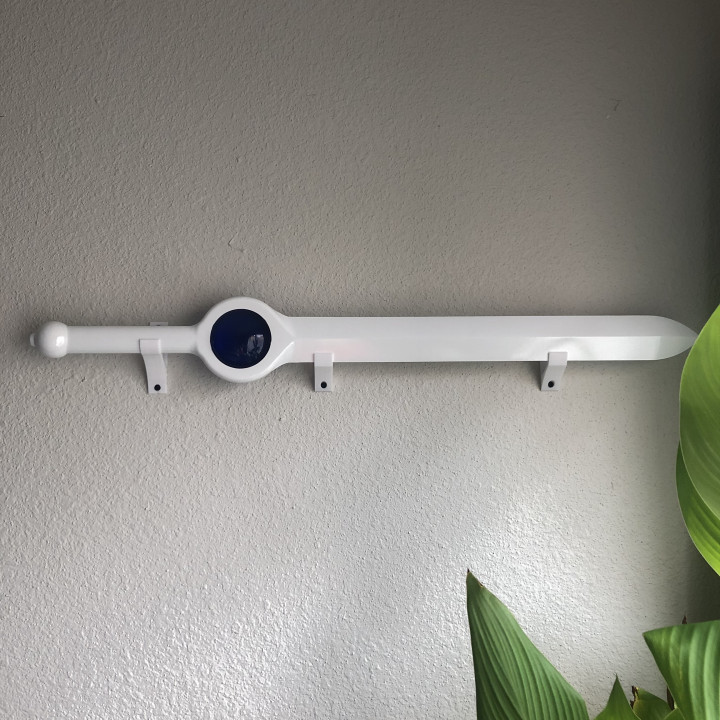
Finn Sword - Adventure Time
myminifactory
THIS IS A DEMO VERSION, YOU CAN FIND THE FULL VERSION AThttps://www.aguilarworkshop.com/product-page/finn-swordOR READ MORE ABOUT IT HEREhttps://www.aguilarworkshop.com/post/finn-sword Major Features Blade/Hilt The entire sword body itself is divided into three large pieces, two of which are the blade, one of which is the hilt. All the alignment cavities feature drafts that allow for printing all pieces without the need for supports. The connecting pieces were made almost as large as the pieces they are connecting to ensure little flexing/bending of the blade. Blade Tip Guard This sword comes with a blade tip guard that allows you to clamp the sword together when glueing in such a way that will prevent your clamp from damaging the blade tip and ensure you are getting accurate longitudinal compression. When I clamped my sword I actually used the blade tip guard and the inside of the gem cavity as my clamping points. Resin Jewel Kit For this resin kit I went with a two piece clamp design, securable by four M3 nuts and bolts. As usable the mold shell, plug and shell baseplate are completely reusable. This comes in handy when casting the jewel itself since it requires so much resin and uses very little rubber mold comparatively. By placing the rubber mold back in the mold shell, it prevents the gem from warping when you pour in all thee resin. Speaking of, I would highly recommend checking out what I had to say about casting such a massive Gem in the Builds section. Rubber Volume: 149 mL Resin Volume: 249 mL As usual I recommend using a little more resin/rubber than required to account for what's left behind on the mixing container walls. I also once again recommend you check out my experience in casting using a quarter liter of resin. You cannot treat it the same as any other resin casting. Wall Mount Some Wall Mounts were included in this design as well. They were designed to hold the sword horizontally and far enough from the mounting surface as to not damage the gem. Designed to use small drywall screws. Fillets were used to reduce stress concentrations. I think they look pretty cool as well.
With this file you will be able to print Finn Sword - Adventure Time with your 3D printer. Click on the button and save the file on your computer to work, edit or customize your design. You can also find more 3D designs for printers on Finn Sword - Adventure Time.
