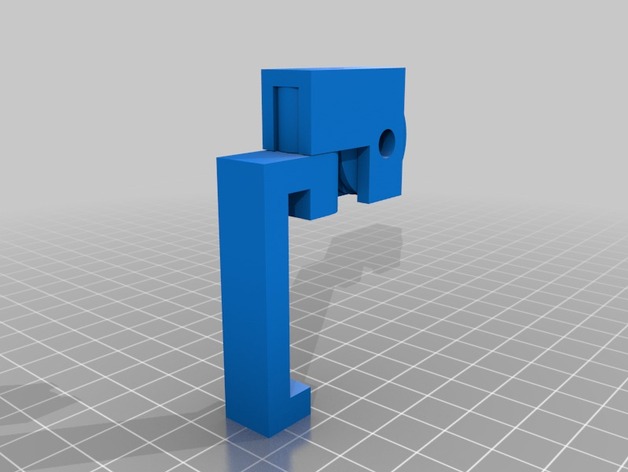
Fillament Guide for Prusa i3 Customizable
thingiverse
Manual for Filling a 3D Printer's Extruder with Filament 1. Locate the Extruder The first step to filling your 3D printer's extruder is to locate it. This part of the printer is responsible for melting and extruding plastic filament into the desired shape. The extruder typically consists of a heating element, a gear system, and a feed tube. 2. Unwind the Filament To begin filling the extruder, you need to unwind a length of filament from its spool. Hold the spool firmly in one hand and use your other hand to gently pull out the filament. 3. Insert the Filament into the Extruder Once you have unwound enough filament, insert it into the feed tube of the extruder. Make sure not to force the filament, as this could damage it or cause jams. 4. Align the Filament with the Gear System Next, align the filament with the gear system in the extruder. This ensures that the filament feeds smoothly through the heating element and out of the nozzle. 5. Secure the Filament Finally, secure the filament by tightening the clamps on the spool holder or by using a twist tie to keep it in place.
With this file you will be able to print Fillament Guide for Prusa i3 Customizable with your 3D printer. Click on the button and save the file on your computer to work, edit or customize your design. You can also find more 3D designs for printers on Fillament Guide for Prusa i3 Customizable.
