
Filament Sharpener -- 1.75mm
pinshape
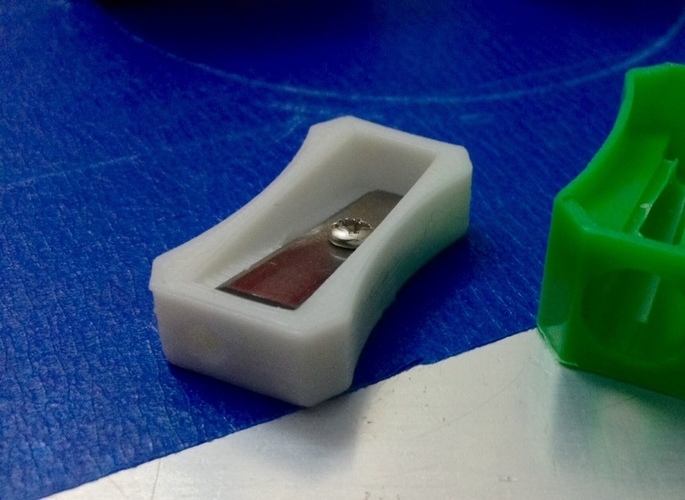
I decided to try a pack of dollar-store cheap pencil sharpeners to solve my filament problem with the starting connector of my Bowden tube. The first attempt didn't work out, as they were way too big for the job. So, I took matters into my own hands and created a custom sharpener using SketchUp. After making a few adjustments, it finally started working like a charm. To create your own sharpener, start by slicing an STL file at a .2mm layer height that matches your printer's requirements. Once you have the printed piece, head to a dollar store or similar establishment and pick up some cheap pencil sharpeners. Using a small Phillips screwdriver, carefully remove the screw holding the blade in place, then take out the blade itself. Next, insert the blade into your custom sharpener, making sure that the business end is positioned over the angled hole. Finally, attach the blade using the screw from the original sharpener. To use the tool, simply place it over the 1.75mm filament end and hold the filament firmly in place. Rotate the sharpener slowly and carefully, allowing the tool to do the work for you. With a bit of patience, you should be able to remove any pointing filament with ease.
With this file you will be able to print Filament Sharpener -- 1.75mm with your 3D printer. Click on the button and save the file on your computer to work, edit or customize your design. You can also find more 3D designs for printers on Filament Sharpener -- 1.75mm.