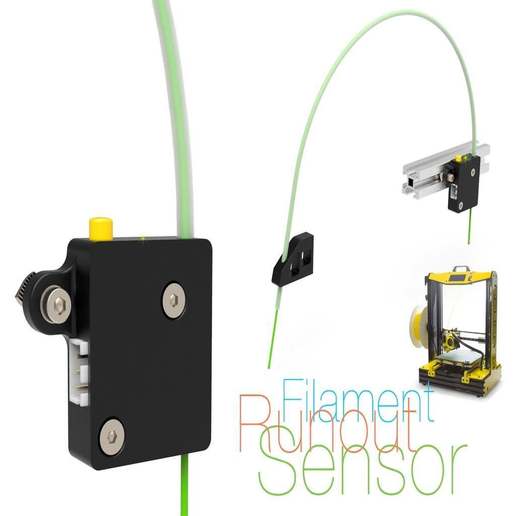
Filament Runout Sensor v2
cults3d
#Filament Runout Sensor v2 I remind that the models were designed for processing, including grinding and repainting. See the video for more details: I connected the sensor to the ZMAX axis as follows: from left to right, plus, minus, and signal. The button in the depressed state should close the "minus" and "signal" while unlocking the "plus". To achieve this, it was necessary to cut the "plus" track and connect the buttons that are closed to the button contacts. ##Components Used: Tube PTFE 2x4 - http://ali.pub/3lxuyk Limit Switch - http://ali.pub/3lxv8v Tactile Switch Non-Lock 6 Pin - http://ali.pub/3lxvlp Button Switch Cap - http://ali.pub/3lxvpe ##Tools Used: UV Glue Light repair Pen - http://ali.pub/2z2hbi NOGA deburring tool and Blades - http://ali.pub/2z2ah5 Buy & save with CashBack - http://ali.pub/2v0znm Prusa i4 - http://ali.pub/3kt2vs My other projects:
With this file you will be able to print Filament Runout Sensor v2 with your 3D printer. Click on the button and save the file on your computer to work, edit or customize your design. You can also find more 3D designs for printers on Filament Runout Sensor v2.
