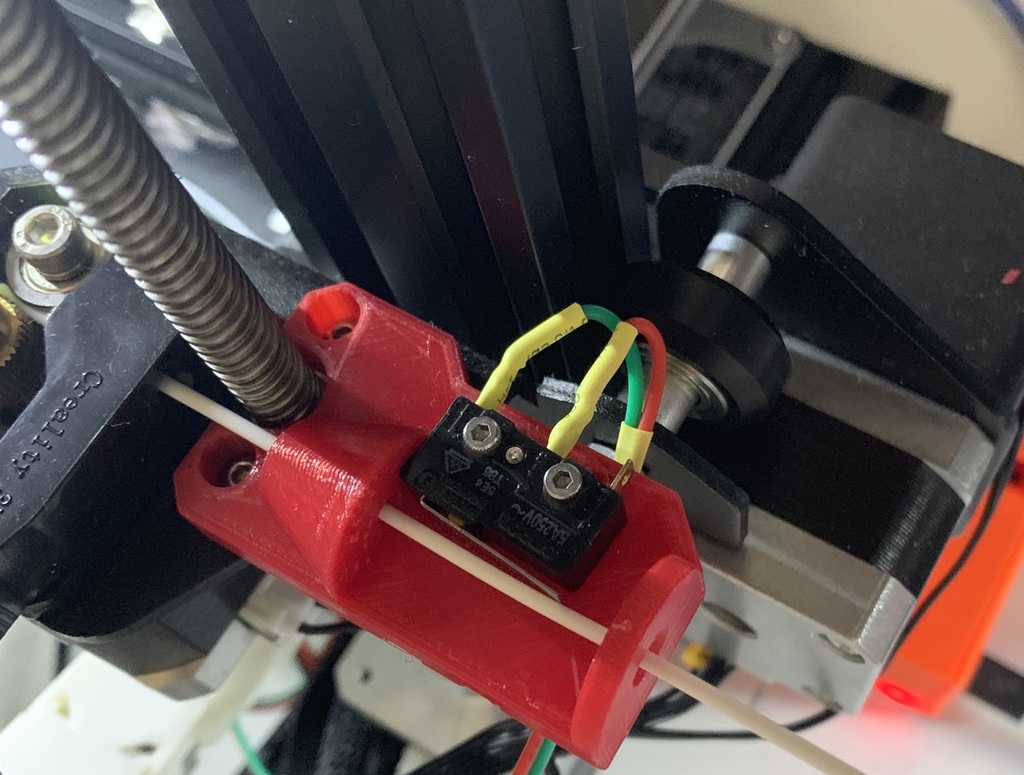
Filament runout sensor holder for Ender 3
thingiverse
Remixed the original to fit a SS-5GL microswitch, changing holes into "rails" for adjustable microswitch position. ## How to Wire: To get started, you'll need two leads, one connected to the C leg and the other to the NO (normally open) middle leg. The NC (normally closed) leg is left unconnected. These two wires are then connected to any GPIO and GND pin on your raspberry, with no specific requirement for which pin to use. For a seamless experience, I recommend installing the "Filament Sensor NG" plugin, which allows you to easily select the GPIO number and input the M600 (filament change) GCODE. ## Hardware: The original M2 screws can be used to secure the plastic part to your printer. To capture the microswitch, two M2x15mm screws and their corresponding nuts are needed. ## Changelog: 1.1 - Improved sensor accuracy with an added indent, ensuring better alignment with the filament strand. v2 - Made the switch holder shorter for a snug fit, allowing relocation of the spool to the bottom without obstructing the filament guide. Additionally, two channels were added for M2 nuts, making adjustments easier.
With this file you will be able to print Filament runout sensor holder for Ender 3 with your 3D printer. Click on the button and save the file on your computer to work, edit or customize your design. You can also find more 3D designs for printers on Filament runout sensor holder for Ender 3.
