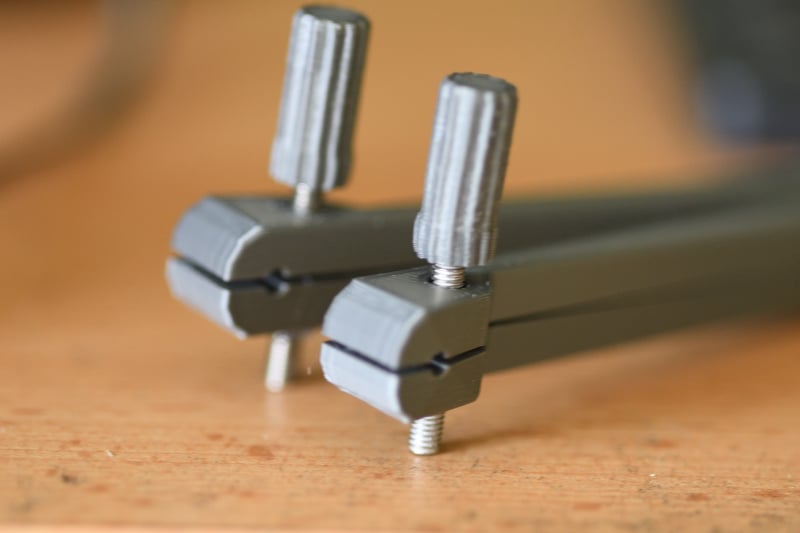
Filament Joiner
thingiverse
New build. Attach knurled knobs directly onto 4mm screws or bolts using a reliable welding process. Secure square nuts firmly at the base and apply superglue for added stability. I utilized spare 14mm bolts from my Prusa Mk3s as necessary components. Tighten filament ends securely, then position the gap over an open flame from a tealight or candle. Press the ends together until they cool down completely, or use clothes pegs to hold the device legs in place if necessary. Open the device arms and remove any excess material by carefully trimming the squashed area - sand it smooth afterwards. If you found this information helpful, consider donating what you believe it's worth through paypal.me. Your contribution will help cover the time spent on designing this project. Thank you for your support!
With this file you will be able to print Filament Joiner with your 3D printer. Click on the button and save the file on your computer to work, edit or customize your design. You can also find more 3D designs for printers on Filament Joiner.
