Filament + jam Sensor
thingiverse
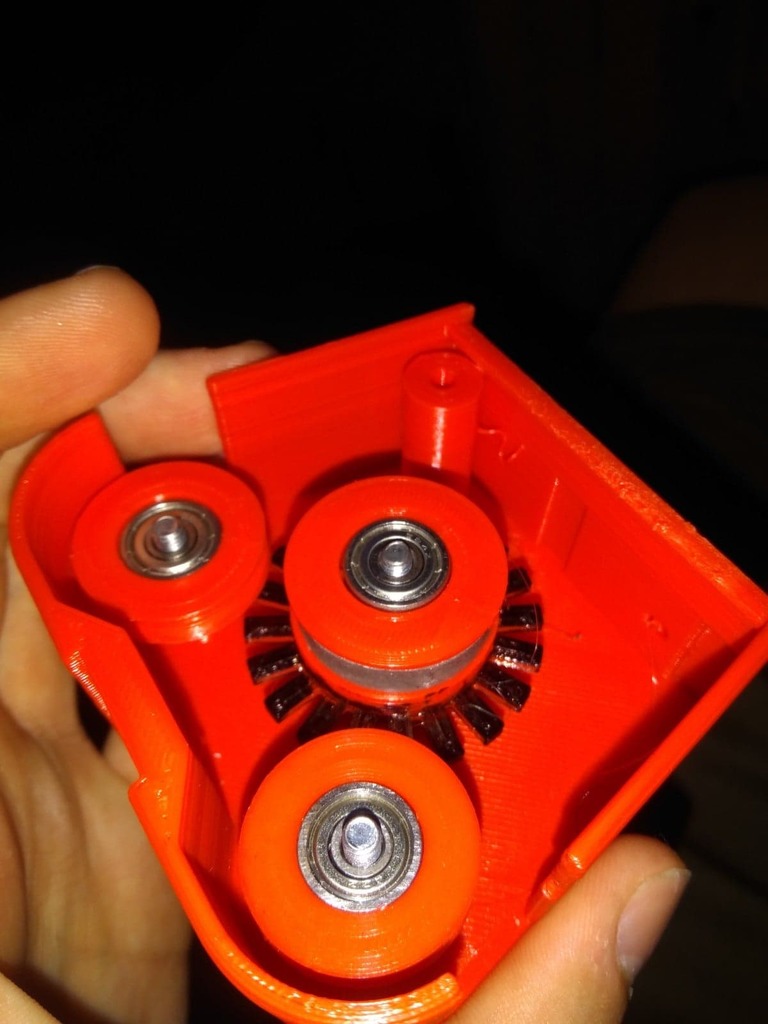
UPDATE: Hello guys! I'm excited to announce that my first Kickstarter project is live! Please check it out and share this link! https://www.kickstarter.com/projects/kenzoselleslaghs/rgb-touchpanel-for-micro-controller-s Many thanks! Hello guys, As promised, I've remade my old filament sensor because there were too many parts, and it was heavy. This new sensor detects jams in the hotend as well as running out of filament. It uses a sensor and an Arduino to get the job done. Here's how it works: - The filaments spin the toothed wheel in the sensor, which goes high to low and vice versa. The Arduino calculates if the time between HIGH and LOW is within the programmed time range. If not, the Arduino pin will go high and send a signal to your buzzer (more info in the Arduino sketch). I recommend using dark plastic for the toothed filament roller because I found that light plastic wasn't reliable for sensor readings. So, I covered the tooth with paint. If the filament slips, use double-sided tape in the toothed roller. I made a little notch in the roller so you can cut a piece of tape and paste it in the roller. I've done many tests with this one, and it works like a charm! Here's what you'll need: * 3x40mm M4 bolt + nuts * 1x10mm M3+ nut * 4x 624zz bearings * 1x velocity sensor (speed sensor for Arduino) * 1x Arduino (or Attiny if you know how to program it) * 1x buzzer You can print the following parts: * 1x Body part * 1x Body cap * 1x 2020 extrusion mount (Tevo Tarantula) * 2x Filament guide roller * 1x Filament toothed roller Changelog improvements: - The body is now a two-part print. - I got rid of the 608zz bearings and changed the holes to fit 624zz bearings instead. - It's easier to install.
With this file you will be able to print Filament + jam Sensor with your 3D printer. Click on the button and save the file on your computer to work, edit or customize your design. You can also find more 3D designs for printers on Filament + jam Sensor .
