Filament guide thru IKEA lack enclosure
prusaprinters
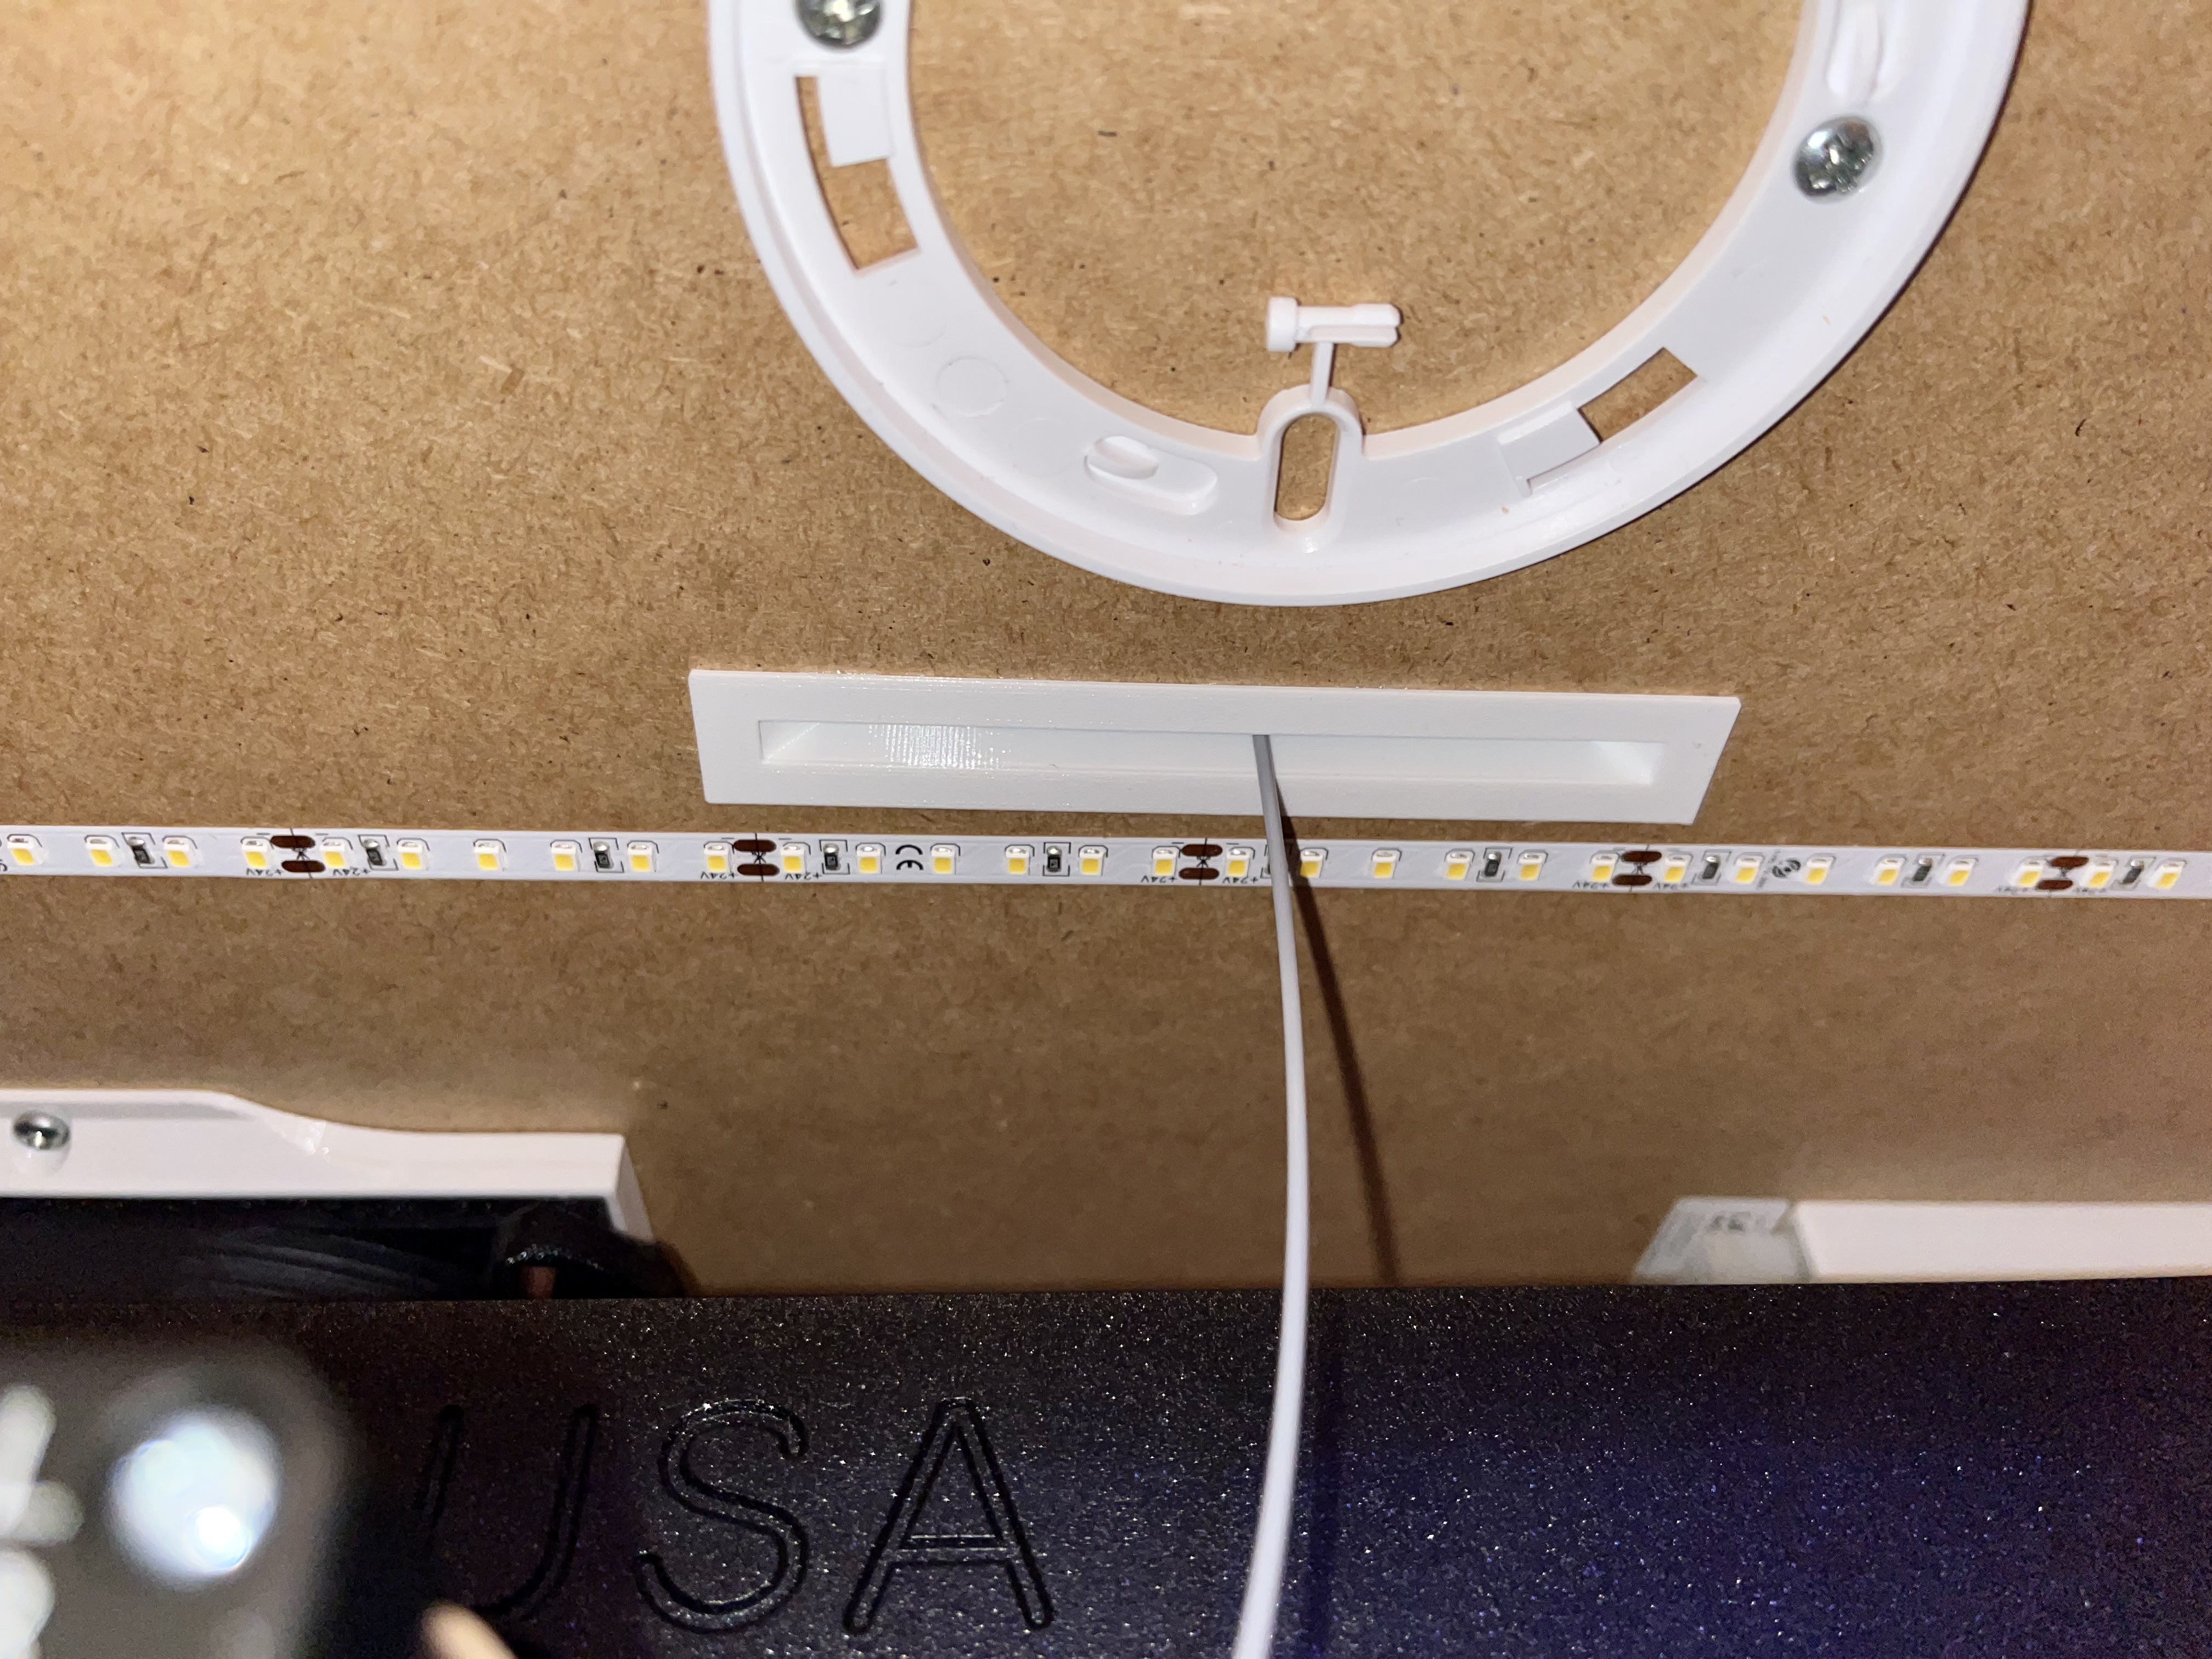
<p>Little upgrade to filament path that allows more side to side movement of filament when printing than original small fixed hole in roof.</p><p>Just make 100x10 mm rectangle cut out to lower “roof” part and 10 mm hole at top side. Use glue to secure part in place.</p>
Download Model from prusaprinters
With this file you will be able to print Filament guide thru IKEA lack enclosure with your 3D printer. Click on the button and save the file on your computer to work, edit or customize your design. You can also find more 3D designs for printers on Filament guide thru IKEA lack enclosure.