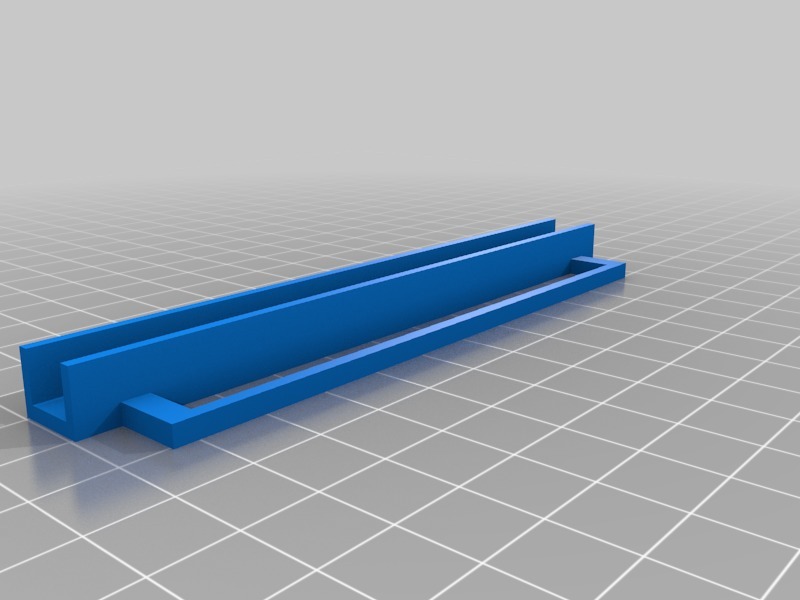
Filament guide Geeetech I3B
thingiverse
Here's a Step-by-Step Guide to Setting Up Your Geeetech I3B 3D Printer: **Table of Contents** 1. Unpacking and Inspection 2. Assembly of the Frame 3. Installation of the Hotend and Heat Bed 4. Connection of the Power Supply and Control Board 5. Calibration of the Print Bed **Step 1: Unpacking and Inspection** Carefully unpack the Geeetech I3B 3D printer from its box, making sure that all the components are included. Check for any damage or defects in the frame, hotend, heat bed, and other parts. **Step 2: Assembly of the Frame** Assemble the frame by attaching the legs to the base plate using the provided screws. Make sure the legs are evenly spaced and the frame is level. **Step 3: Installation of the Hotend and Heat Bed** Install the hotend and heat bed according to the manufacturer's instructions. Make sure the hotend is securely attached to the heat bed and the heat bed is properly leveled. **Step 4: Connection of the Power Supply and Control Board** Connect the power supply to the control board, making sure that all the connections are secure. Install the control board into the frame according to the manufacturer's instructions. **Step 5: Calibration of the Print Bed** Calibrate the print bed by adjusting the heat bed temperature and leveling the print bed. Make sure the print bed is properly leveled and heated before starting your first print job.
With this file you will be able to print Filament guide Geeetech I3B with your 3D printer. Click on the button and save the file on your computer to work, edit or customize your design. You can also find more 3D designs for printers on Filament guide Geeetech I3B.