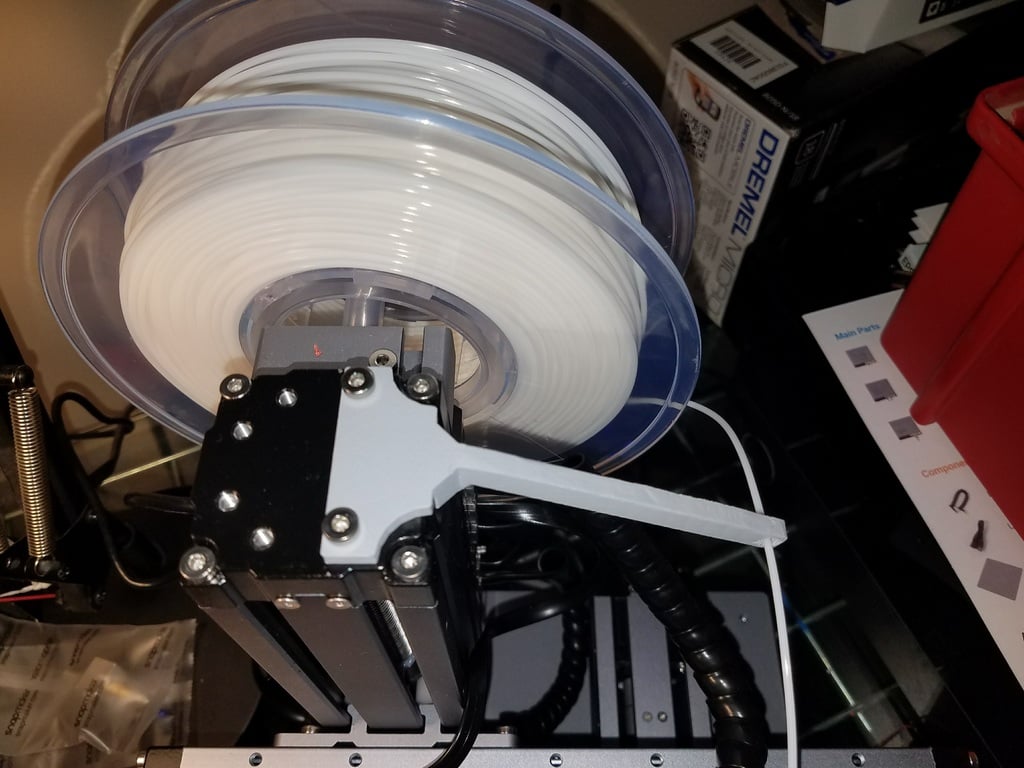
Filament Guide for snapmaker
thingiverse
Keeping Your Filament on Track: A Step-by-Step Guide! Are you tired of dealing with pesky filament tangles and kinks? Do you want to ensure that your 3D prints come out perfectly smooth and straight? Look no further! This simple guide is here to help you keep your filament exactly where it should be - right from the reel into the print head. It doesn't matter if you're using a filament tube or not, this guide will walk you through the process of keeping your filament under control. With these easy-to-follow steps, you'll be printing like a pro in no time! Step 1: Prepare Your Filament Begin by unwinding the filament from the reel and cutting it to the desired length. Make sure to leave enough slack for easy movement. Step 2: Feed the Filament into the Tube (Optional) If you're using a filament tube, now is the time to insert the filament end into one of the tube's openings. This will help keep the filament tidy and prevent tangles. Step 3: Guide the Filament into the Print Head Carefully guide the filament through the print head's opening, making sure it's seated properly. You should see a slight "click" as the filament engages with the print head's gears. Step 4: Adjust as Needed If necessary, adjust the tension of the filament by tightening or loosening the reel's cap. This will help maintain the optimal amount of slack and prevent kinking. And that's it! With these simple steps, you'll be well on your way to producing high-quality 3D prints with perfectly straight lines and minimal tangles. Happy printing!
With this file you will be able to print Filament Guide for snapmaker with your 3D printer. Click on the button and save the file on your computer to work, edit or customize your design. You can also find more 3D designs for printers on Filament Guide for snapmaker.
