Filament guide for side of MakerBot (5th Gen)
thingiverse
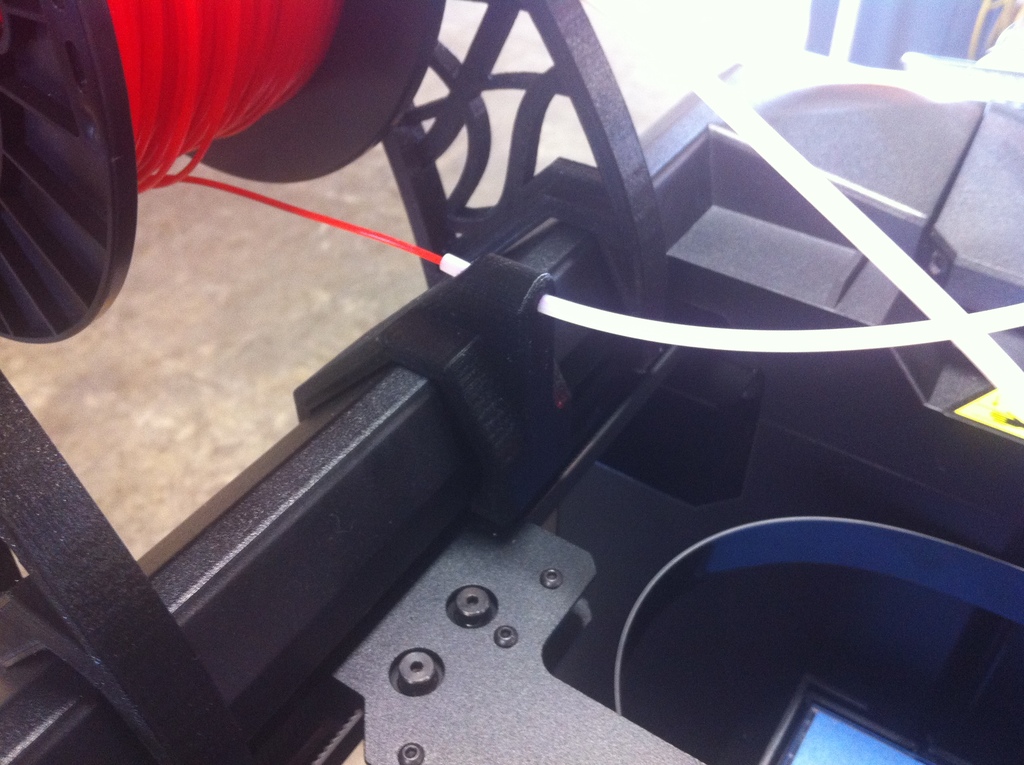
Filament Guide for Side of MakerBot (5th Generation) The filament guide is a crucial component on the side of the MakerBot 5th generation. It ensures that the filament flows smoothly and consistently during printing, minimizing jams and improving overall print quality. To access the filament guide, you need to remove the side panel. The process is straightforward: 1. Locate the side panel screws on the right-hand side of the MakerBot. 2. Remove the two screws using a Phillips screwdriver. 3. Gently pull the side panel away from the printer body. Once the side panel is removed, you'll see the filament guide assembly in place. This consists of a metal rod and a plastic guide rail. The filament runs along this rail as it feeds into the extruder. To replace or upgrade the filament guide, follow these steps: 1. Remove the old filament guide by gently pulling it out from its mounting clips. 2. Install the new filament guide in the same location, ensuring it's securely fastened to the printer body. 3. Reassemble the side panel and tighten the screws firmly. By following these instructions, you can ensure a smooth and reliable printing experience with your MakerBot 5th generation.
With this file you will be able to print Filament guide for side of MakerBot (5th Gen) with your 3D printer. Click on the button and save the file on your computer to work, edit or customize your design. You can also find more 3D designs for printers on Filament guide for side of MakerBot (5th Gen).