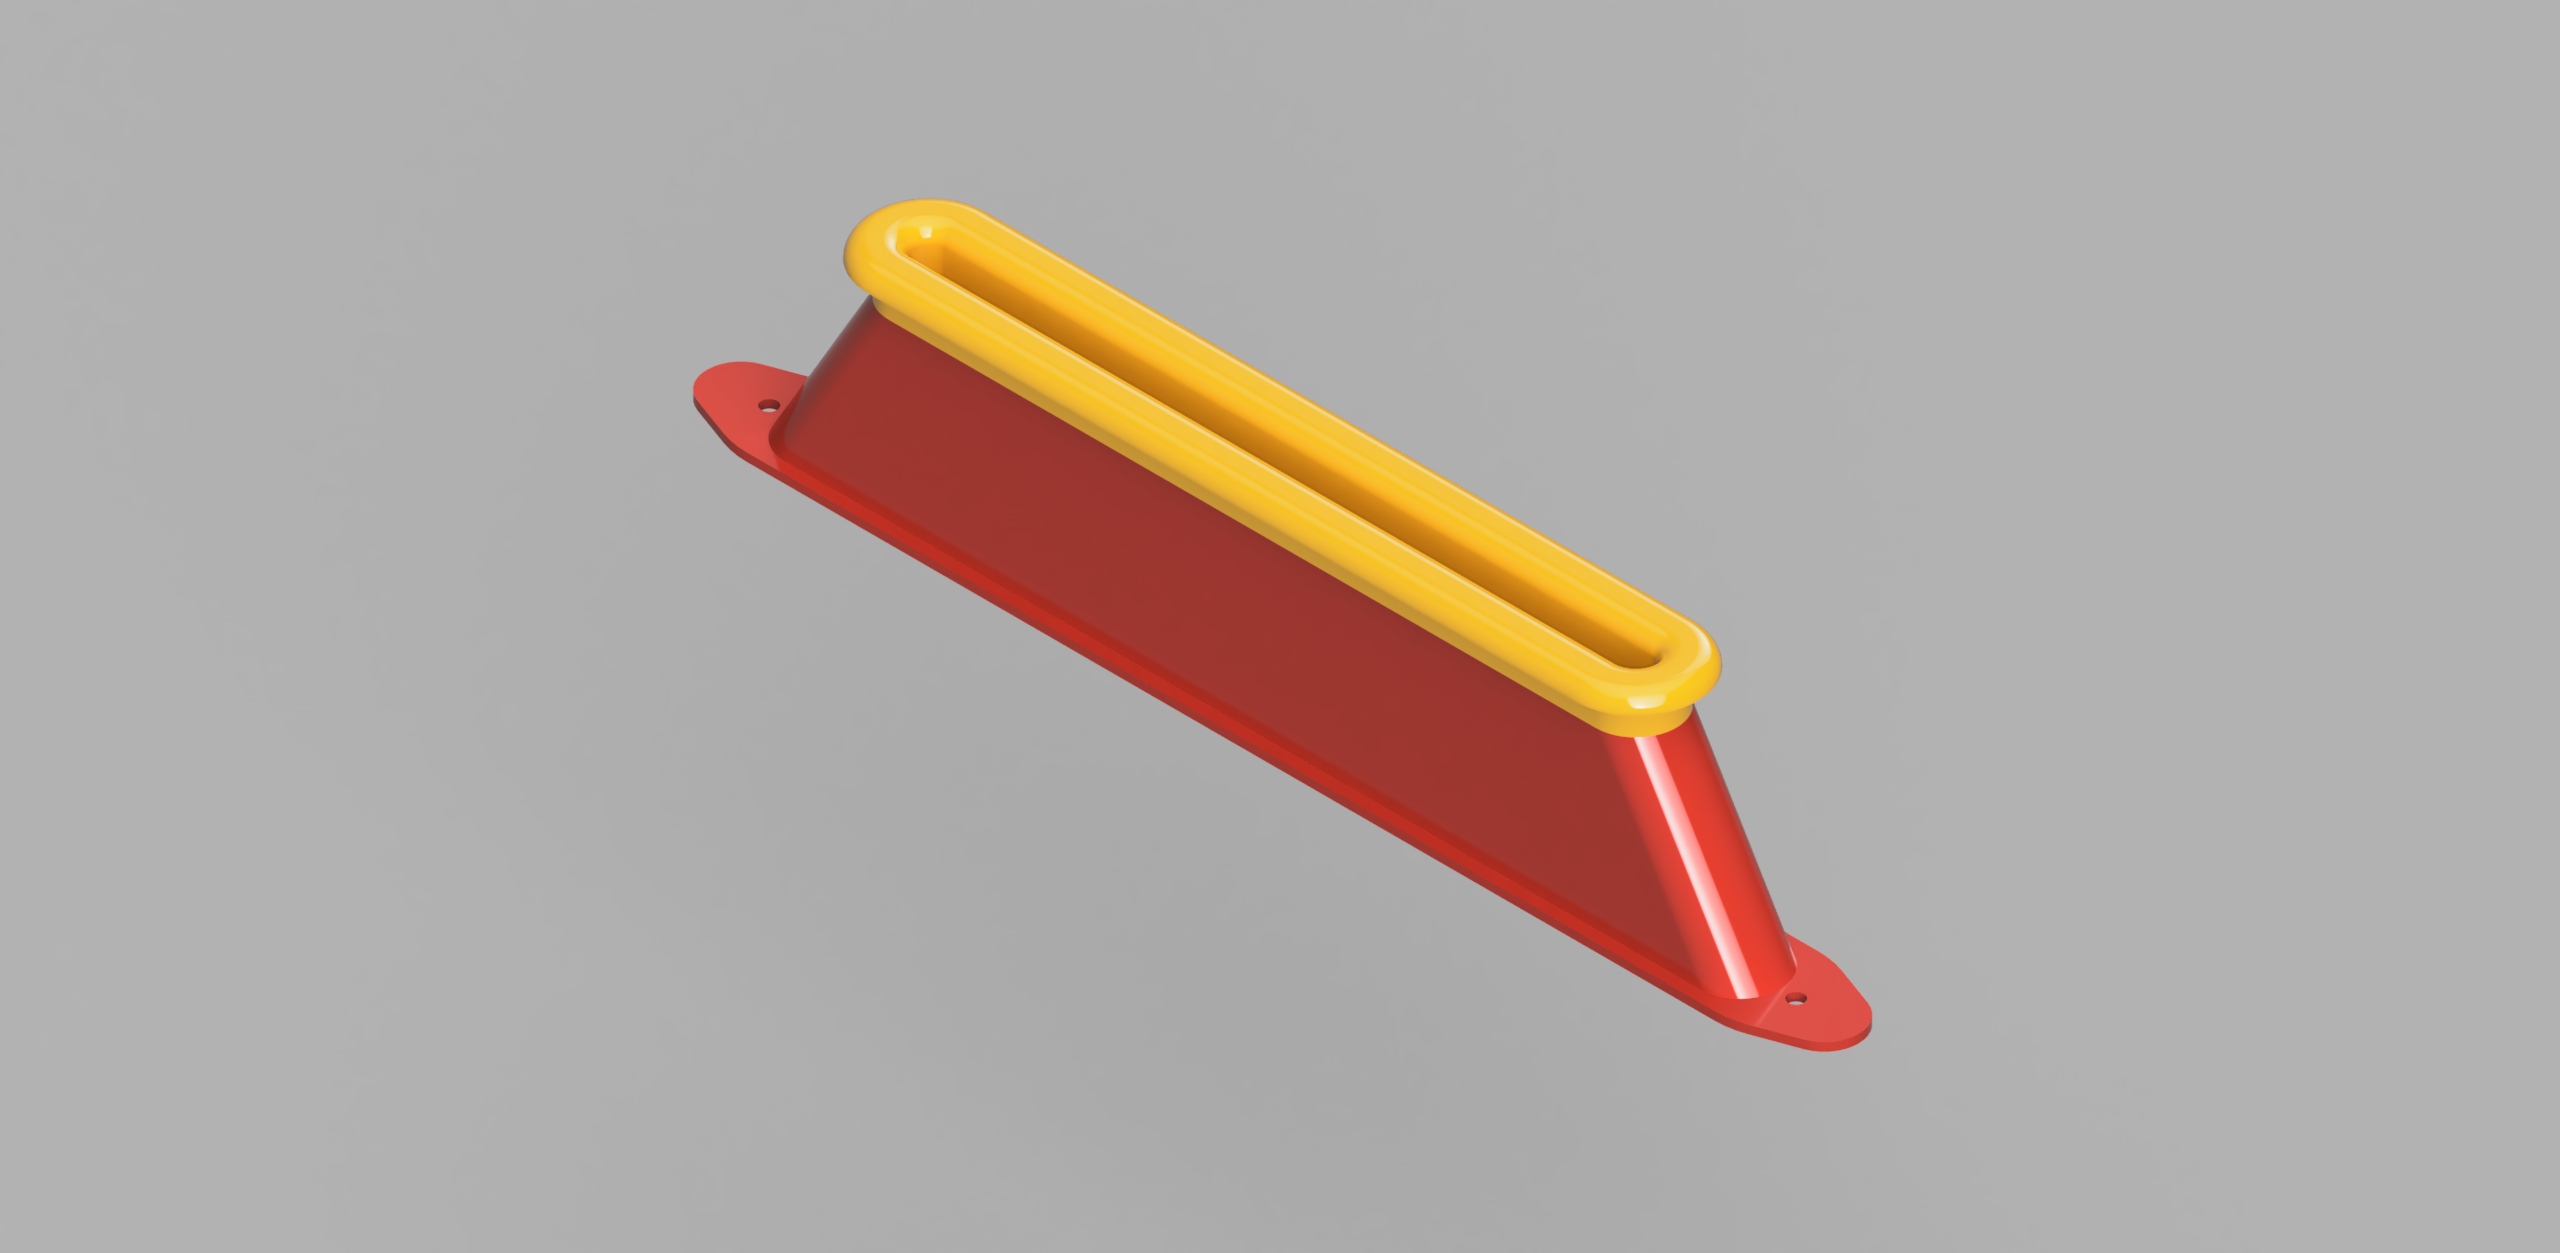
Filament guide for IKEA Lack Enclosure with Mosaic Palette 2s Pro
prusaprinters
<p>In my final setup I have a MK3S in a lack enclosure with a Mosaic Palette 2s Pro. In this configuration I put the Mosaic Palette 2s Pro in a top of the lack enclosure with a bottom up stand find on PrusaPrinterers or Thinghiverse.<br/> The problem is that I had to make a hole in the top of eclosure for passing the Palette's outgoing tube for going to the printer.<br/> I find a lot of filament guide here for lack but noone with the right size for the Palette's tube. So I designed a new one!<br/> This filament guide for IKEA Lack enclosure allowing the filament to smooth following the X-carriage while it moves along the X-axis.<br/> Internal dimensions allows use of the tube from the Mosaic Palette 2s Pro to extruder.<br/> Also I make two pieces that fits perfect as a snap so the bottom part could be fixed with screws and the top part is inserted after attached to the bottom part and could be easy removed in case needed</p> <h3>Print instructions</h3><p><strong>Print Settings</strong></p> <p><em>Printer:</em> Prusa original MK3S</p> <p><em>Rafts:</em> No</p> <p><em>Supports:</em> No</p> <p><em>Resolution:</em> 0.10 (could be also 0.20 but with 0.10 it is more precise)</p> <p><em>Infill:</em> 25%</p> <p><em>Filament brand:</em> Prusament</p> <p><em>Filament color:</em> Black or Orange (for better style with the Lack enclosure)</p> <p><em>Filament material:</em> PETG (also PLA is ok but with PETG is be more resistent)</p> <p><strong>Installation</strong><br/> First measure where the filament enters into the extruder. It depends on how the printer is placed in the enclosure and is likely somewhat closer to the front than the back. Also consider the length of the Palette's tube (in my case I put the medium length). I center it on the width of the enclosure's top.</p> <p>This will give the position of the filament guide, draw a rectangle the bottom of the table for the bottom part. Make sure the lines is aligned and centered.</p> <p>Then used a sharp cutter to remove the lack's mdf, please be more straight as you can. After that move the inners part of the lack'top table on the side, I suggest don't remove that because the structure remain more "stronger".</p> <p>After this it should be fit the bottom part with out any problem if so continue otherwise fix it. After this step move out the bottom part that is used now only to check the right measure.</p> <p>Then from the center of the existing removing part start making a little holes drilled, from the bottom side of the table to the top exactly at the center.<br/> Now you sould have at the top part a little hole. Draw a rectangle to fit the top part and with a sharp cutter remove this rectangle.</p> <p>Put the two parts starting from the bottom part and after the upper one. Verify the two part aligns when they are fitted into the table. The extrusion on the top part must "snap" into the slot on the bottom part.<br/> When the alignment is verified and the pieces are fit togheter the bottom part is attached to the table by two wooden screws. (the ones used for costruct the ikea table should be fine)</p>
With this file you will be able to print Filament guide for IKEA Lack Enclosure with Mosaic Palette 2s Pro with your 3D printer. Click on the button and save the file on your computer to work, edit or customize your design. You can also find more 3D designs for printers on Filament guide for IKEA Lack Enclosure with Mosaic Palette 2s Pro.
