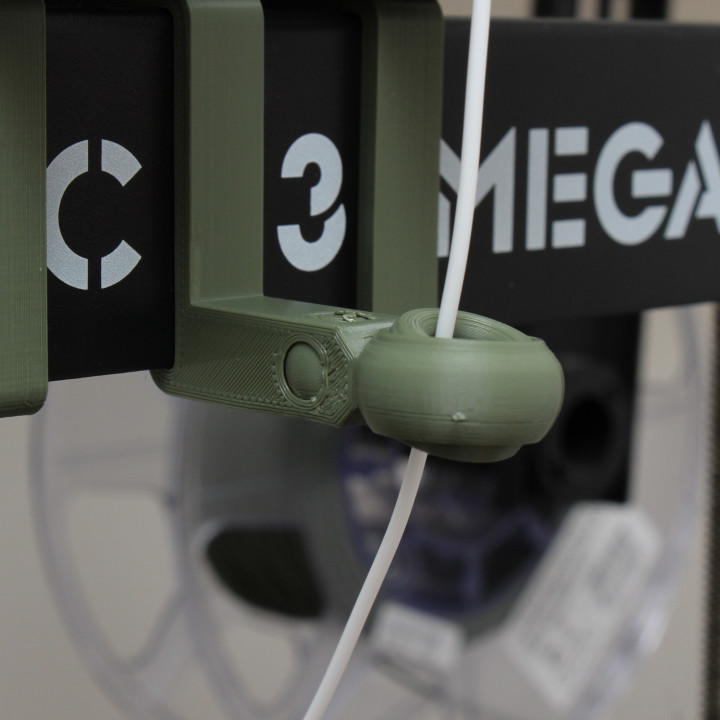
Filament Guide for Anycubic I3 Mega using direct drive
myminifactory
Setting up Your Direct Drive Extruder on the Anycubic i3 Mega To get your filament flowing smoothly and efficiently on your Anycubic i3 Mega, you'll need to configure your direct drive extruder. This guide will walk you through each step of the process. Step 1: Remove the PTFE Tubing Start by removing the PTFE tubing from the hotend. You can do this by gently pulling it off or using a small screwdriver to pry it loose. Be careful not to damage any of the surrounding components. Step 2: Install the Direct Drive Extruder Once you've removed the PTFE tubing, it's time to install your direct drive extruder. This typically involves attaching the extruder to the hotend and securing it with screws or clips. Make sure everything is properly aligned before tightening any screws. Step 3: Connect the Motor Next, connect the motor to the extruder. This usually involves plugging in a cable or connecting a wire harness. Double-check that all connections are secure before proceeding. Step 4: Calibrate Your Extruder Before you can start printing with your new direct drive extruder, you'll need to calibrate it. This typically involves adjusting the tension on the filament and setting the correct hotend temperature. Consult your printer's manual for specific instructions on how to do this. Step 5: Test Your Extruder Finally, test your extruder by running a small print or doing some basic calibration tests. This will help you ensure that everything is working properly before moving on to more complex prints.
With this file you will be able to print Filament Guide for Anycubic I3 Mega using direct drive with your 3D printer. Click on the button and save the file on your computer to work, edit or customize your design. You can also find more 3D designs for printers on Filament Guide for Anycubic I3 Mega using direct drive.
