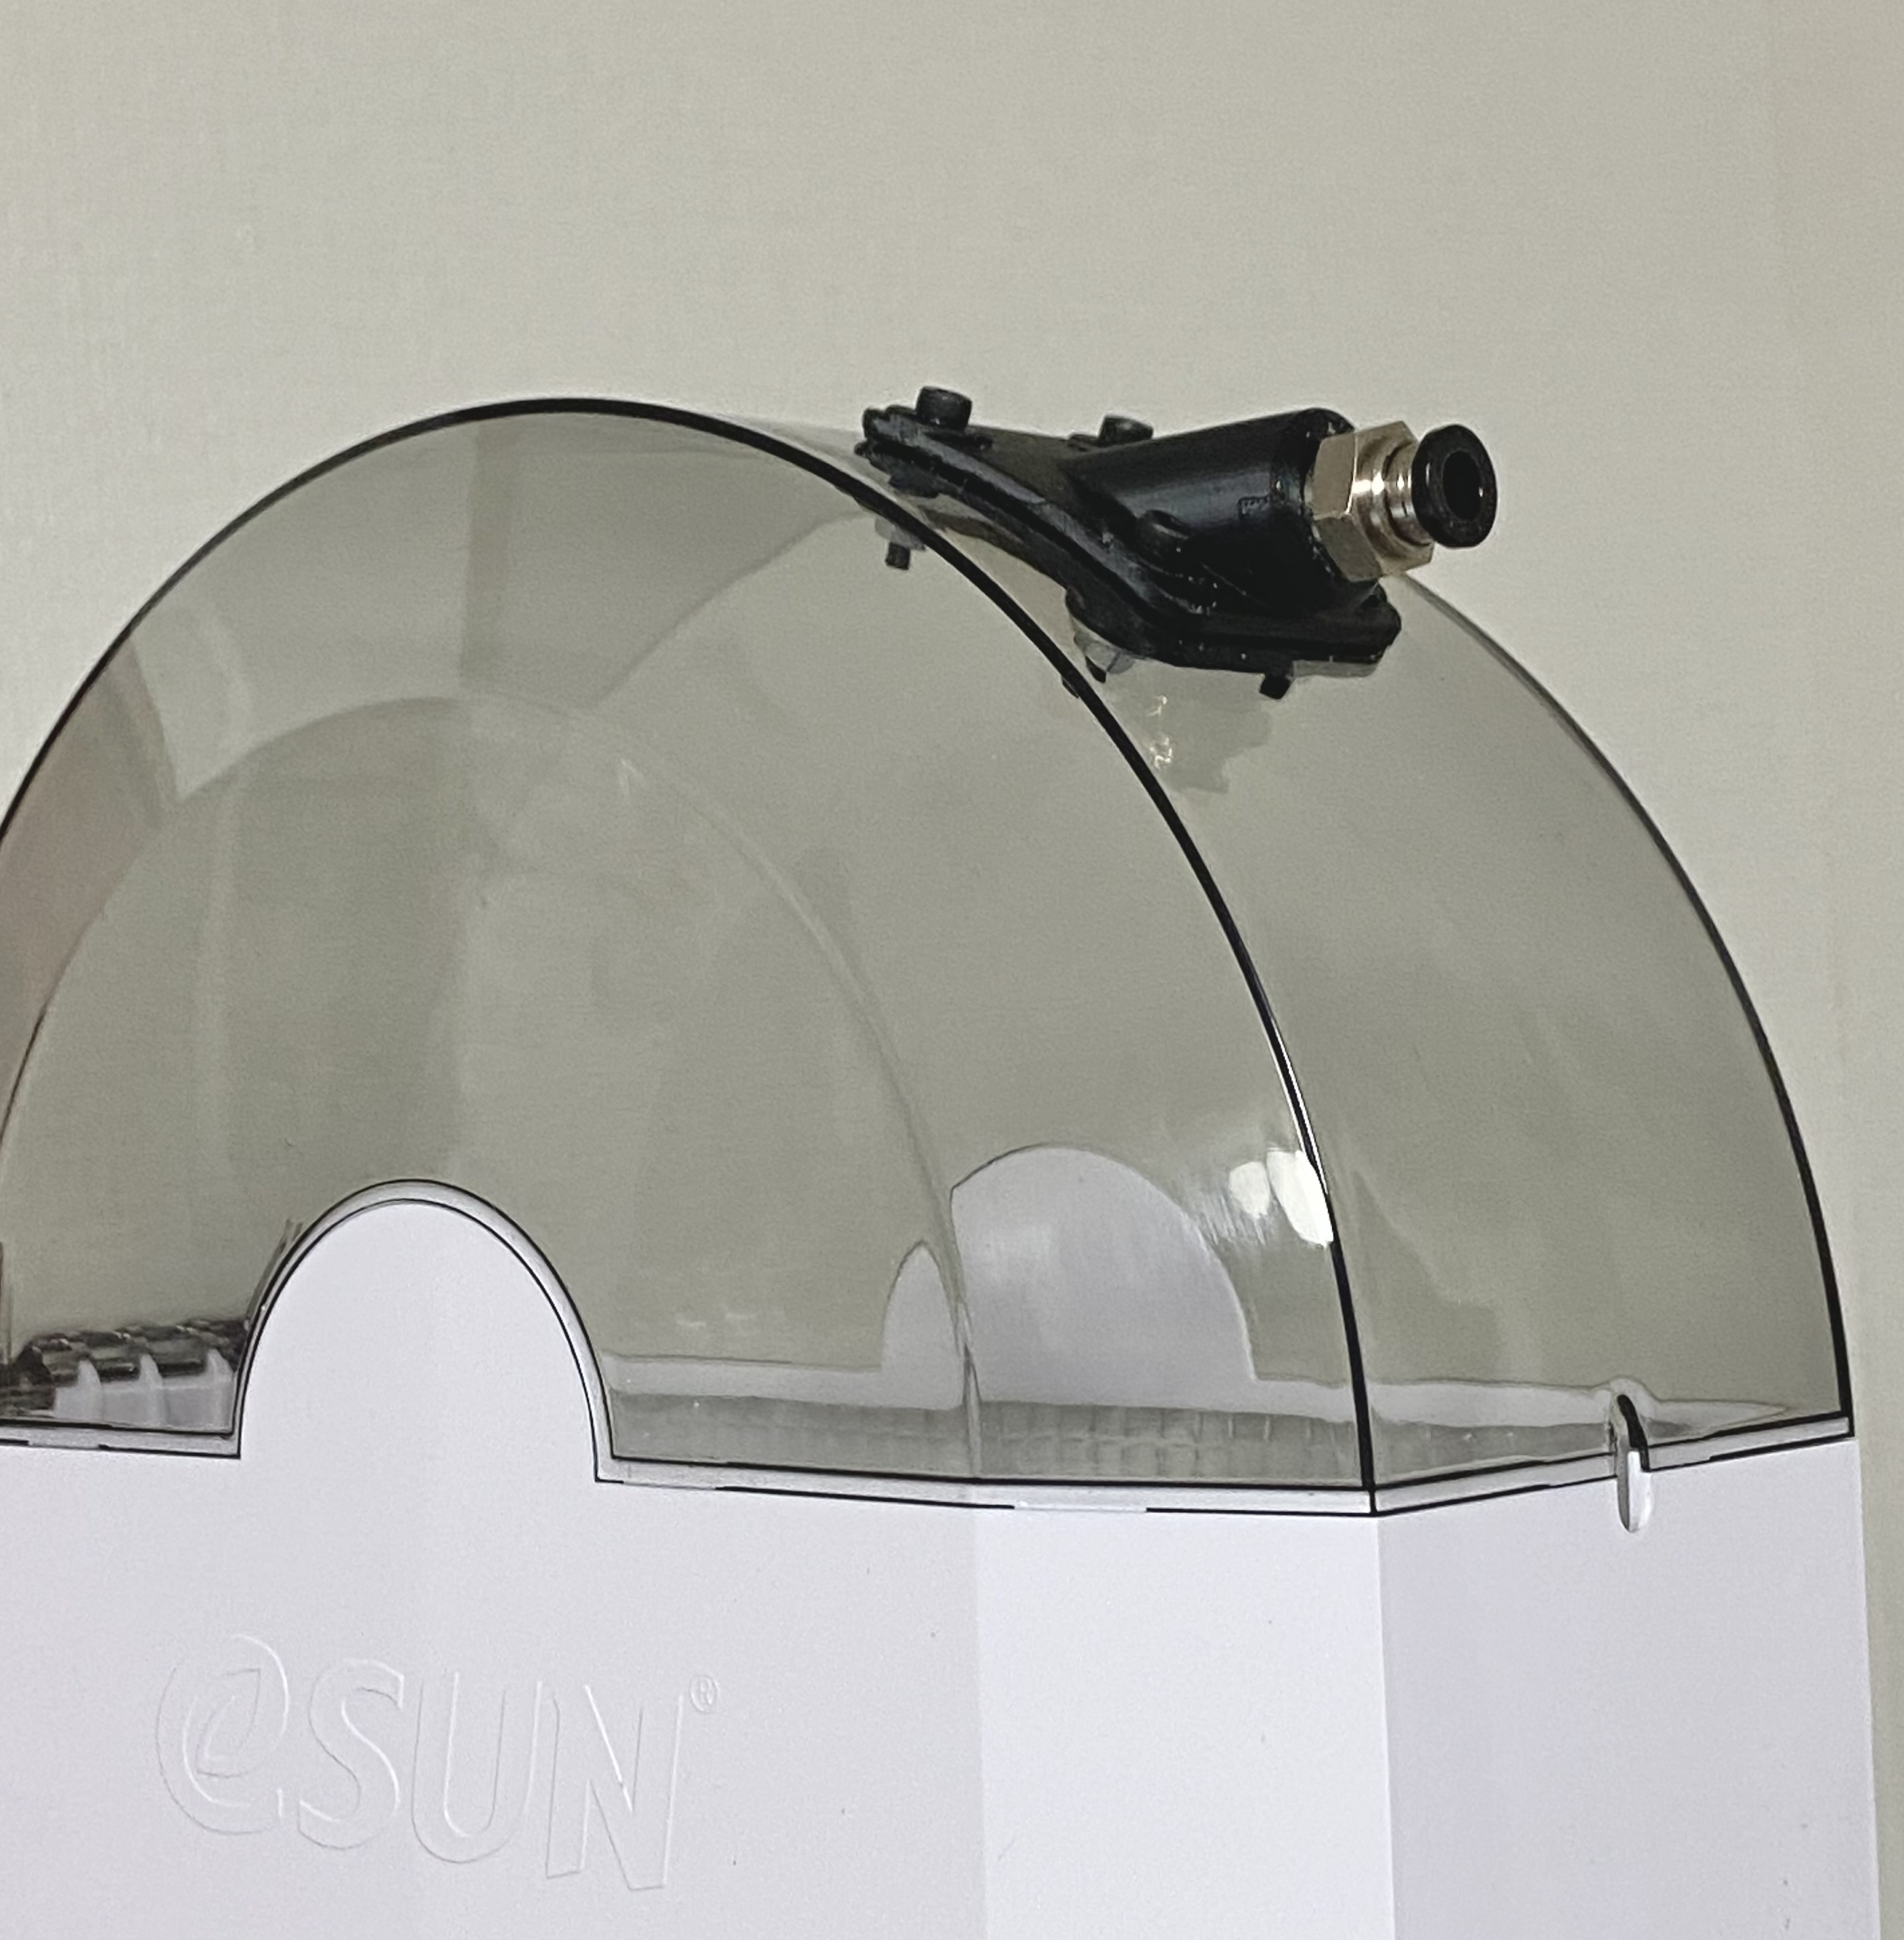
Filament Dryer Box Upgrade
prusaprinters
<p>This part connects the fitting to the filament dryer box.</p><p>This fittings are made in size where the threads conform to the ISO pipe thread thickness of 13.157mm.</p><p>Utilize 4 M3x16mm screws and 4 M3 nuts. Use 4 washers if necessary.</p><h4>How to use</h4><ol><li>First fix the Jigu model to the desired position on the filament dry box. Drill only two M3 holes at the top with a 3mm diameter steel drill. You only need to drill two holes at first.</li><li>Fix the Jigu model to the bottom model with M3 screws and nuts to prevent the Jigu model from shifting during future drilling work if it is fixed with tape only.</li><li>Drill the remaining M3holes and secure them with screws and nuts as well.</li><li>The last large hole should be drilled using a 9mm or 10mm drill. The recommendation is to drill with a 9mm drill and then use a 10mm.</li><li>after all holes are drilled, remove the Jigu model, fix the Top and Bottom models with screws and nuts, and insert the fittings.<br>Fix a Teflon tube or other material to the fitting to complete the process.</li></ol><h4>Recommendad print settinugs</h4><ul><li>Top&Bottom: ABS or PETG</li><li>Jigu: PLA</li><li>Infill 40%</li><li>Support on build plate only</li><li>Brim Yes</li></ul>
With this file you will be able to print Filament Dryer Box Upgrade with your 3D printer. Click on the button and save the file on your computer to work, edit or customize your design. You can also find more 3D designs for printers on Filament Dryer Box Upgrade.
