Filament Dryer
thingiverse
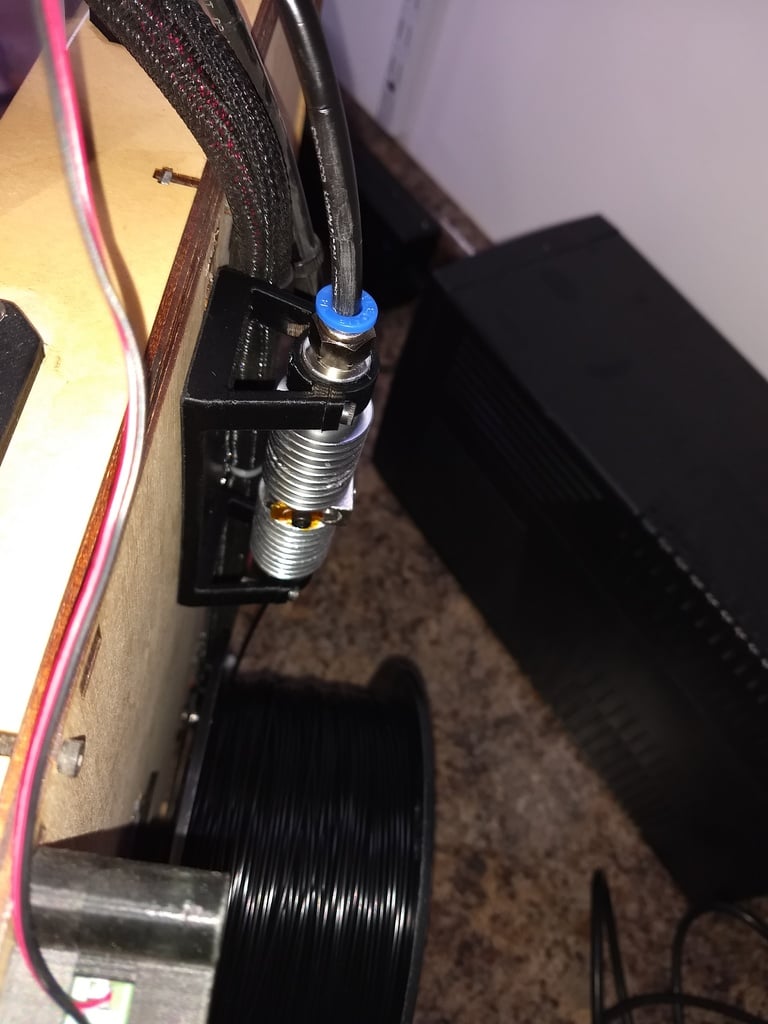
I've been working on a way to dry filament and ensure its complete dryness before feeding it into the extruder for quite some time, then it seems I was beaten to the punch by Thordsen 3D's product. I had essentially taken the same path as them in designing something before becoming aware of their product, so I decided to share my design with everyone now! This setup has a very low parts count: two E3D V5 style heatsinks (one for remote and one for direct feed), one Hot End Block, one All Metal throat without PTFE lining, one Heater Cartridge, and one Thermocouple. The optional components are a PID Temperature Controller and a Power Supply, which can be either 12 or 24 volts depending on the heater temperature. I've been running these setups as second extruders on my Makerbots, all you need to do is connect the heater and thermocouple to the second extruder output. If you use Simplify3D, you can set it to heat the second extruder at the start of a print for the drying temperature that you want, and it will shut off when the print is done. If you don't use Simplify3D or prefer separate control, you can simply use a cheap PID controller from eBay. Be aware that the PID controller and heater must be the same voltage; most cheap PID controllers are 24v units, some even come with a thermocouple, so all you need is a standard 24v 40w 3D printer heater cartridge. The only modification needed to the parts is to cut two slots on the output side heatsink. In my setup, the output side has a 1/4" push fitting for the Makerbot filament feed tube to connect to; the input side is just a normal V5 heatsink designed for direct feed of the filament coming off the spool. If you wanted to put it inline somewhere else depending on your printer, you can use two remote heatsinks and add a tube fitting on each end. The slots are cut as shown in the picture so they go roughly a third of the way into the heatsink; it's not super critical, you're just making air slots for the hot air/moisture to escape from the output side as the filament feeds through. I used a sawzall and then a needle file to clean up the slots and a 6mm tap to clean out the inside to make sure there were no burrs of aluminum sticking inward.
With this file you will be able to print Filament Dryer with your 3D printer. Click on the button and save the file on your computer to work, edit or customize your design. You can also find more 3D designs for printers on Filament Dryer.