Filament Dry Box Bracket for RepWinder
prusaprinters
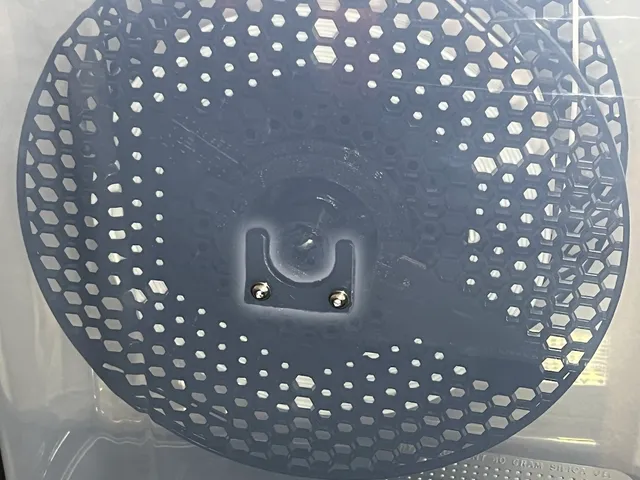
A bracket for using Repkord's RepWinder spool rewinder in a DIY filament dry box made from a breakfast cereal storage container.The bracket has been designed specifically for use with the cereal containers linked above, however .f3d and .step files are available for those who would like to adapt the bracket to a different container.I have included a printable drill guide to aid in centering the brackets in the container I used (probably won't work without adjustments for different containers).I designed this for use with my Prusa MINI+, however it's a bracket for a single spool dry box, so it can be used with any printer. Hardware for Assembly:2x bracket.4x M3x8mm screws (M3x10mm screws will also work and may be required if your box has thick walls).4x M3nS square nuts.(Optional) 4x M3 washers.1x M5 PTFE tube fitting (I used these because I had them on hand, but something with a longer thread would probably work better as I had to countersink one side of the hole for the fitting in order to get the nut to grab).1x M5n nut.Approx. 50cm 4mm OD/2mm ID PTFE tubing.(Optional) 1x hygrometer.Some of your favorite desiccant.Note: M4-M6 PTFE tube fittings will also work; adjust accordingly (drill size, nut, etc.). Print Recommendations:PETG is recommended, but other materials will work just fine.0.6mm nozzle at 0.3mm layer height preferred; 0.2mm layer height if using a 0.4mm nozzle.Print “standing up” with square nut holes facing the print bed and the “U” notch facing up.3 perimeters.1.2mm top/bottom thickness.15% infill. Assembly:Insert 2x M3nS square nuts in each bracket. Make sure they are fully seated and align with the screw hole. Use one of the brackets or the drill template to mark the location of the holes for the bracket. (I placed the container on a ruler and used the molding mark at the bottom of the container to center it on the ruler on the X-axis. I then used the drill template, which centers the holes on the Z-axis on this particular container, to mark my hole locations.) Use a 3.3mm or 1/8" drill bit to drill holes for the brackets at the marked locations.Install each bracket with two M3x8mm screws and two M3 washers. Leave the bracket screws slightly loose on both brackets. Place a RepWinder on the brackets to align them, then tighten the screws. Decide where you want your filament to exit the container, then mark and drill a hole for the fitting with an appropriately sized bit. Install the fitting with a nut. (I used the center of the dispenser lid in the container lid for my build.)Decide where you will have the dry box while the printer is printing, then cut a length of PTFE tubing to guide the filament from the dry box to the printer. If you are using a hygrometer, decide on its location and drill or cut the hole for it. Use some sealant around the interior perimeter of the hygrometer to reduce the permeability of the dry box if you wish.Place your preferred desiccant in the bottom of the dry box, load a RepWinder-equipped spool, and get to printing with that nice and dry filament!
With this file you will be able to print Filament Dry Box Bracket for RepWinder with your 3D printer. Click on the button and save the file on your computer to work, edit or customize your design. You can also find more 3D designs for printers on Filament Dry Box Bracket for RepWinder.
