FF creator pro door magnet support
thingiverse
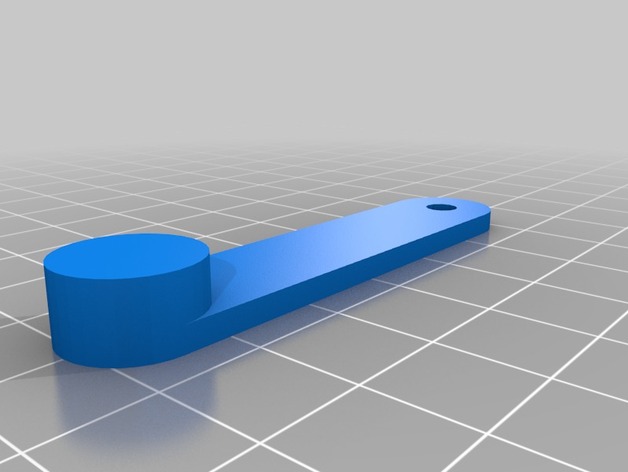
Simple support for a 8x8x4 mm magnet attaches to existing chassis screws on left and right hand sides by gluing a similar magnet onto the plexi door itself. The updated design simplifies the object, allowing the magnet to sit farther from the door. This thing was made with Tinkercad. Print Settings: Printer: FlashForge Creator Pro Rafts: Yes Supports: Yes Resolution: 0.2mm or better Notes: You might want to use supports for the holes (I did). If you use rafts, make sure they are not too close to the object. This is pretty thin, so do not damage it while removing the rafts. Post-Printing: Adapt the object on the static nut inside the machine. You should have 2 mms of the bolt sticking out. That is enough to use a spare nut to tighten the object. Stick the magnet into place and test with the other magnet for the door. Decide how deep you need to push the first magnet into its hole. Mark where you need to put the magnet on the door, and glue it using loctite. One small drop is way too much as both surfaces are flat, so use a very small quantity. Check if you need to glue the other magnet in the hole. In my case it was not necessary (I just forcefully pushed it). Repeat for the other side if you see fit (I did it because my printer's door was not really aligned with machine's chassis).
With this file you will be able to print FF creator pro door magnet support with your 3D printer. Click on the button and save the file on your computer to work, edit or customize your design. You can also find more 3D designs for printers on FF creator pro door magnet support.