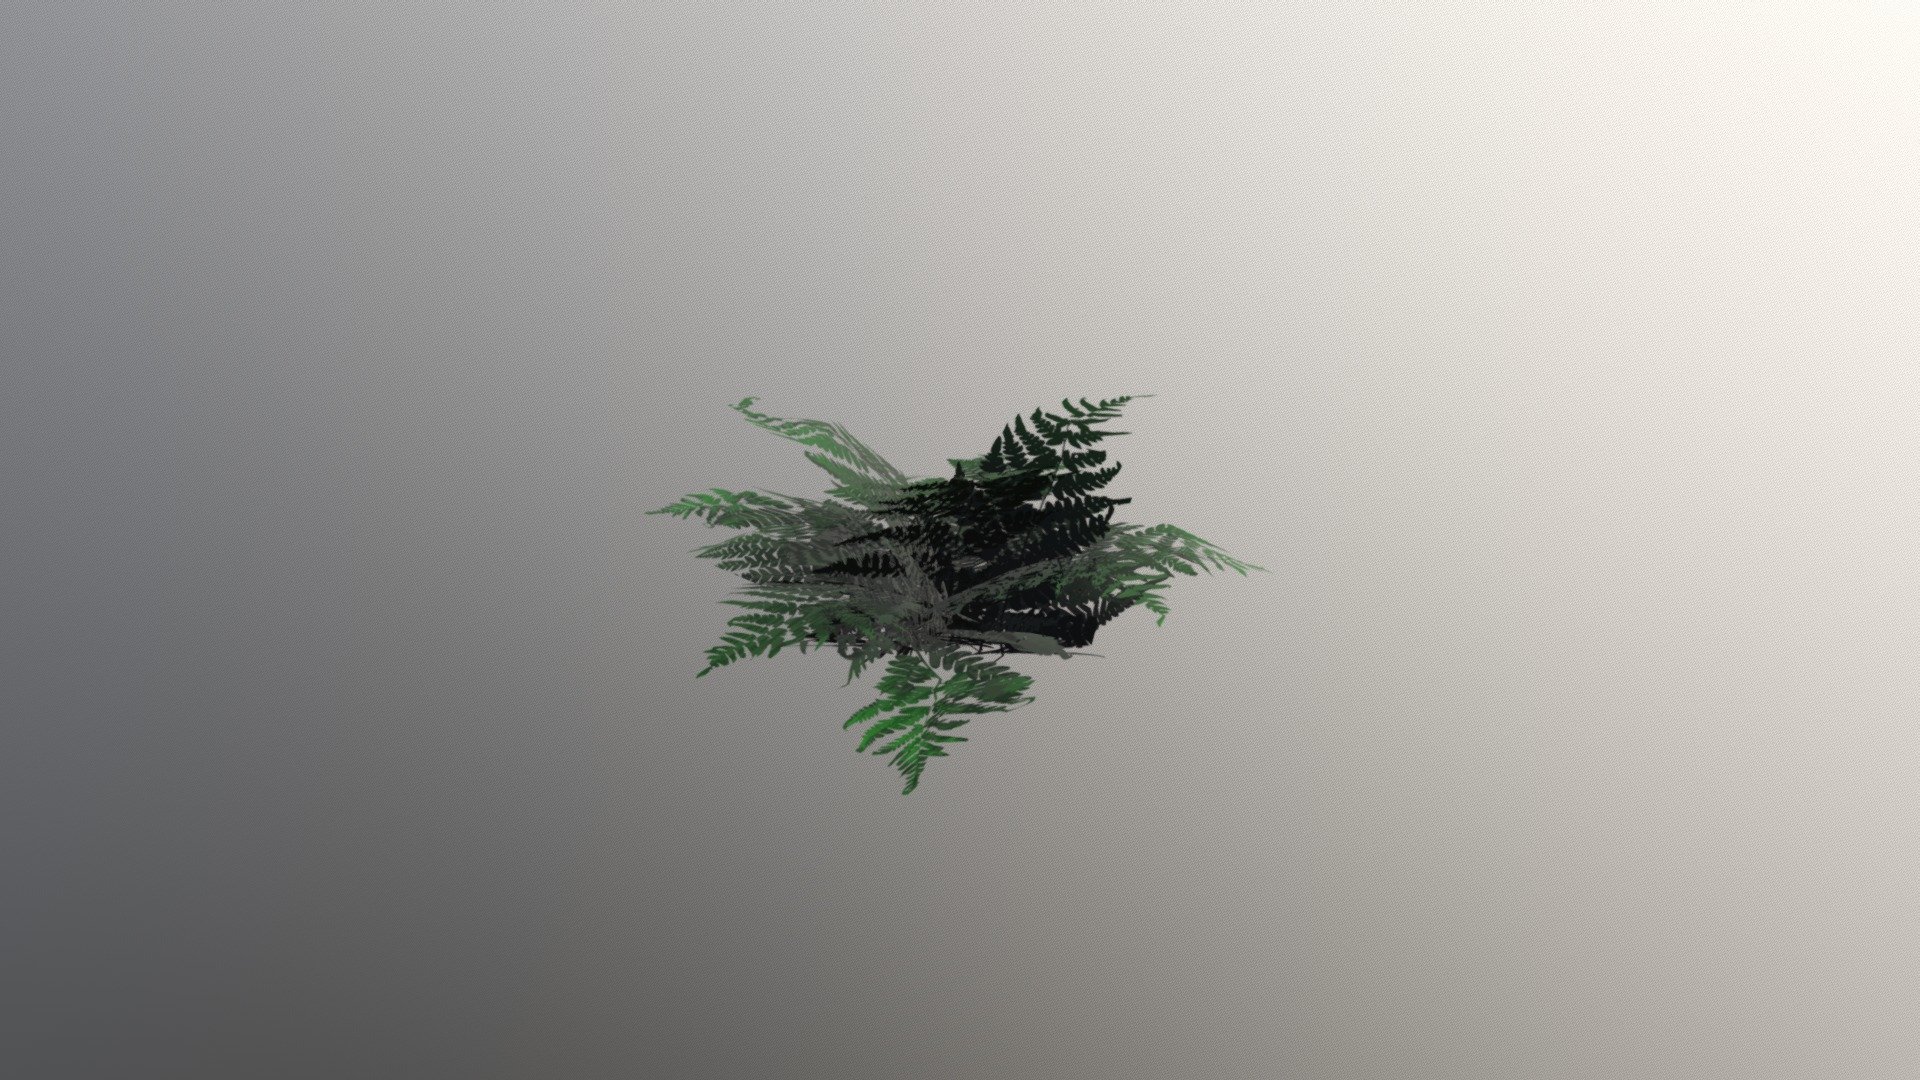
Fern
sketchfab
Creating a Stunning Fern Model using 3DS Max and Megascans for Unreal Engine 4 To craft an incredibly realistic fern model, start by launching 3DS Max and navigating to the "Create" tab. From there, select "Mesh" and choose "Polygons" as the mesh type. Name your new object "Fern" and set its scale to 1 meter. Next, switch to the "Modify" tab and click on the "Loop Cut" tool. Use this to create a series of loop cuts around the base of the fern, where it meets the stem. This will help define the shape of the leaves. Now, select all the vertices at the base of the fern and use the "Extrude" tool to give them some depth. This will allow you to see how the leaves will be attached to the stem. After extruding the base vertices, select all the edges surrounding the loop cuts and use the "Subdivide" tool to add more detail. This will help create a more realistic shape for your fern. With the fern's base now defined, it's time to move on to creating the leaves themselves. Start by selecting all the edges of the fern and using the "Loft" tool to create a series of curved surfaces that follow the shape of the stem. Once you have created these curved surfaces, use the "Subdivide" tool again to add more detail and definition to each leaf. This will help create a more realistic look for your fern model. Now that you have defined the shape of your fern leaves, it's time to add some texture and color using Megascans. Select all the objects in your scene and click on the "Materials" tab. From there, select "Megascans" as the material type and choose a pre-made fern texture from their library. With your fern now textured and colored, you can move on to adding it to Unreal Engine 4. Start by selecting your fern object and clicking on the "Export" button in 3DS Max. This will export your fern model into an FBX file that can be used in Unreal Engine. Once exported, navigate to Unreal Engine 4 and select "Import" from the main menu. Choose the FBX file you just created and click "Open". Your fern model should now appear in the scene, where you can manipulate it as needed. Finally, use Megascans to add some final touches to your fern model. Select all the objects in your scene and click on the "Materials" tab again. From there, select "Megascans" as the material type and choose a pre-made fern texture from their library. This will help give your fern a more realistic look and feel. With these steps complete, you should now have a stunning fern model that is ready to be used in any project requiring realistic foliage.
With this file you will be able to print Fern with your 3D printer. Click on the button and save the file on your computer to work, edit or customize your design. You can also find more 3D designs for printers on Fern.
