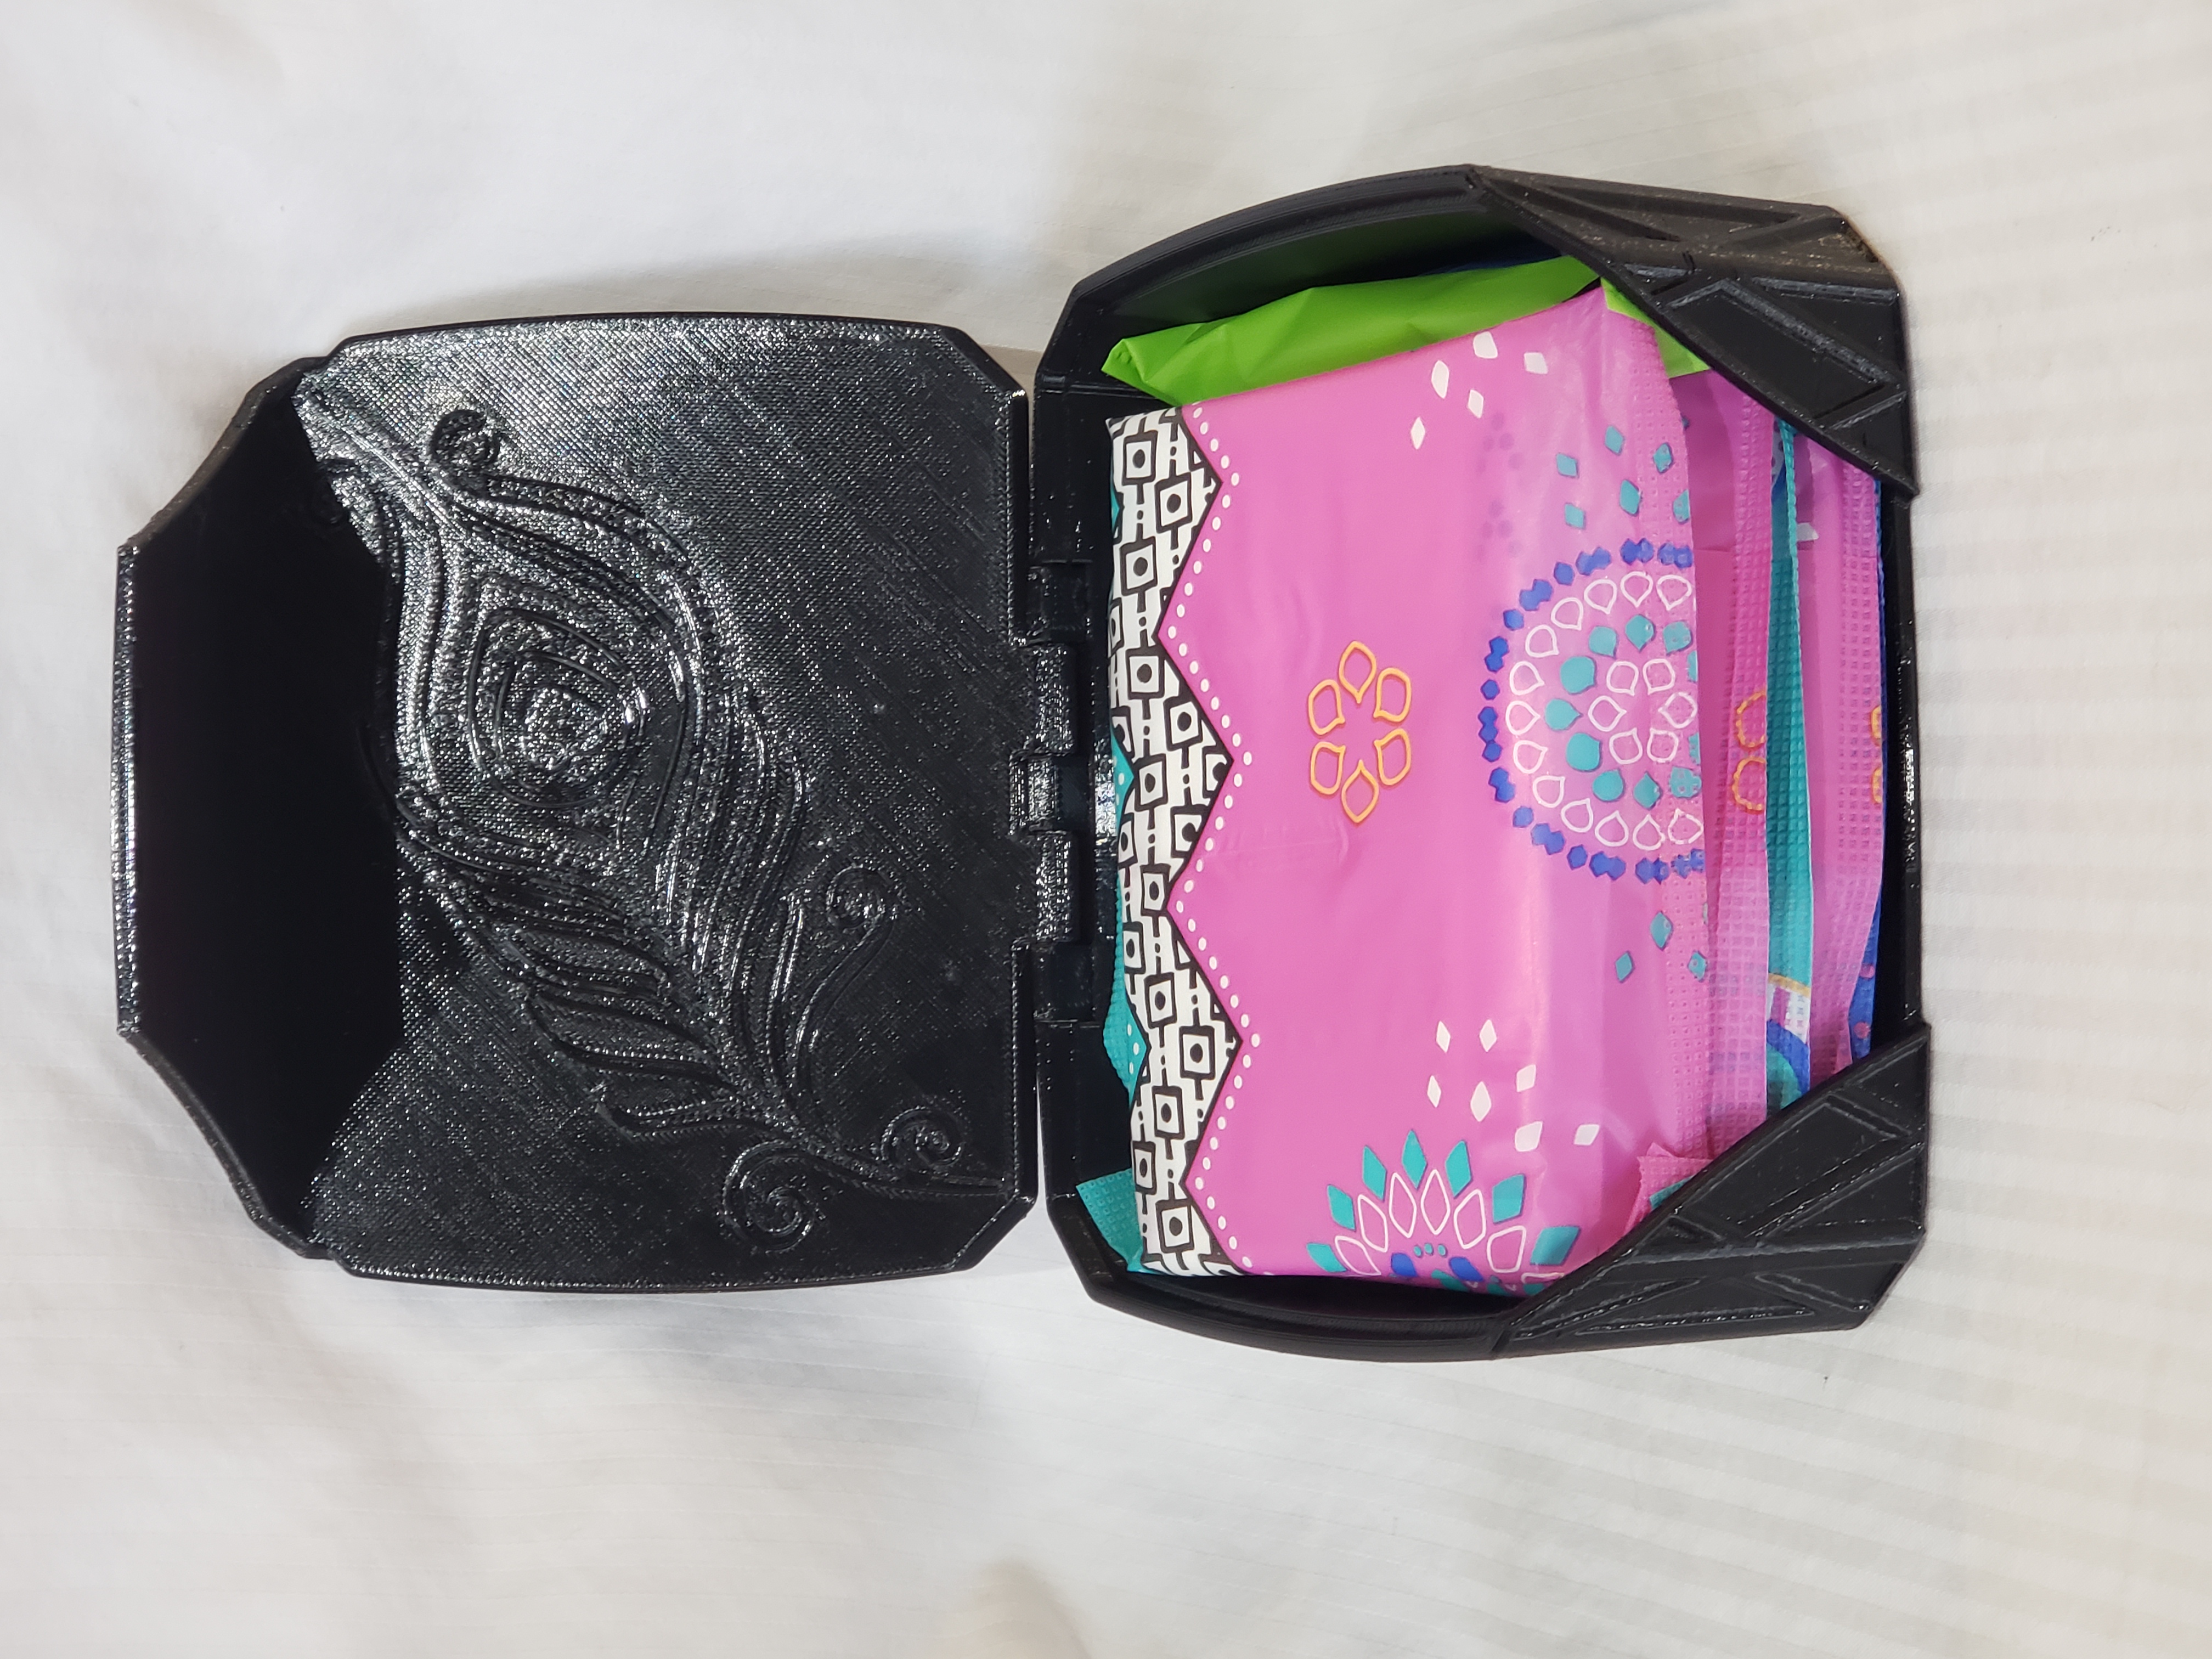
Feminine Products Case
prusaprinters
<p>This box includes a plastic 3mm x 60mm pin, which can be easily replaced with a stainless steel pin if desired.</p><p>Build Instructions:</p><figure class="image image-style-align-center image_resized" style="width:50%;"><img src="https://media.prusaprinters.org/media/prints/77968/rich_content/0b1a6bd2-096f-4b29-a092-65c5caed5617/step-1.jpg#%7B%22uuid%22%3A%22d5d22fc3-39f0-4d25-b407-695a39125a6b%22%2C%22w%22%3A4032%2C%22h%22%3A3024%7D"></figure><p>Use a 3mm drill to clear all the printed holes.</p><figure class="image image-style-align-center image_resized" style="width:43.92%;"><img src="https://media.prusaprinters.org/media/prints/77968/rich_content/2dd0b746-a0e2-46d8-8b98-0a76fd4327b2/step-2a.jpg#%7B%22uuid%22%3A%22536a45e8-bc85-4bd8-80eb-402d04070c82%22%2C%22w%22%3A4032%2C%22h%22%3A3024%7D"></figure><figure class="image image-style-align-center image_resized" style="width:44.37%;"><img src="https://media.prusaprinters.org/media/prints/77968/rich_content/e0f904cb-d1ab-4e92-bde4-44850e524280/step-2b.jpg#%7B%22uuid%22%3A%2252472e6c-47bf-446a-8f10-c5adf4d929bd%22%2C%22w%22%3A4032%2C%22h%22%3A3024%7D"></figure><p>Take note that not all clips are the same. The center clip is the tallest (top picture). The right clip reduces from tall to short from left to right (bottom picture). The left clip rises from short to tall from left to right (bottom picture).</p><figure class="image image-style-align-center image_resized" style="width:50%;"><img src="https://media.prusaprinters.org/media/prints/77968/rich_content/ec997e33-961c-4612-9e22-db8287d452b3/step-3.jpg#%7B%22uuid%22%3A%228c4042b8-71f5-499c-af00-bbdb902da742%22%2C%22w%22%3A4032%2C%22h%22%3A3024%7D"></figure><p>Set all the clips as seen above. The textured surface is the top of the lid. The tallest part of the clips will face the middle.</p><figure class="image image-style-align-center image_resized" style="width:50%;"><img src="https://media.prusaprinters.org/media/prints/77968/rich_content/a22e5383-f185-49f8-8121-507028f39a0c/step-4.jpg#%7B%22uuid%22%3A%22c546c1e3-92b4-42de-ac7c-f24ae17cf033%22%2C%22w%22%3A4032%2C%22h%22%3A3024%7D"></figure><p>Take both halves of the plastic pin and hold them together to complete the round pin. </p><figure class="image image_resized" style="width:50%;"><img src="https://media.prusaprinters.org/media/prints/77968/rich_content/8482de36-b8a5-44bb-81f9-4dcb8d11bafe/step-5.jpg#%7B%22uuid%22%3A%2227cc0ea2-86fe-42c5-b851-0f001b1bb8de%22%2C%22w%22%3A4032%2C%22h%22%3A3024%7D"></figure><figure class="image image_resized" style="width:50%;"><img src="https://media.prusaprinters.org/media/prints/77968/rich_content/ee14a5e5-211e-4d09-ae32-190a2f830d00/step-6.jpg#%7B%22uuid%22%3A%22124bfde6-53f3-4ab0-afd8-eb6cb41bc42d%22%2C%22w%22%3A4032%2C%22h%22%3A3024%7D"></figure><p>Insert the pin into the clips and lid (top picture) until the pin sits flat on both ends (bottom picture).</p><figure class="image image_resized" style="width:50%;"><img src="https://media.prusaprinters.org/media/prints/77968/rich_content/aa2966d5-cbbf-430c-b291-77f823ae187f/step-7.jpg#%7B%22uuid%22%3A%22e61dd413-1584-4c5c-a0b0-e0f66094913c%22%2C%22w%22%3A4032%2C%22h%22%3A3024%7D"></figure><p>Align and insert the clips into the case body until the clips click into place. It may take a little pressure to press the clips down into place. Take note that once the clips are inserted there is <strong>no way to remove the pins!</strong></p><figure class="image image_resized image-style-align-center" style="width:50%;"><img src="https://media.prusaprinters.org/media/prints/77968/rich_content/6c8678e0-e3bc-45b9-ba03-4bc1aeb6f9f6/step-8.jpg#%7B%22uuid%22%3A%2200b62d4c-effa-4289-a66c-842bed15353f%22%2C%22w%22%3A3024%2C%22h%22%3A4032%7D"></figure><p>Build is complete.</p>
With this file you will be able to print Feminine Products Case with your 3D printer. Click on the button and save the file on your computer to work, edit or customize your design. You can also find more 3D designs for printers on Feminine Products Case.