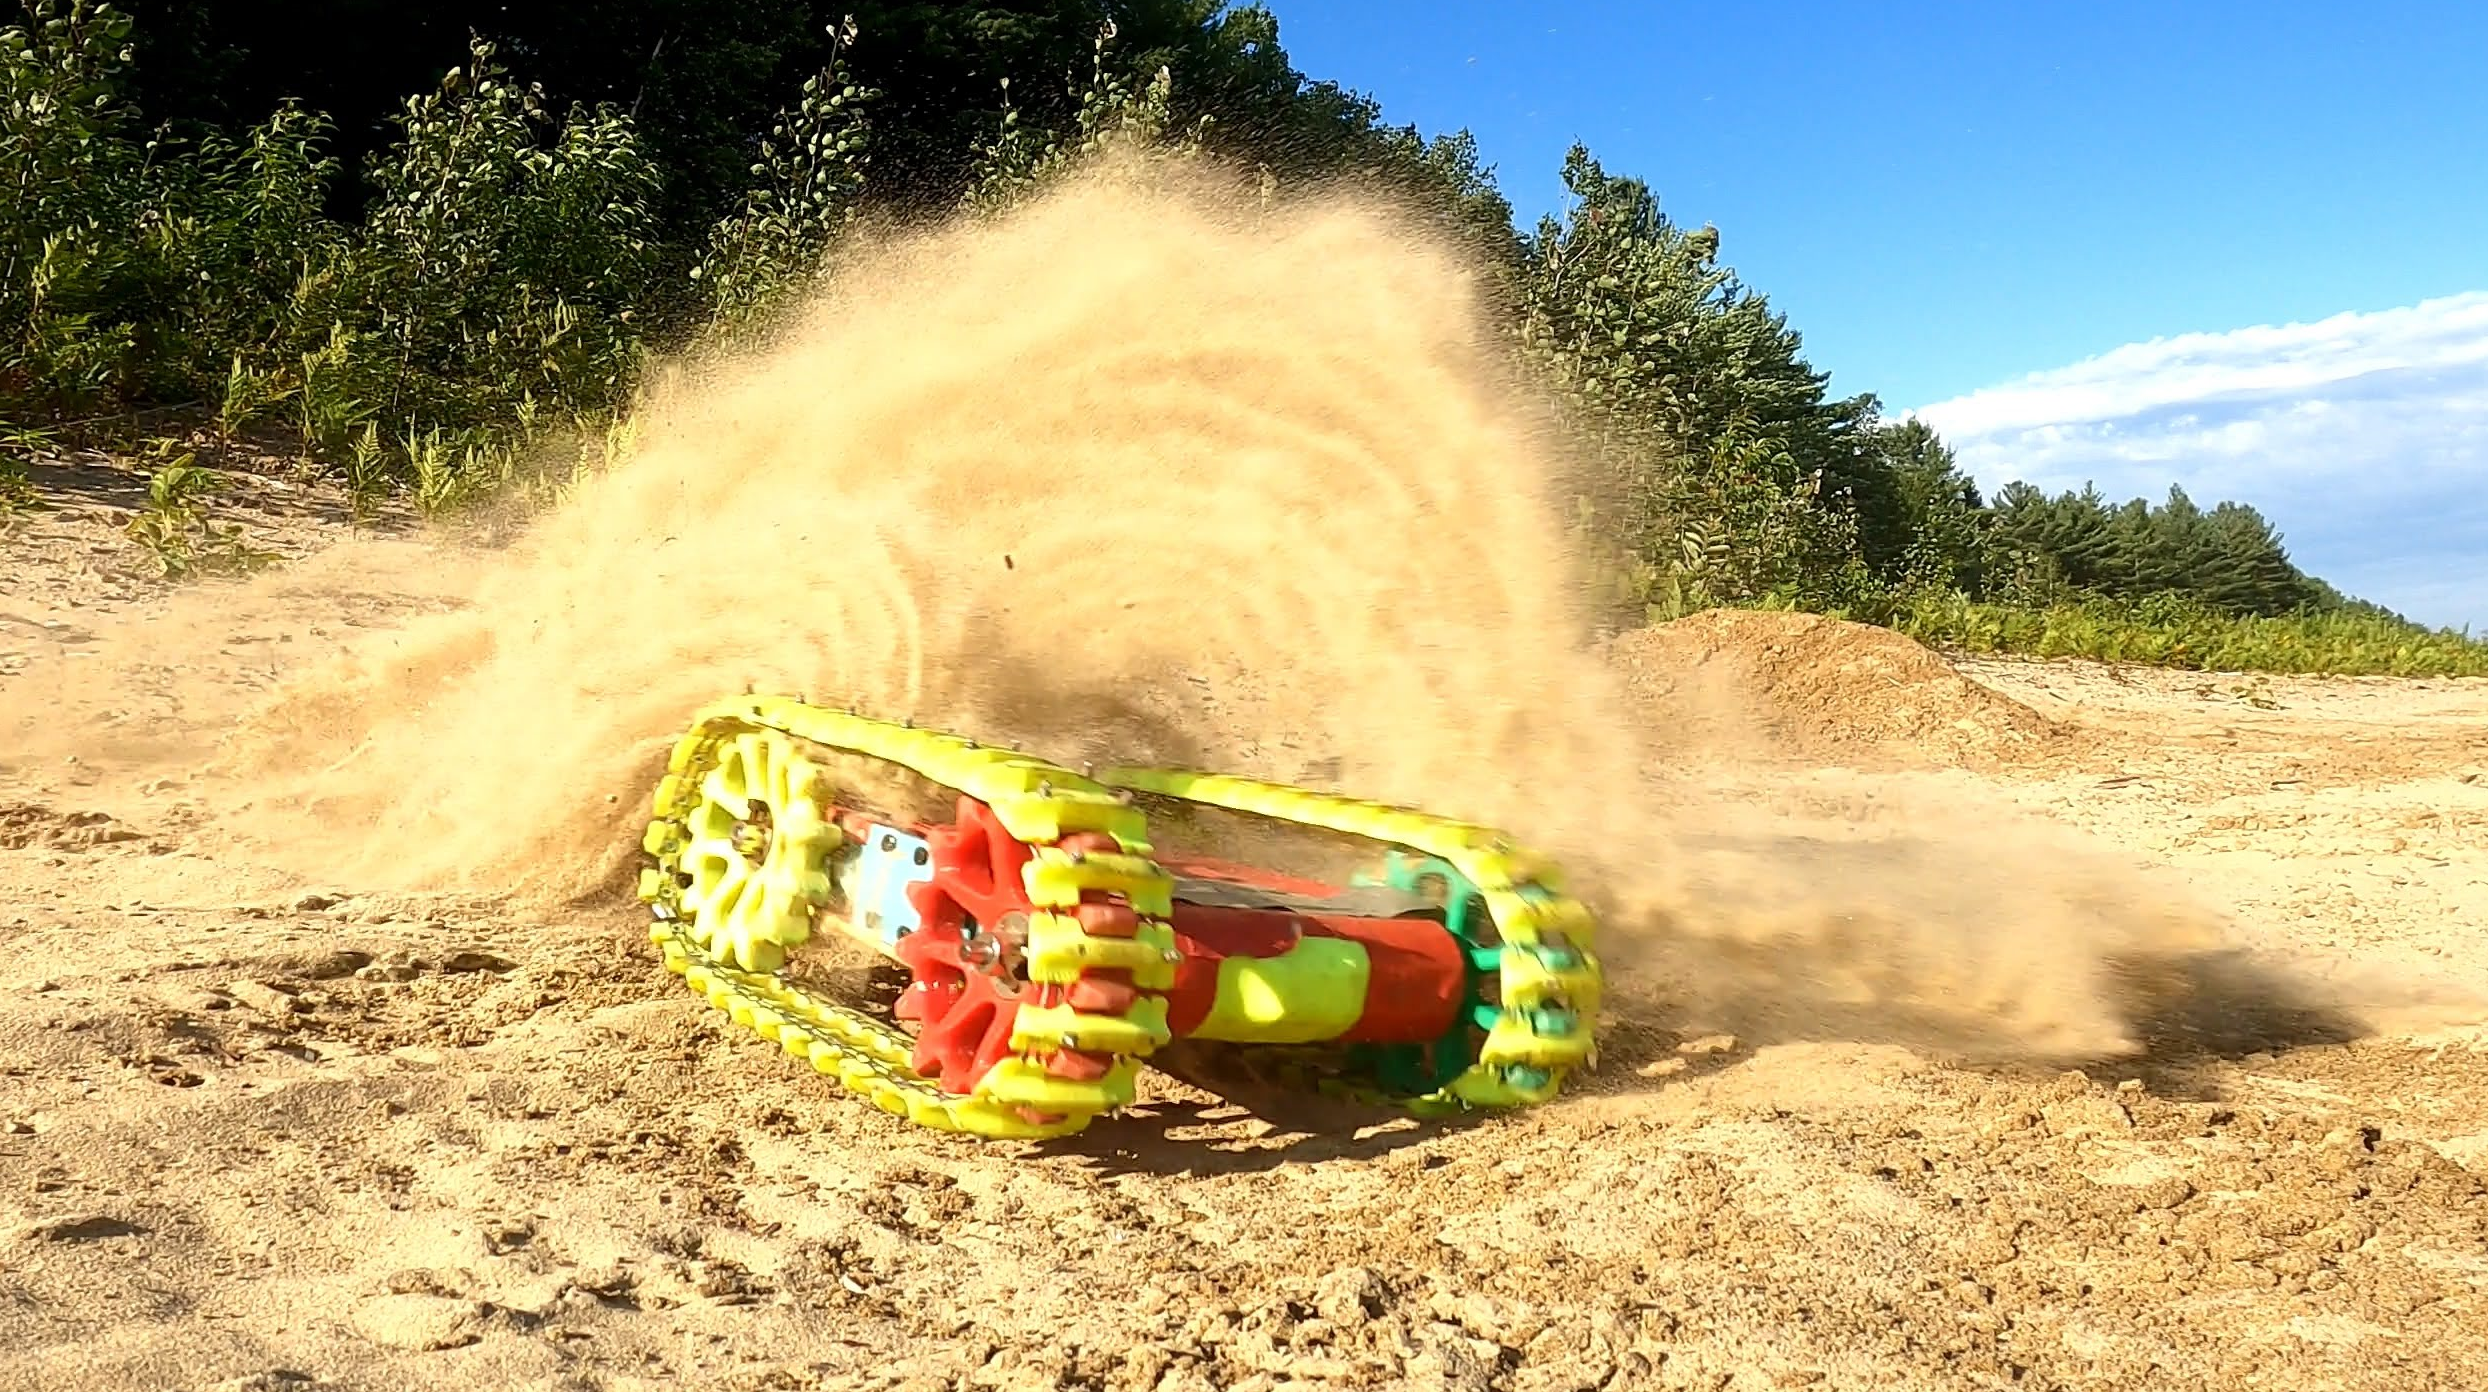
Fast Rc Tank
prusaprinters
<p>Demo and design process: <a href="https://youtu.be/OYxdLfMX5yY">https://youtu.be/OYxdLfMX5yY</a></p><figure class="media"><oembed url="https://youtu.be/OYxdLfMX5yY"></oembed></figure><p><strong>Updated summer version:</strong></p><figure class="media"><oembed url="https://youtu.be/IU3rbzvLTOE"></oembed></figure><figure class="media"><oembed url="https://youtu.be/7fEnXuf5JIQ"></oembed></figure><p>Hi, the main goal of this project is to create a fast and fun to drive tank.</p><p>This is not a beginner's project. You need to know how to mix and wire the motor and esc already. The mechanical assembly is not so complicated.<br>I don't have an assembly tutorial for this project now, but I've put some pictures of the robot disassembled to help understand how it's built.</p><p>If you have any questions about the project or the assembly process, feel free to ask them in the comments section.<br>Enjoy</p><p><strong>Parts and quantity to print:</strong></p><ul><li>64x track_link_summer-v4</li><li>1x jig summer track</li><li>4x drive_cog-v2</li><li>2x side_full-solid-76mm</li><li>4x supp bearing-ext-v13</li><li>2x supp GB and bearing-v10</li><li>2x supp moteur n bearing-v8</li><li>2x top_plate-enclose-7_5in</li><li>2x bumper</li><li>2x helical gear_3_23t_out-v2</li><li>2x helical gear_3_inp-no_core</li></ul><p>Optional: </p><ul><li>The snow track<ul><li>64x track_link-v7</li><li>128x track_plate-v2</li><li>1x Jig_for_assembly_v4</li></ul></li><li>longer side piece (to make the track tighter)<ul><li>2x side_full-solid-78mm</li></ul></li><li>Compliant wheel ( Print in TPU)<ul><li>4x drive-cog_compliant</li></ul></li></ul><p><strong>Link for parts:</strong><br>( I put amazon link of product that have the same spec that the one I use in this project. You can probably find some of those part somewhere else for cheaper and in the right quantities for the project)</p><ul><li>1x stainless steel wire 1/16in and crimp– <a href="https://www.amazon.ca/dp/B08GFCJHG6/ref=cm_sw_em_r_mt_dp_RM6GX2TDMZGTT4N7A5DA?_encoding=UTF8&psc=1">amazon</a></li><li>2x motor and ESC (540 - 36mm diameter - max length 50mm – 4300KV) – <a href="https://a.co/d/foPd0q5">amazon </a></li><li>2x Planetary Gearbox (D90 17:1) – <a href="https://www.amazon.ca/dp/B07N84SW3X/ref=cm_sw_em_r_mt_dp_4ZASBN0QA3VR1N5BBGS9?_encoding=UTF8&psc=1">amazon</a> <a href="https://fr.aliexpress.com/item/4000198905204.html?spm=a2g0o.productlist.0.0.52cf786fi8IvZA&algo_pvid=d1d3148a-4942-41cc-975a-0c665d1ab0ea&algo_exp_id=d1d3148a-4942-41cc-975a-0c665d1ab0ea-3&pdp_ext_f=%7B%22sku_id%22%3A%2210000000757229003%22%7D&pdp_npi=2%40dis%21CAD%2143.5%2130.44%21%21%213.5%21%21%402103250d16649133542844030ea1a6%2110000000757229003%21sea&curPageLogUid=BV1o3BNTRkZD">aliexpress</a></li><li>4x headless set screw m3 12mm - <a href="https://a.co/d/dzLORGY">amazon</a></li><li>8x Bearing (6200-2RS) – <a href="https://www.amazon.ca/dp/B00EPNN62M/ref=cm_sw_em_r_mt_dp_CM98ZCJSXSQ3JAWKFB9V?_encoding=UTF8&psc=1">amazon </a></li><li>1x 8mm shaft (need to be cut to size (4x 70mm)) – <a href="https://www.amazon.ca/dp/B08XYSD8SR/ref=cm_sw_em_r_mt_dp_J4521SDBG6R6D8EZMF9F?_encoding=UTF8&psc=1">amazon</a> </li><li>6x 8mm hub – <a href="https://www.amazon.ca/dp/B08335MYGW/ref=cm_sw_em_r_mt_dp_XHEN4G07ZD3A4TPCWR50">amazon</a> </li><li>2x 8mm bore gt2 puley - <a href="https://a.co/d/0MSTzpl">amazon</a></li><li>1x Battery(2s or 3s) – <a href=" https://www.amazon.ca/dp/B08CHJ9G3M/ref=cm_sw_em_r_mt_dp_27VVFJ8Z9CHNKYSKDD5S?_encoding=UTF8&psc=1">amazon </a></li><li>1x Rc controller and reciver (chose the one you like. I use radiolink T8S) – <a href="https://www.amazon.ca/dp/B09BTSJN7P/ref=cm_sw_em_r_mt_dp_TN72MN8JE9W21BDVKRCJ?_encoding=UTF8&psc=1">amazon</a> </li><li>64x #6 screw 0.5in length (to assemble the track)</li><li>16x #6 screw 1.5in length (To assembled the drive pod)</li><li>28x #6 screw 0.75in length (To assembled the top plate and bumper)</li><li>36x M5 screw 10mm length (To fix the gear and the wheel on the hub)</li><li>16x button head m3 screw 10mm length (To fix the gearbox)</li><li>Xx Wire and connector to plug 2 esc in one battery</li></ul><p><strong>Tool:</strong></p><ul><li>M5 tap (and a 4mm drill bit)</li><li>M4 tap (and a 3mm drill bit)</li><li>A drill (optional, but its faster then drilling and screwing by hand)</li><li>Metric allen key set</li><li>Square head screwdriver</li><li>Metal file</li><li>Saw with a metal cutting blade</li><li>Plier (to cut the steel wire and crimp)</li></ul><p> </p><p><strong>Frame assembly:</strong></p><figure class="image"><img src="https://media.printables.com/media/prints/164289/rich_content/1ea0d6d4-2e34-4105-97e3-f77f83db423f/20221003_161648.jpg#%7B%22uuid%22%3A%221fd67505-463e-4a47-b205-f03b9148d40f%22%2C%22w%22%3A4032%2C%22h%22%3A2268%7D"></figure><p> </p><p><strong>Track assembly:</strong></p><p>Use the jig and keep the steel wire thight when you screw to make sure all the link have a precise spacing.</p><figure class="image"><img src="https://media.printables.com/media/prints/164289/rich_content/c30831b4-302b-4658-91d4-2dace423f2a1/20220901_132912.jpg#%7B%22uuid%22%3A%2269ace54a-7ad1-4de6-963a-c1242715bcb5%22%2C%22w%22%3A4032%2C%22h%22%3A2268%7D"></figure><p> </p><p><strong>Track Junction:</strong></p><p>You need to cut 4 of the link to make space for the crimp as see in the next picture.</p><p><img src="https://media.printables.com/media/prints/164289/rich_content/ed958a55-7b02-4da6-8961-b349eacfca6f/20221106_102623.jpg#%7B%22uuid%22%3A%22469cc193-48c8-40c4-a661-ab0d64b730cc%22%2C%22w%22%3A4032%2C%22h%22%3A2268%7D"></p><p>Use the assembly jig to make sure that the link close to the junction have the same pitch as all the other link. Wen i make the junction i keep a good extra length of steel wire to held everything in place will i crimp. I then cut the extra length of cable close to the crimp. (This step can be hard, i will try to get rid of the crimp with some special junction link in the next upgrade)</p><figure class="image"><img src="https://media.printables.com/media/prints/164289/rich_content/32e902be-eca0-4a90-84e9-751d515933f3/20221106_102542.jpg#%7B%22uuid%22%3A%22045a5dc3-ca0d-4541-9a27-b186613a442d%22%2C%22w%22%3A4032%2C%22h%22%3A2268%7D"></figure><p> </p><p><strong>Gear and drive pod assembly:</strong></p><p>To avoid the hub comming loose, I oversized an tapped the set screw hole to m4 and I used m4 flat tip stainles steel set screw and some lock tight. I also use a metal file to make a flat spot where the tip of the set screw touche the shaft. </p><p>The four(4) screw clearence hole in the hub also need to be drill and tap to M5 tread.</p><p>Then, fix the hub to the shaft.</p><p><img class="image_resized" style="width:96.71%;" src="https://media.printables.com/media/prints/164289/rich_content/2b303054-8ecc-4261-aa74-0d87927382ca/20221106_102912.jpg#%7B%22uuid%22%3A%227d1ef98c-9f75-43f7-a610-bb4845c924f1%22%2C%22w%22%3A4032%2C%22h%22%3A2268%7D"><strong> </strong></p><p>Fix the big gear to the hub. Then, slide the shaft ofthe big gear in the bearing and the small gear on the gearbox shaft at the same time.</p><p>****The big yellow gear become the big black gear the next picture****</p><p><img class="image_resized" style="width:47.97%;" src="https://media.printables.com/media/prints/164289/rich_content/d006c98f-cf6e-4587-b141-2b31edb62a76/20221106_103039.jpg#%7B%22uuid%22%3A%2280690500-2980-4b06-8278-dba5c07056fe%22%2C%22w%22%3A4032%2C%22h%22%3A2268%7D"> <img class="image_resized" style="width:47.73%;" src="https://media.printables.com/media/prints/164289/rich_content/292210cb-2c7d-404b-a99e-efde77530148/20221003_161752.jpg#%7B%22uuid%22%3A%22e0a11181-f41a-4efa-8c9f-588f793db736%22%2C%22w%22%3A4032%2C%22h%22%3A2268%7D"></p><p>More picture on how to fix the small gear to the gearbox shaft using the headless screw.</p><p>**** The small yellow gear become the small green gear in the next picture****</p><figure class="image image-style-align-left image_resized" style="width:41.98%;"><img src="https://media.printables.com/media/prints/164289/rich_content/e200c18a-d5d7-4039-ae76-c1dcd447a2d2/20221003_161927.jpg#%7B%22uuid%22%3A%22287ea3b7-d741-4fbe-b492-75e5d43b5691%22%2C%22w%22%3A2268%2C%22h%22%3A4032%7D"></figure><figure class="image image-style-align-left image_resized" style="width:40.89%;"><img src="https://media.printables.com/media/prints/164289/rich_content/5eb44fff-ad83-4e67-87d1-a220c138b5d7/20221003_161937.jpg#%7B%22uuid%22%3A%225ea15afa-c102-4f38-8887-81ab413a85f5%22%2C%22w%22%3A2268%2C%22h%22%3A4032%7D"></figure><p> </p><p> </p><p> </p><p> </p><p> </p><p> </p><p> </p><p> </p><p> </p><p> </p><p> </p><p> </p><p> </p><p> </p><p> </p><p>The drive pod assembly should end up looking like this.</p><figure class="image"><img src="https://media.printables.com/media/prints/164289/rich_content/fae56850-8187-41ac-a9bf-8d48495eef54/20221003_161735.jpg#%7B%22uuid%22%3A%228cee601d-ce56-40d8-9daa-7394f4282752%22%2C%22w%22%3A4032%2C%22h%22%3A2268%7D"></figure><p> </p><p><strong>Wheel hub modification:</strong></p><p>To avoid the hub comming loose, I oversized an tapped the set screw hole to m5 and I used m5 socket head screw and some lock tight. I also use a metal file to make a flat spot on the shaft where the tip of the screw will touch.</p><p>The four(4) screw clearence hole in the hub also need to be drill and tap to M5 tread.</p><figure class="image image-style-align-left image_resized" style="width:47.25%;"><img src="https://media.printables.com/media/prints/164289/rich_content/e56bcea3-712c-49b1-b9c3-a4a334bd64ab/20221106_113542.jpg#%7B%22uuid%22%3A%22aaa85dee-61b7-4a62-92d1-0a151f00dca8%22%2C%22w%22%3A2268%2C%22h%22%3A4032%7D"></figure><figure class="image image-style-align-right image_resized" style="width:45.65%;"><img src="https://media.printables.com/media/prints/164289/rich_content/0c18628b-b40b-4b3a-85f9-fac91cc2ef72/20221106_113548.jpg#%7B%22uuid%22%3A%22ce2a7d87-4212-4897-99be-94365fd641f0%22%2C%22w%22%3A2268%2C%22h%22%3A4032%7D"></figure><p> </p><p>Wheel assembly with the hub.</p><figure class="image image_resized" style="width:100%;"><img src="https://media.printables.com/media/prints/164289/rich_content/b1e725a4-d6a1-46f5-89d8-9672f46b5077/20221106_102718.jpg#%7B%22uuid%22%3A%223caeefbe-d57c-4798-a14d-4ce05c045175%22%2C%22w%22%3A4032%2C%22h%22%3A2268%7D"></figure><p> </p><p><strong>If you have any question or need precision on some assembly step, feel free to to ask in the comment section. It help me to know where i should improve the assembly instruction.</strong></p><p> </p>
With this file you will be able to print Fast Rc Tank with your 3D printer. Click on the button and save the file on your computer to work, edit or customize your design. You can also find more 3D designs for printers on Fast Rc Tank.
