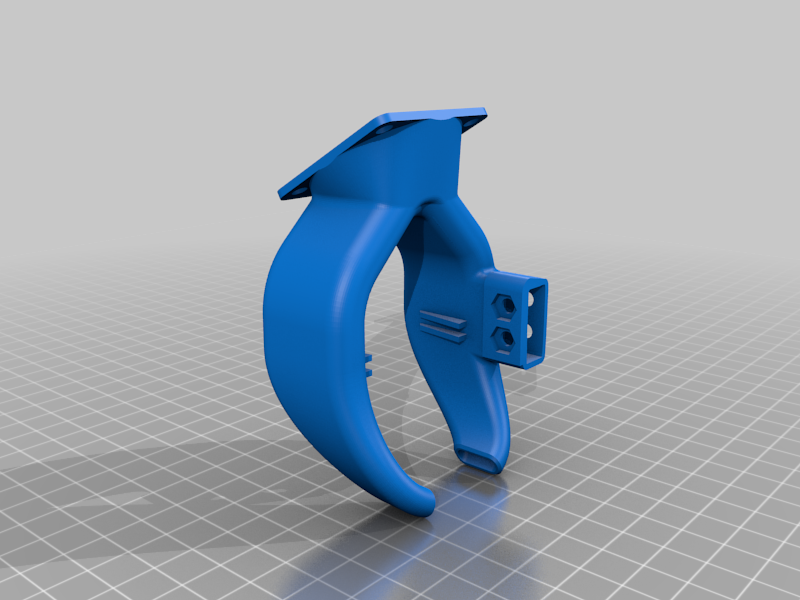
FANG Duct with Center mounting BLTouch for Aquila and Ender 3 V2 and 3 Pro
thingiverse
UPDATE: Make sure you press the BLTouch mount down when you tighten the 4 screws holding the fan. I took a flathead and wedged it between the top fan mounting square area of the FANG. This will ensure the BLT probe is all the way down. I have given some space due to different printing technics. However if by some chance your Z wants to drive into your build plate it's because the BLTouch Mount is not mounted correctly and all the way down. EDIT... The BLTouch mount somehow got deleted from the first post so make sure you have the "BLTouch_Mount_JB_V8.stl" file also. FANG Duct with Center mounting BLTouch for Aquila and Ender 3 V2 and 3 Pro This was an experiment that turned out well. I have placed the BLTouch in front of the Extruder in the center. This allows for the entire build plate to be probed. I have included a video showing the extents and how far the limits should be set. I have also included pictures with the BLTouch offsets. This works really well and does not effect the cooling of the Extruder at all. I have been using this design on 2 machines for a couple of months and it works fabulous. If you have special needs of find design flaws feels free to contact me. Forgot to add that I used inserts for the mounting points I pressed 1 into the Fang to hold the Fan Shroud and I used 4 in the Fan Shroud to hold the Fan/BLTouch stuff. https://youtu.be/ygol-UwtfkU JB
With this file you will be able to print FANG Duct with Center mounting BLTouch for Aquila and Ender 3 V2 and 3 Pro with your 3D printer. Click on the button and save the file on your computer to work, edit or customize your design. You can also find more 3D designs for printers on FANG Duct with Center mounting BLTouch for Aquila and Ender 3 V2 and 3 Pro.
