Fan calibration 55° and 60° overhang
prusaprinters
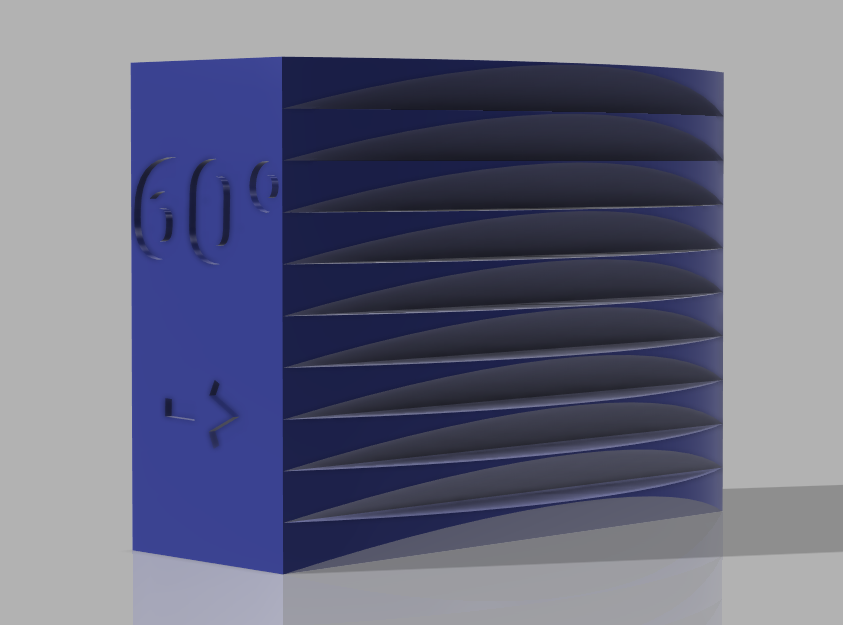
<p>To start the test, load the stl and orient it the way that gives you best cooling. IE mine cools from the left and right side of the nozzles, so I load it like this:</p><figure class="image"><img src="https://media.prusaprinters.org/media/prints/63702/rich_content/a376ccae-88d6-4ba9-b762-b9f41e658c83/image.png#%7B%22uuid%22%3A%2266228c58-8bb7-4638-9c06-092d2c37275b%22%2C%22w%22%3A1396%2C%22h%22%3A746%7D"></figure><p>Then you have to add the script to Before layer change g-code under printer settings:</p><figure class="image"><img src="https://media.prusaprinters.org/media/prints/63702/rich_content/c7bc7211-8bf8-4137-a652-e328682bb606/image.png#%7B%22uuid%22%3A%22aca27c45-e448-4658-a77f-328d8c79eee8%22%2C%22w%22%3A895%2C%22h%22%3A815%7D"></figure><p>And also disable the fan fully under filament settings:</p><figure class="image"><img src="https://media.prusaprinters.org/media/prints/63702/rich_content/e2d1b3f4-ee4c-43a6-8c32-f0c837462f2e/image.png#%7B%22uuid%22%3A%22a9c77a24-37df-4595-b1f9-d4fbc7298505%22%2C%22w%22%3A894%2C%22h%22%3A501%7D"></figure><p> </p><p>Then you slice and print it. After it finishes you'll look for where it stops curling, and where it starts curling again. There should be somewhere in between that looks better then the rest.</p><p> </p><p>Thanks for the script theguffy<strong>1990</strong></p>
With this file you will be able to print Fan calibration 55° and 60° overhang with your 3D printer. Click on the button and save the file on your computer to work, edit or customize your design. You can also find more 3D designs for printers on Fan calibration 55° and 60° overhang.