face_wall
thingiverse
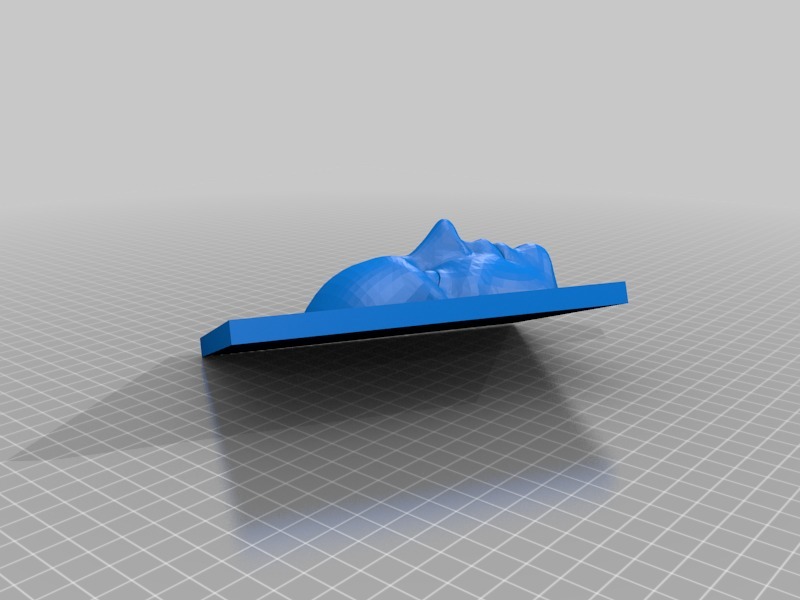
Merging a 3D face onto a cube is a relatively straightforward process that involves several steps, each requiring precision and attention to detail. The first step is to ensure the 3D face model is accurately aligned with the cube's surface. This can be achieved by importing the face model into your preferred 3D modeling software and selecting the cube as the target object for merging. Next, you'll need to position the 3D face model precisely on top of the cube. To do this, use your software's snapping tool to lock the face model's vertices onto the corresponding points on the cube's surface. This will create a seamless union between the two objects, eliminating any gaps or overlaps. Once the face model is accurately positioned, you can merge it with the cube using your software's boolean operations. These operations allow you to combine the two objects in various ways, such as subtracting one from the other or creating an intersection between them. The final step involves refining the merged object by removing any excess geometry and smoothing out its surface. This will result in a cohesive, watertight mesh that accurately represents the combined 3D face and cube. With practice and patience, merging 3D faces onto cubes becomes second nature, allowing you to create complex, realistic models with ease.
With this file you will be able to print face_wall with your 3D printer. Click on the button and save the file on your computer to work, edit or customize your design. You can also find more 3D designs for printers on face_wall.