Fabscan RAMPS Edition
thingiverse
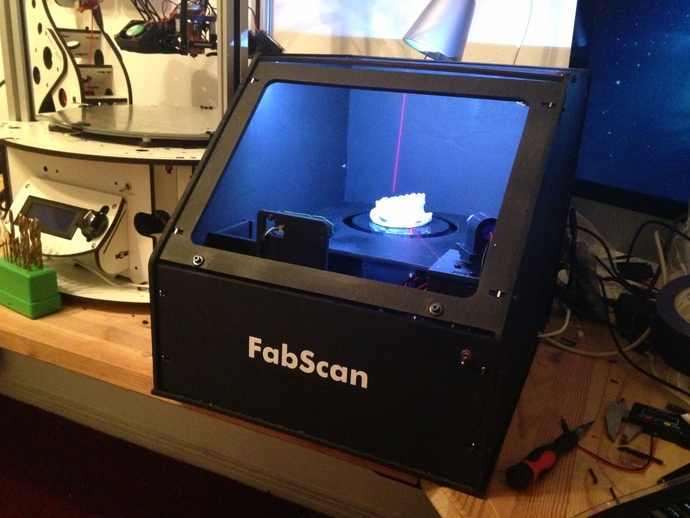
The original order for a shield didn't arrive, so after seeing the price of a new scanner, the decision was made to proceed without it. Now, this Arduino sketch works with an off-the-shelf RAMPS 1.4 board, enabling a Fabscan without needing a soldering iron! The attached first scan at "normal quality" shows teeth post-braces as a kid. For the fabrication process, follow the original FabScan instructions but ignore the wiring for board and Arduino. Modifications were made in the Arduino code to align with RAMPS pin-outs. The X-min is the light switch, X-axis operates the turntable, Y-axis controls the laser, D8 adjusts the laser power while D9 manages LED power. A light switch, a 12V LED strip, and a 10k resistor are needed for workspace lighting. The tutorial from Arduino guides wiring, with an image attached for assistance. After building, the software's calibration process was quick and user-friendly, exporting scans to .STL files. Modifications to the case and a basic cover for blocking light during scans are future plans.
With this file you will be able to print Fabscan RAMPS Edition with your 3D printer. Click on the button and save the file on your computer to work, edit or customize your design. You can also find more 3D designs for printers on Fabscan RAMPS Edition.