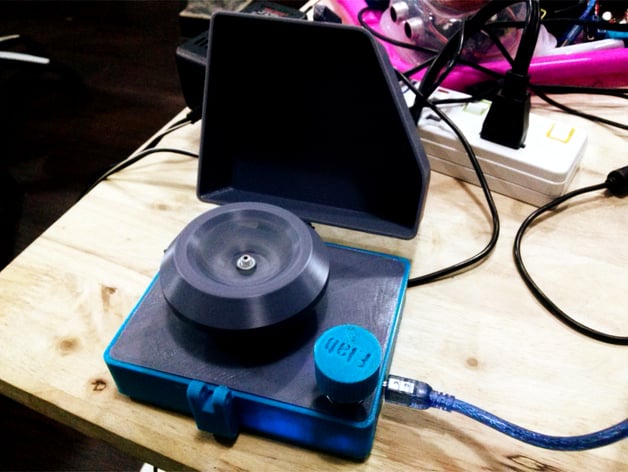
F.Lab's DIYbio Centrifuge
thingiverse
This is our 3D printed DIYbio centrifuge. We have instructions below, but you can also check out our Instructables via ProgressTH here: http://www.instructables.com/id/3D-Printed-DIYbio-Mini-Centrifuge/ We're currently using it for DNA extraction. If built and operated carefully, it's a safe and fun piece of lab equipment. Just by building it, you can learn a lot about how it works, and perhaps get inspiration to design your own lab equipment in the future. It uses a 1806/2400 brushless DC motor taken from a drone, its accompanying ESC (electronic speed control), an Arduino Nano, and some other parts common at makerspaces. It's a great project to build at a makerspace. See the custom section below for instructions, parts, and more details. We've also included a SketchUp 8 file so you can easily edit it to meet your requirements (like making the case taller to hold a larger Arduino board). See it in operation here: https://www.youtube.com/watch?v=LXfSYA7idDM Print Settings Printer Brand: MakerBot Printer: MakerBot Replicator 2 Rafts: No Supports: No Resolution: Low Infill: 10% Notes: 10% infill seems to have worked well. Please make sure the print comes out well, at least for the rotor, because it will be spinning at high speeds and needs to be strong. How I Designed This SketchUp Design Tips We use SketchUp almost exclusively. It's easy to teach, intuitive, and flexible. Just by building it, you can learn a lot about how it works. Custom Section Assemble the necessary electronics (see picture) which include an Arduino Nano or microcontroller of similar size, a brushless DC motor (used with drones) and accompanying ESC (electronic speed controller), a DC adapter, a 12V wall adapter, hobby potentiometer, and hobby electronics toggle switch (optional). Assemble the electronics. The ESC has a positive and negative (red and black) wire which must go to your power adapter's '+' and '-' terminals. It also should have three wires to connect with your 1806/2400 brushless DC motor. Upload code to your Arduino (See here: http://83.56.32.125/sierrademesaI.html). Fasten your project together using screws through the bottom, a nut to secure the rotor onto the DC motor, and another nut and bolt to secure the cover on the back. The knob that affixes to the potentiometer has a few ways to secure it. We also friction welded the feet onto the bottom before applying a ring of hot glue to the bottom of the feet. You can superglue the feet as well if you think that's easier.
With this file you will be able to print F.Lab's DIYbio Centrifuge with your 3D printer. Click on the button and save the file on your computer to work, edit or customize your design. You can also find more 3D designs for printers on F.Lab's DIYbio Centrifuge.
