EZFlex Planetary Extruder
thingiverse
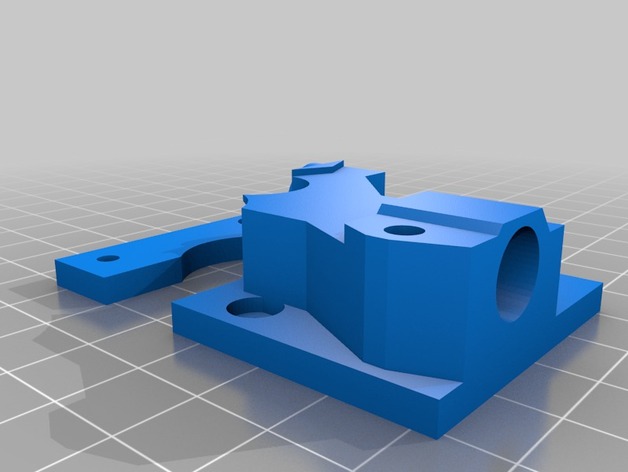
A remix of Nylocke's EZFlex extruder offers a direct replacement for Seemecnc's Ezstruder but is modified to work seamlessly with planetary geared motors. The bowden tube extends all the way to the hobbed gear, allowing for smooth use with flexible filaments. Nylocke's original design: https://www.youmagine.com/designs/ezflexstruder NOTEs: The picture depicts an unusual number of nuts on a screw at the top left, attributed to its excessive length and the inability to find a shorter one. Additionally, passthrough connectors exhibit slight play, rendering a twist tie wrapped around the locking collet handy to keep it from wobbling. Instructions Rough Bill of Materials: Planetary Geared Nema 17 motor, featuring a recommended gear ratio of 5:1 M7 hobbed gear for 8mm shaft, with excellent quality suggested from TriDPrinting Printed Adapter Printed Arm Printed Body (named plate in the current file name) 1x M8x20ish bolt 2x M8 washer 1x Passthrough bowden connector from E3D or DTA-Labs 1x 608 bearing 1x ezstruder spring (exact specs yet to be determined) 4x M3x12 screws (possibly incorrect length, subject to verification) A few long (30mm or longer) M3 screws (yet to be confirmed) A handful of M3 nuts 1x small ziptie ASSEMBLY: 1. Print all three pieces, with the arm necessitating some support material. 2. Screw the adapter onto the motor using the M3x12 screws, taking note of the gap on one side – this will accommodate the bearing later. 3. Assemble the bearing arm: a) insert the 608 bearing into the retaining slot; b) place an M8 washer above and below it; c) with both components aligned, push down the M8 bolt – the plastic should secure it in place, though using an M8 nut might be necessary if printer holes are loose. 4. Screw the main body of the extruder onto the adapter, ensuring the gap aligns with the left side as you drop the body over it. 5. Screw on the bearing arm and secure the spring inside; the ziptie goes around the spring's side, keeping it flush against the extruder body – though not strictly necessary, this guarantees the bearing remains flat against the filament. 6. Install the pass-through bowden connector. 7. Feed in the bowden tube, angling the inner edge of the top with a knife for easy start-up; this design may require a slight struggle to fully extend the tube, but it will hold securely once aligned. 8. Attach the hobbed gear onto the motor shaft and verify its alignment with the bowden tube. Done! Mount it to any EZStruder compatible mount and guide filament through the bearing arm for effortless extrusion with ample torque.
With this file you will be able to print EZFlex Planetary Extruder with your 3D printer. Click on the button and save the file on your computer to work, edit or customize your design. You can also find more 3D designs for printers on EZFlex Planetary Extruder.