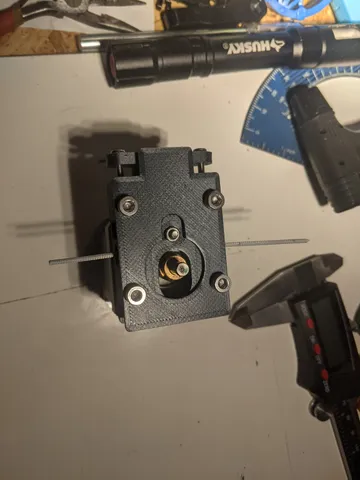
Extruder Idler Assembl
prusaprinters
I designed this idler to replace the lever action idler that came packaged with my printer. I didn't like how it kinked the filament on the way into the hot end so I opted for something to enforce a more straight path for the filament. This idler reuses the barring that came packaged with an Ender 3's idler, so a similar barring will be needed or modification to the design. Assembly is fairly straightforward, insert the barring into the arm bottom, pop a screw through and then drop the arm top on and tighten down a nut to lock it together. Slide the assembled arm into the body bottom section from the longer side, slide two m3 nuts into the slots on the long side with a little rubber cement to keep them from falling out, insert an appropriate spring then bolt the top down. Adjust the tightness of the m3 screws holding the spring seat in place as needed, there isn't much clearance so they will need to be sized accordingly. Second version of the body is to address problems that arose with use of the first version. A slightly better nut capture and thicker base. Highly suggest printing from PETG as PLA gradually become brittle over time being so close to the heat block.
With this file you will be able to print Extruder Idler Assembl with your 3D printer. Click on the button and save the file on your computer to work, edit or customize your design. You can also find more 3D designs for printers on Extruder Idler Assembl.
