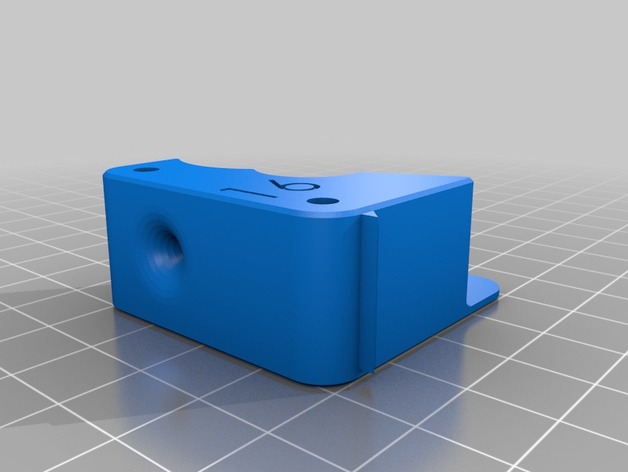
Extruder 2.0 pour Discovery 200 by Dagoma
thingiverse
I am presenting a "tool" that can be removed to allow the opening of the extruder. I present an upgraded extruder 2.0 based on the original Dagoma files! A small clip, we thread or remove the filament, and unclip! No need to keep the extruder open, and forget where you placed the removable tool! Print Settings Printer: Dagoma Discovery 200 Rafts: No Supports: No Resolution: 0.3 Infill: 20% Notes: Original parts are printed in 0.3 mm, so no problem, the most fine-tuned hobbyists can print it in 0.1! Post-Printing Step 1 After printing the two pieces 16v2 and 17v2, unscrew the three screws of your extruder. (attention to the spring) Step 2 Now, unscrew the wheel, screw it onto piece 17v2. Step 3 Place the spring, reposition the new extruder behind your printer, screw! Step 4 Clip on, thread your PLA strand, unclip, print!
With this file you will be able to print Extruder 2.0 pour Discovery 200 by Dagoma with your 3D printer. Click on the button and save the file on your computer to work, edit or customize your design. You can also find more 3D designs for printers on Extruder 2.0 pour Discovery 200 by Dagoma.
