Extreme Bow Stabilizer V2 - Customizable!
thingiverse
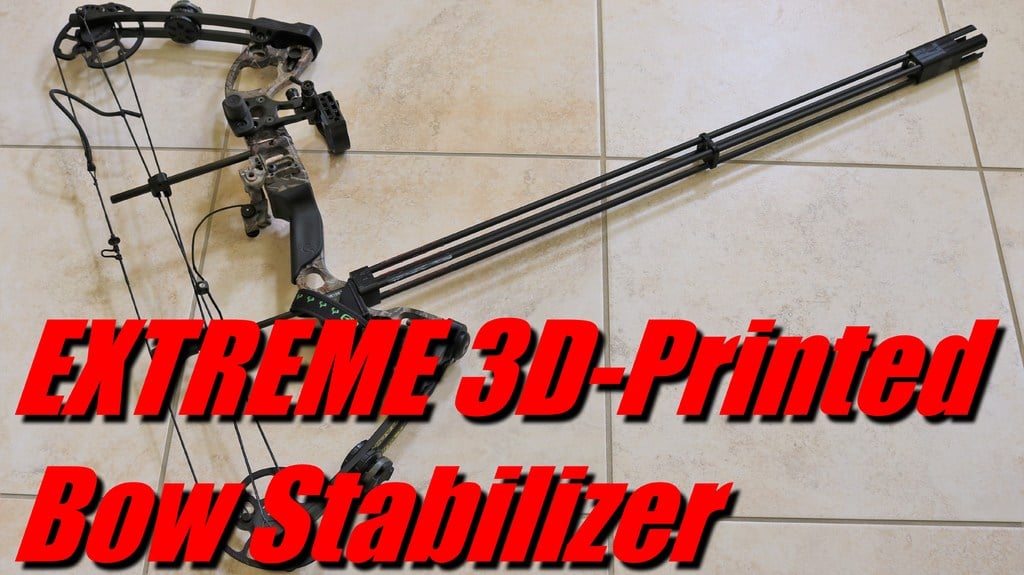
This bow stabilizer is a significant upgrade from its predecessor at https://www.thingiverse.com/thing:2458936. Notable improvements include: - Enhanced printability without supports. - Reduced dimensions (less plastic equals faster printing). - Improved slots for bolts. The goal was to create a simple yet effective bow stabilizer that not only looks great but also serves its purpose. This version will save you considerable time and material, as it can be made with 4 used or old arrow shafts and just a few purchased parts, all for approximately $5. To build this project, you'll need the following 3D printed parts: - A receiver (available in either 1.25" or 2") - One rail (print multiple copies as needed) - A barrel - An optional flash hider or silencer For assembly, gather these components: - Four 7.8mm arrow shafts - A UNF 5/16*24 1.25" or 5/16-24 2" bolt (matching the receiver size) - One M10 90mm bolt - Four M10 nuts To assemble, follow these steps: (Important note: You may need a 5/16" drill bit to expand the arrow slots if they are too loose. If necessary, secure everything with silicone glue or hot glue.) 1. Install the receiver by inserting the 5/16-24 bolt into it. The bolt should be held in place by friction. If not, it will stabilize once attached to a bow. 2. Attach the M10 90mm bolt from the barrel's bottom square face and secure it with an M10 nut at the top. Add up to three more M10 nuts to increase weight if desired. 3. Insert arrow shafts into the receiver. 4. Slide rail(s) down the arrow shafts, aligning them properly. 5. Place the barrel over the opposite end of the arrow shafts. 6. Press-fit the muzzle device over the barrel.
With this file you will be able to print Extreme Bow Stabilizer V2 - Customizable! with your 3D printer. Click on the button and save the file on your computer to work, edit or customize your design. You can also find more 3D designs for printers on Extreme Bow Stabilizer V2 - Customizable!.