Extension tube set for Sony E/FE for macro photography
prusaprinters
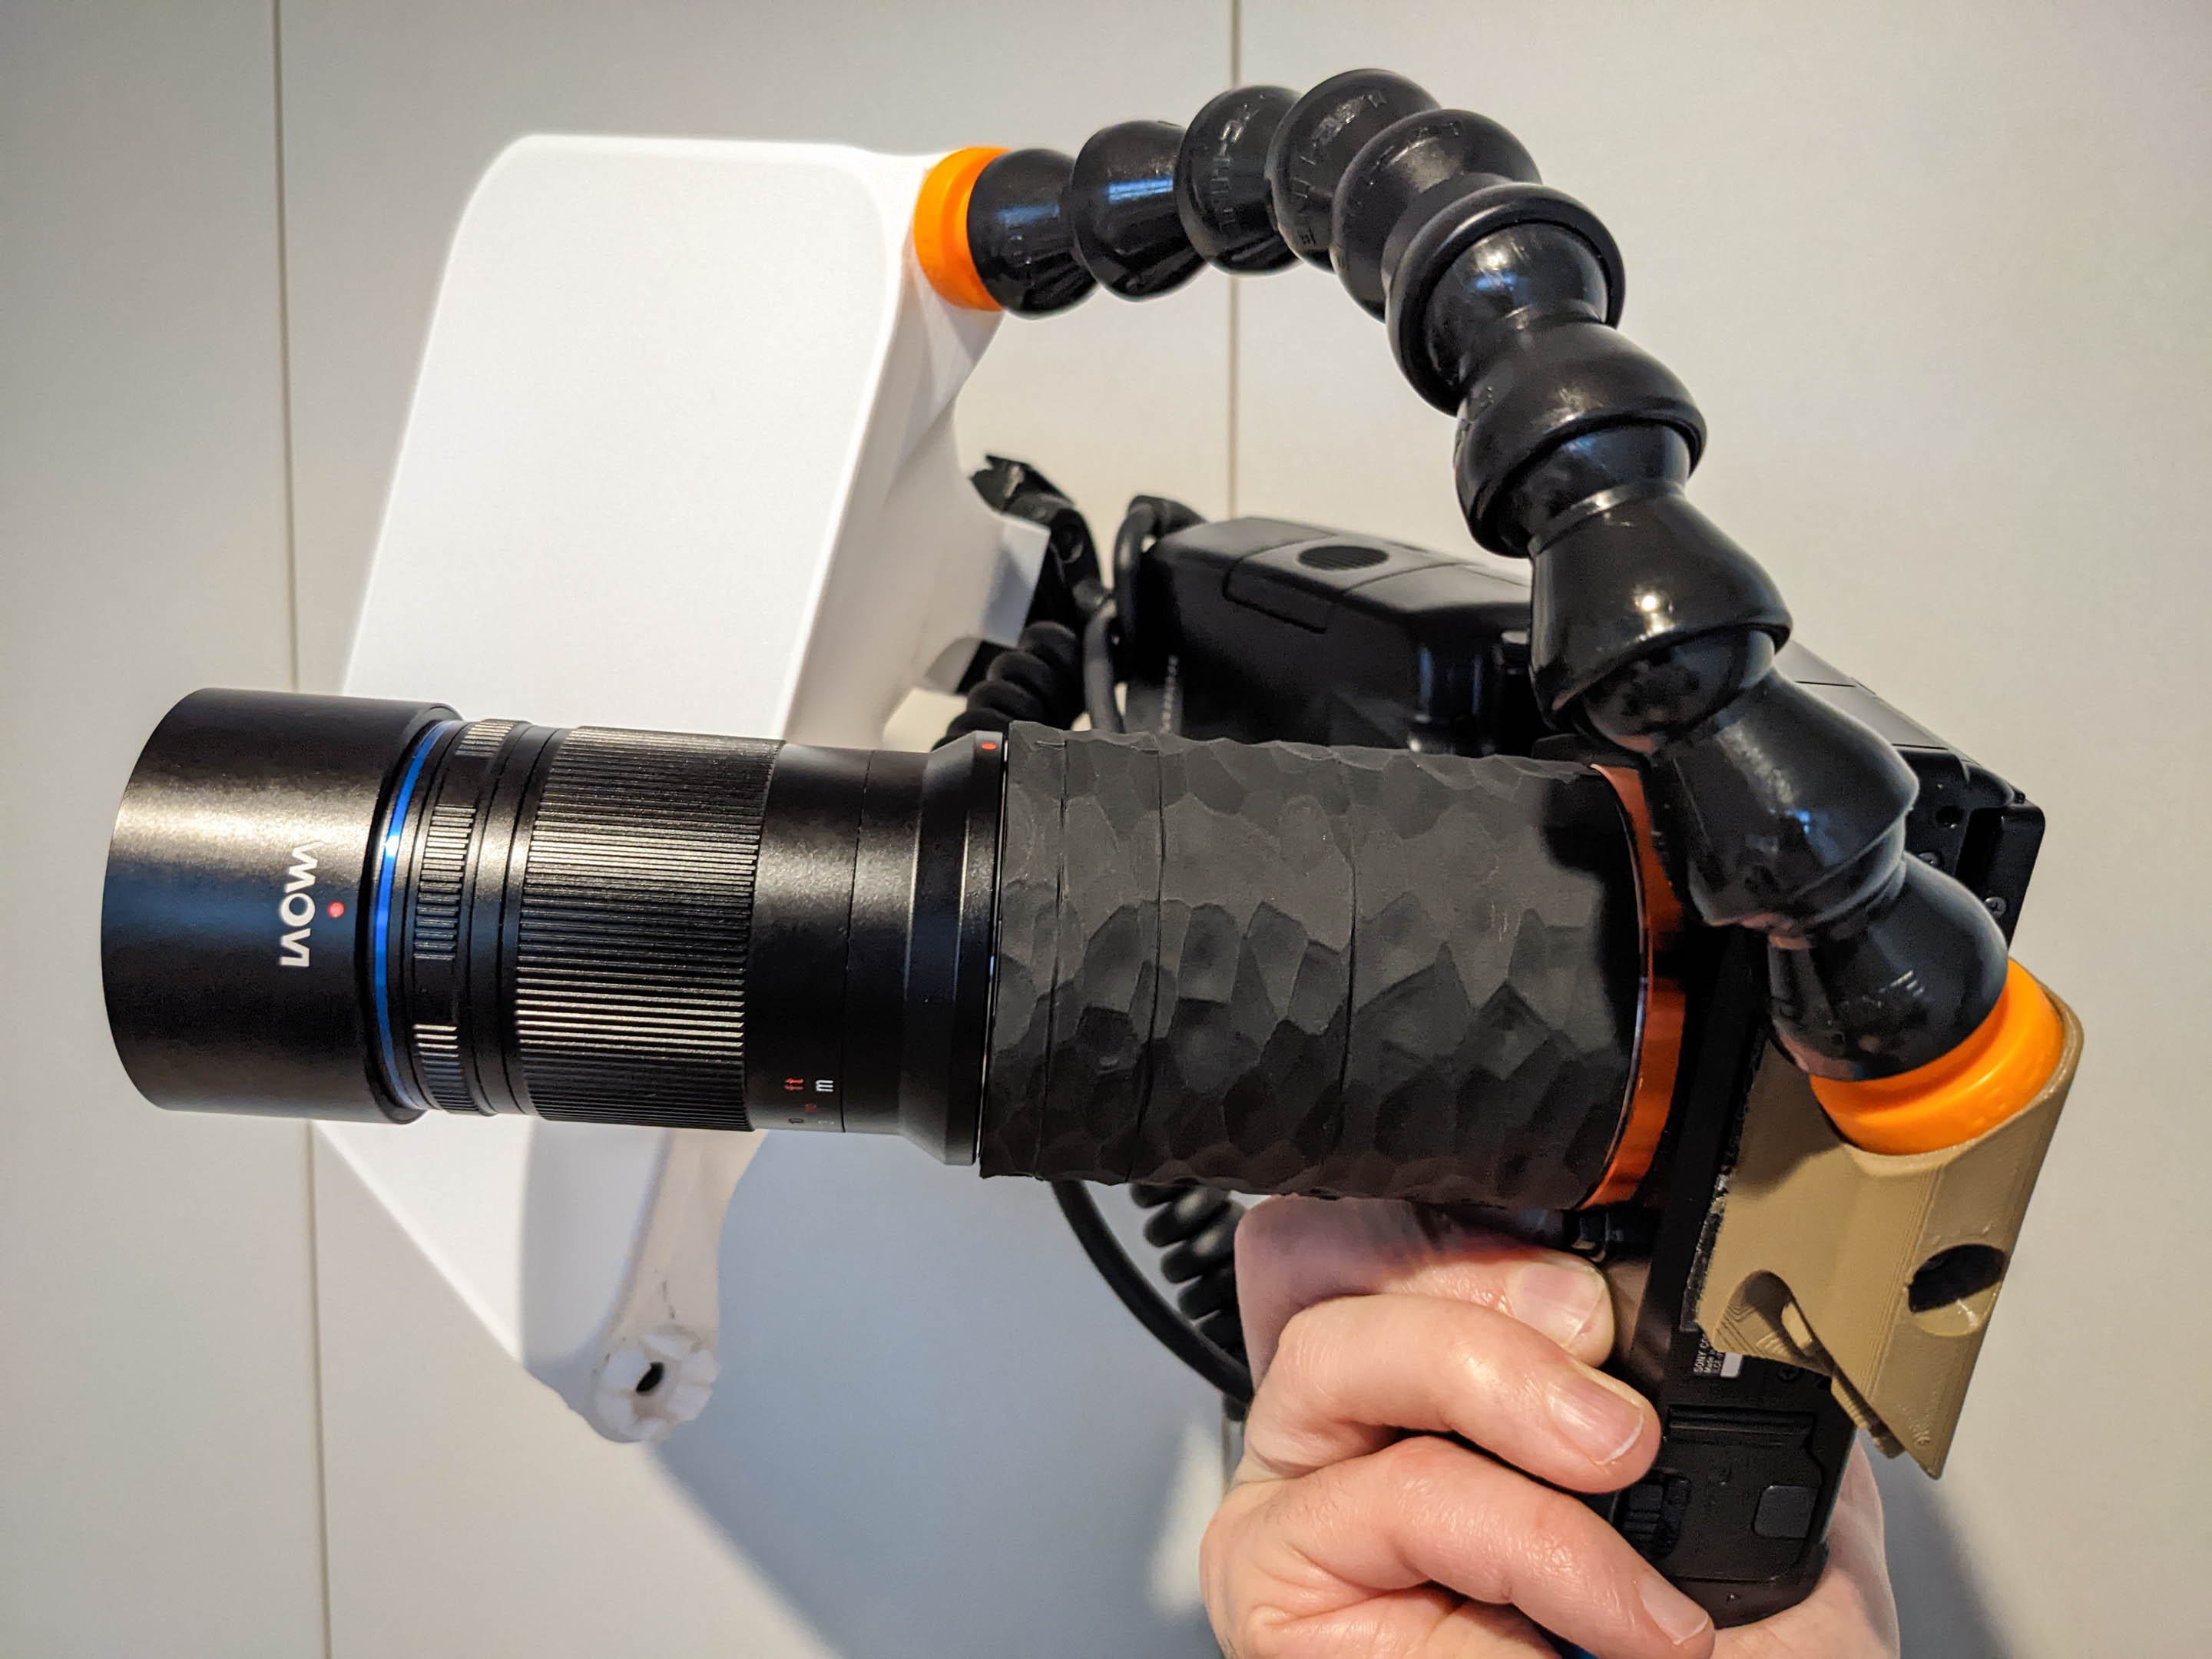
<p>This set of extension tubes enables macro photography using your existing Sony E/FE lenses on your Sony E/FE mirrorless camera.</p><p>I've provided tubes in 7mm, 12mm, 24mm and 35mm lengths</p><p>Since there are no electrical contacts, you won't be able to control the lens' aperture from the camera. Ideally you would use a third-party lens that has a manual aperture ring (which works even without power). </p><p>Otherwise you can mount your lens directly to your camera, set your camera to A (aperture-priority) mode at your desired aperture, and then remove the lens while the camera is still powered on. This will cause the lens' aperture to say at your desired position even after the lens is removed from the camera.</p><p>As a very general rule of thumb, you can figure out how much magnification will be added to your lens' max magnification by dividing the length of extension by your lens' focal length. e.g. if you add a 24mm tube to a 50mm lens, you can expect to add 24/50 = 0.48x to your lens' max magnification (so for a typical 50mm lens with 0.25x max mag, you can expect around 0.75x magnification afterwards).</p><p>The example photo above is my jeans with 7+12+24+35mm extension tubes added to my 85mm Laowa 2x macro lens.</p><h4>Mounting the tubes to your lens</h4><p>The extension tubes need a grub screw added to lock to the locking pin slot in the back of your lens. This is a M3x6mm dog-point grub screw (set screw) (DIN 915, ISO 4028), with a 2.0mm-diameter tip. </p><p>Here's an example from McMaster's catalogue, but note that they don't ship internationally:</p><p><a href="https://www.mcmaster.com/92905A602/">https://www.mcmaster.com/92905A602/</a></p><p>I bought mine <a href="https://sg.misumi-ec.com/vona2/detail/221000551590/">from Misumi-ec</a> under the product code <strong>SSHN-ST-M3-6</strong>, though note that they only sell to businesses.</p><p>Screw the grub screw into the top of the extension tube with the tip pointing upwards like so:</p><figure class="image"><img src="https://media.printables.com/media/prints/264239/rich_content/6c00851b-d2dd-4778-8c9c-8e5faf34072e/grub-screw-install.png#%7B%22uuid%22%3A%22cc63e896-f85e-403b-92c3-960c0d7aefb8%22%2C%22w%22%3A930%2C%22h%22%3A817%7D"></figure><p>A small hole in the middle of the locking pin slot at the bottom of the tube allow you to insert a 1.5mm Allen hex key to drive the set screw. Use that to retract the grub screw below the level of the top of the extension tube like so:</p><figure class="image"><img src="https://media.printables.com/media/prints/264239/rich_content/e23a28d5-36b8-4426-a28f-cc1b87815bb7/allen-key.png#%7B%22uuid%22%3A%2227f0381a-61b2-40fd-b2c8-cff93235de21%22%2C%22w%22%3A858%2C%22h%22%3A747%7D"></figure><p>Then attach your lens to the tube like normal, and use the Allen key to tighten the set screw until it just touches the lens. <strong>Don't use the screw to actually push strongly against the lens</strong>, because this will actually push the printed extension tube away from the lens and deform the printed part. It only needs to prevent the lens from unscrewing from the tube by blocking sideways movement (so it's fine for it to be loose).</p><h4>Printing instructions:</h4><ul><li>PETG or ABS recommended</li><li>0.1mm layer height</li><li>2 perimeters</li><li>No supports or brim</li></ul><p>Avoid ending up with <strong>elephant's foot</strong> (e.g. by printing with the nozzle too close to the bed), since this will create a lip around the inside of the lens-side of the extension tube which will make it difficult to push onto the lens.</p>
With this file you will be able to print Extension tube set for Sony E/FE for macro photography with your 3D printer. Click on the button and save the file on your computer to work, edit or customize your design. You can also find more 3D designs for printers on Extension tube set for Sony E/FE for macro photography.