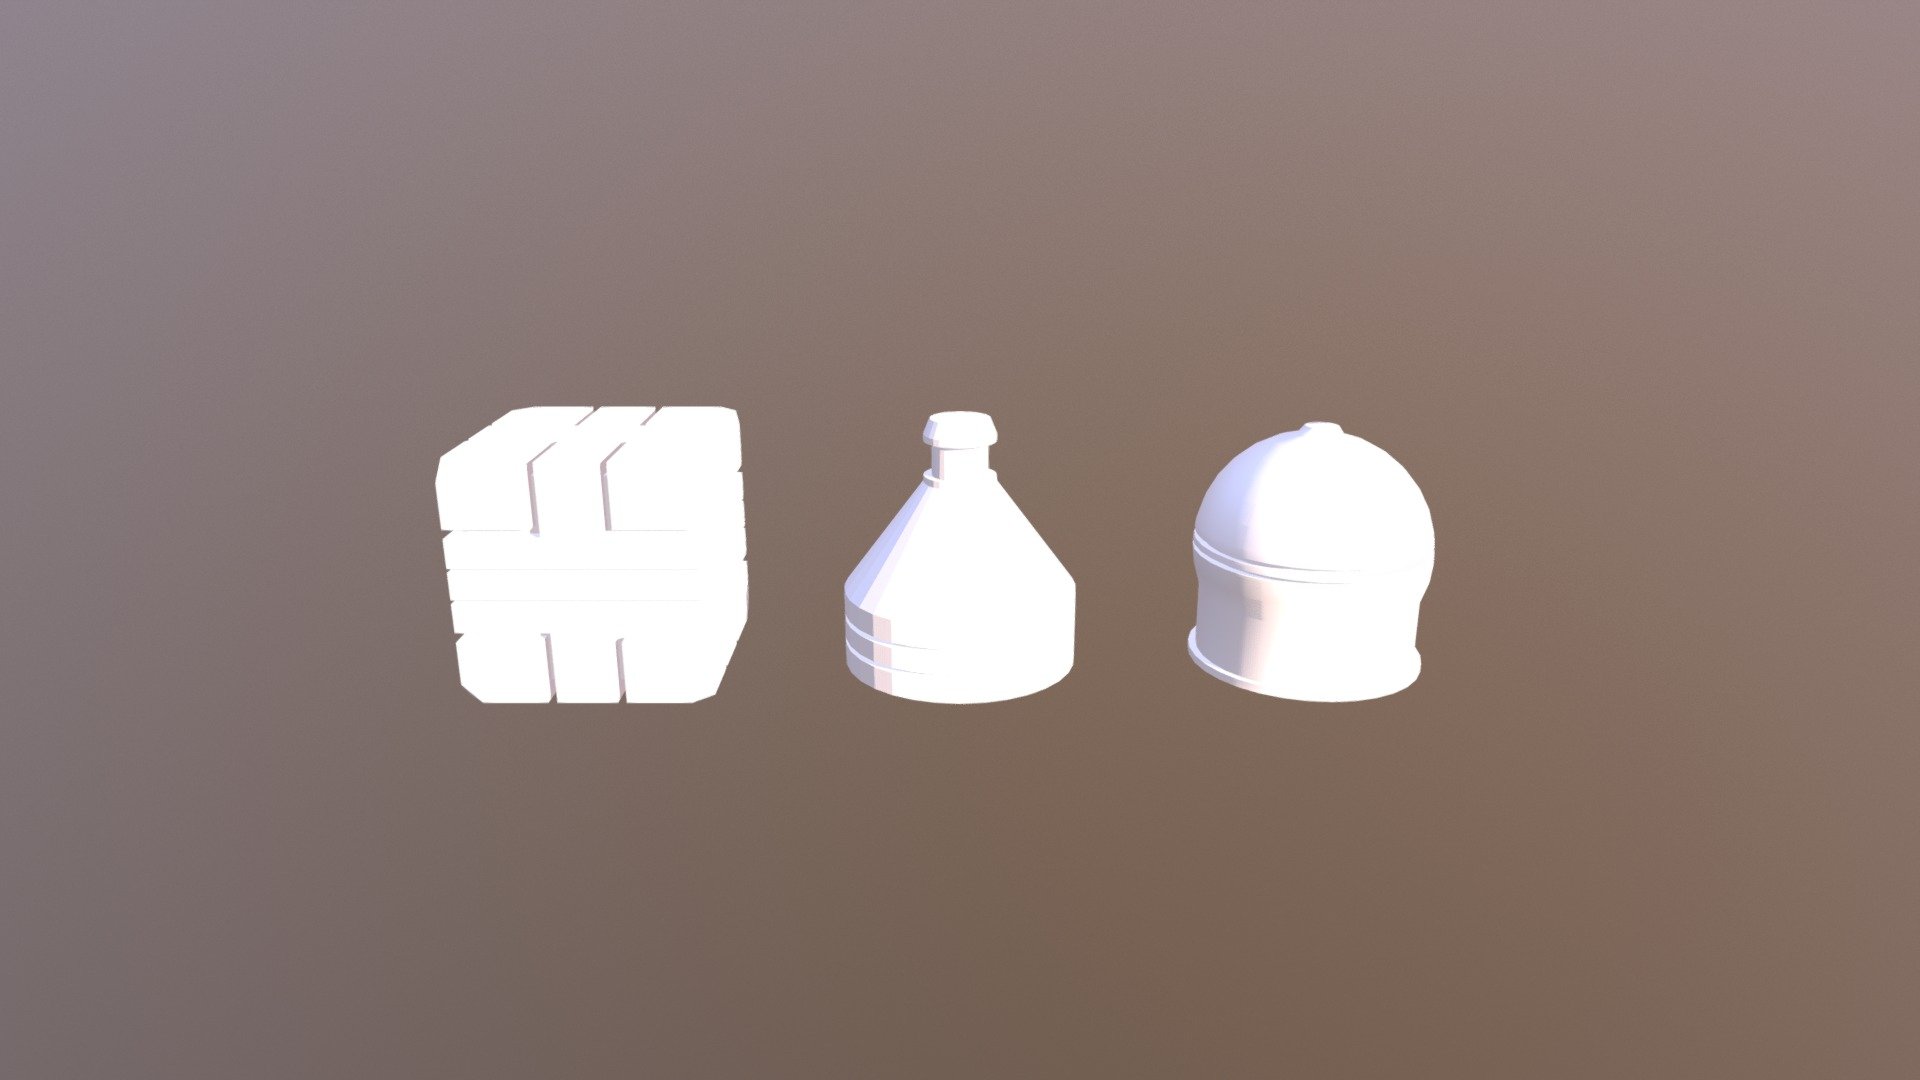
Exercise1
sketchfab
Meshing it up is what this exercise is all about. You're going to learn how to take a simple mesh and turn it into something more interesting. First things first, you need to create a new scene and add a cube object to it. Name your cube "Cube". Now that we have our cube, let's get started on the fun part - editing its mesh. You're going to use CG Cookie's free software to edit the mesh of your cube. Open up the software and select your cube from the scene panel. Next, you need to create a new sub-object called "Cube". To do this, click on the "Add" button in the top right corner of the interface. Name your sub-object "Cube". Now that we have our new sub-object, let's talk about what we're going to edit. You want to add some detail to your cube, so you need to select all of the vertices in the mesh and then use the move tool to move them outwards from the center of the object. You can also add some symmetry to your cube by using the mirror tool. To do this, click on the "Mirror" button at the top left corner of the interface and select one of the sides of your cube as the axis of symmetry. Now that we have our cube looking nice and symmetrical, let's talk about textures. You want to add a texture to your cube so it doesn't look like just a plain old cube. To do this, click on the "Texture" button at the top right corner of the interface and select one of the textures from the list below. Finally, you need to save your mesh as a new file type called a ".obj" file. This will allow you to share your mesh with other people and use it in other software programs. To do this, click on the "Save As" button at the top right corner of the interface and select the ".obj" format from the drop down menu.
With this file you will be able to print Exercise1 with your 3D printer. Click on the button and save the file on your computer to work, edit or customize your design. You can also find more 3D designs for printers on Exercise1.
