Exercise: UV Map Chess Pieces
sketchfab
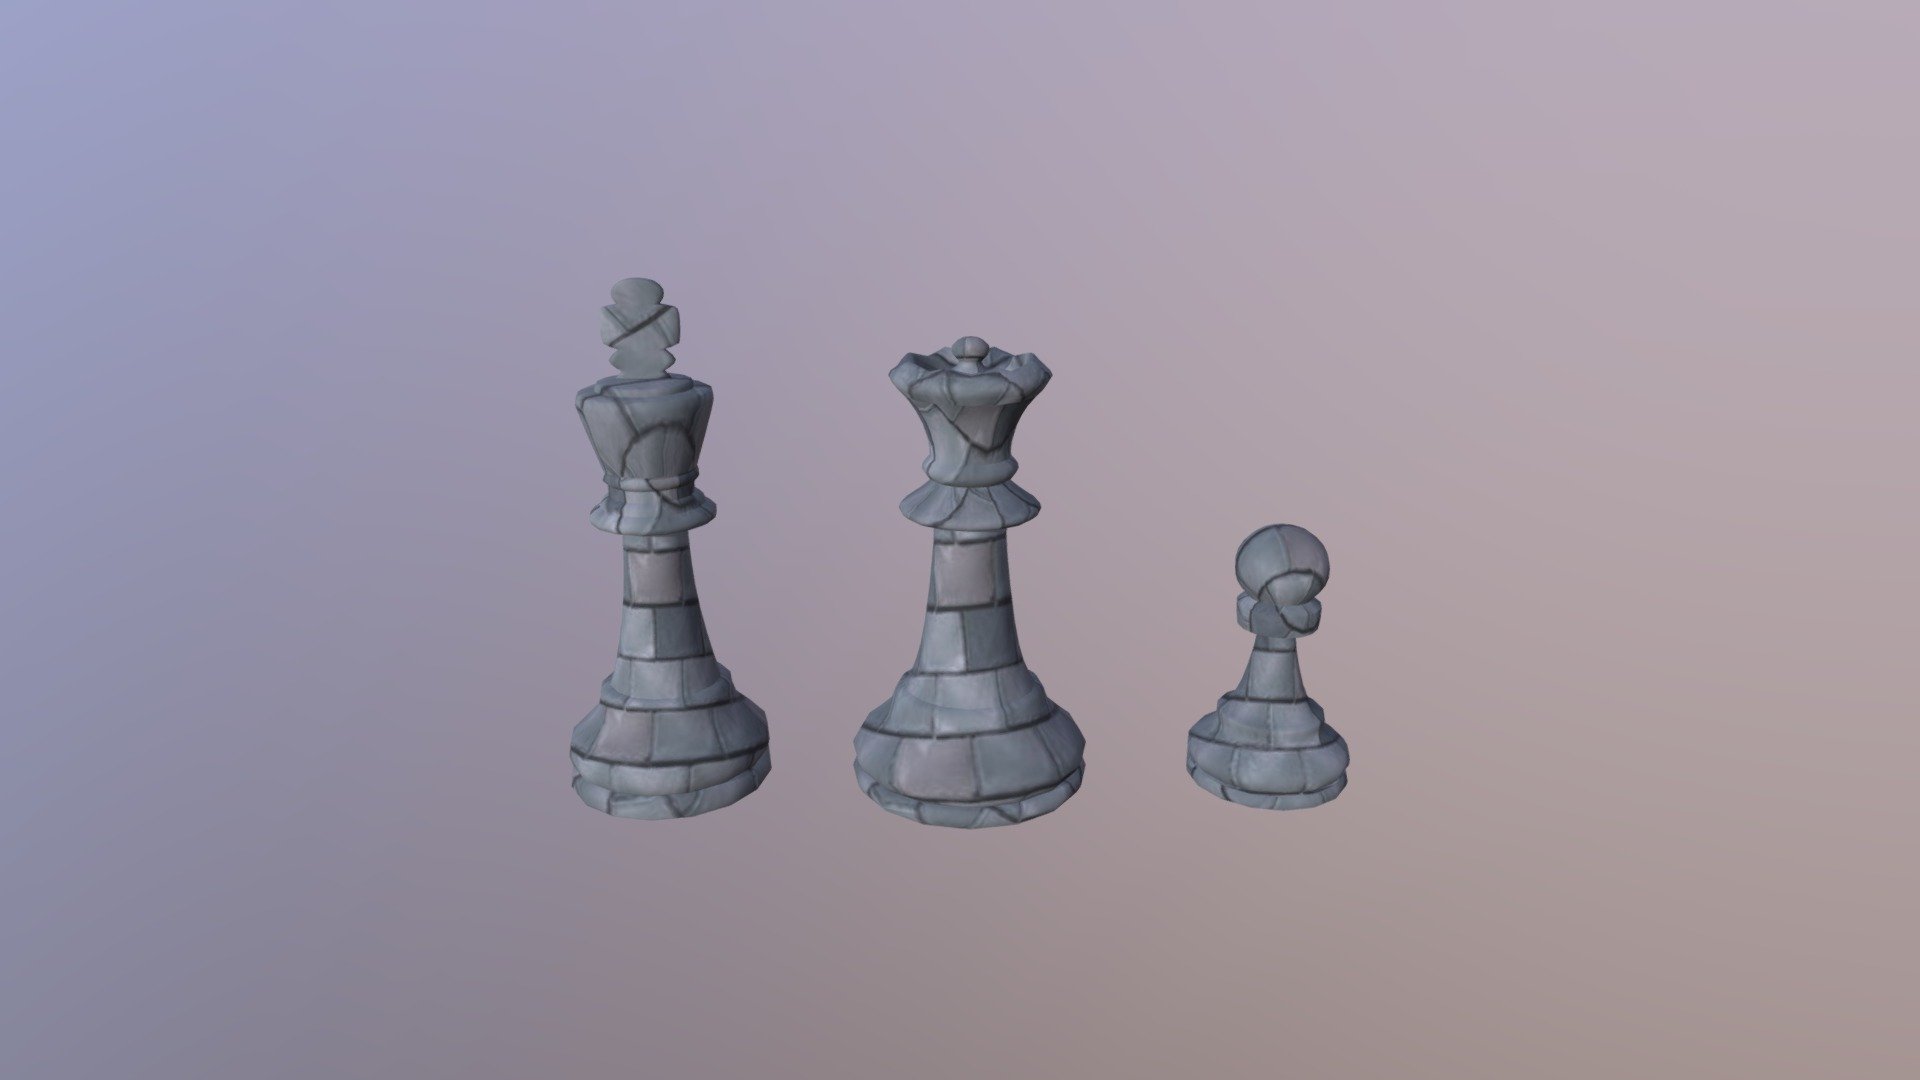
Create a UV map for each chess piece using different textures to give them unique appearances. Start by creating a new project and importing the chess pieces 3D models. Assign a texture to each model, but do not unwrap any of them yet. For example, use a wood grain texture for the king and queen, while the pawns get a smooth stone texture. The knights can have a metal texture with a subtle sheen, and the bishops get a soft, worn leather look. Now, unwrap each model and create a UV map by projecting the texture onto it. Use a combination of UV islands to minimize stretching and distortion, ensuring that all textures fit nicely on their respective models. For instance, use a rectangular island for the king's crown, while the queen's head can be divided into multiple smaller islands to accommodate her intricate details. The pawns' bodies can have one large island each, with separate islands for their heads and bases. Finally, apply the UV maps to the original 3D models, adjusting any necessary settings to ensure a seamless texture application. This will give your chess pieces a visually appealing and cohesive appearance.
With this file you will be able to print Exercise: UV Map Chess Pieces with your 3D printer. Click on the button and save the file on your computer to work, edit or customize your design. You can also find more 3D designs for printers on Exercise: UV Map Chess Pieces.