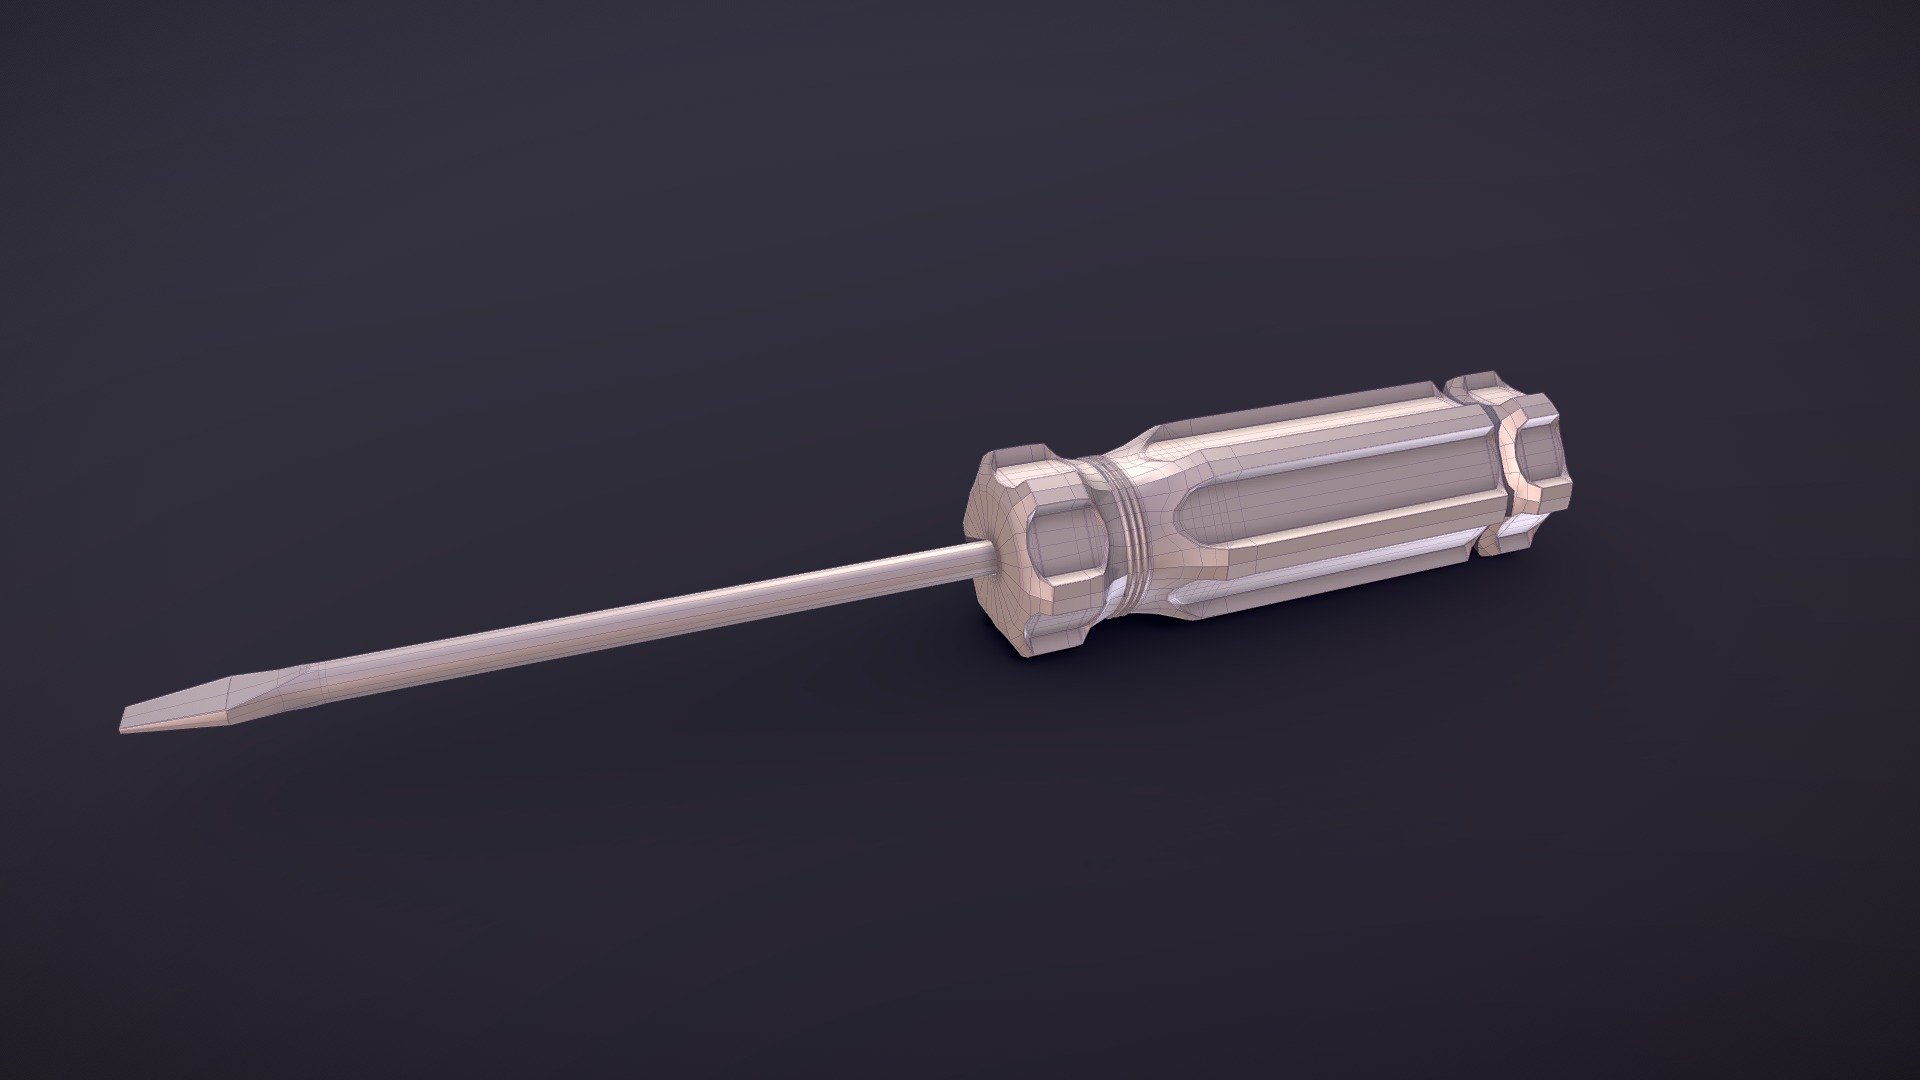
Exercise: Hard Surface Screwdriver
sketchfab
Creating a Realistic Screwdriver Model for GAM 401: Hard Surface Modeling =========================================================== In this tutorial, we will learn how to create a realistic screwdriver model using hard surface modeling techniques. The screwdriver is a common household item that can be easily modeled in 3D using various tools and software. Materials Needed ---------------- * A computer with a 3D modeling software installed (such as Blender or Maya) * A reference image of a screwdriver * Basic knowledge of 3D modeling techniques Step 1: Create the Screwdriver Handle ------------------------------------ To create the handle, we will use a combination of extrusions and bevels. Start by creating a cylinder shape using the extrusion tool. * Select the extrusion tool from the toolbar * Set the dimensions to match the size of the screwdriver handle * Extrude the cylinder shape to create the handle Step 2: Add Texture to the Handle --------------------------------- To add texture to the handle, we will use a combination of normal maps and displacement maps. Start by creating a new material. * Select the material editor from the toolbar * Create a new material with the following properties: + Color: #CCCCCC (a light gray color) + Normal map: screwdriver_handle_normal_map.jpg + Displacement map: screwdriver_handle_displacement_map.jpg Step 3: Create the Screwdriver Head ---------------------------------- To create the head of the screwdriver, we will use a combination of extrusions and bevels. Start by creating a cylinder shape using the extrusion tool. * Select the extrusion tool from the toolbar * Set the dimensions to match the size of the screwdriver head * Extrude the cylinder shape to create the head Step 4: Add Texture to the Head ------------------------------ To add texture to the head, we will use a combination of normal maps and displacement maps. Start by creating a new material. * Select the material editor from the toolbar * Create a new material with the following properties: + Color: #FFFFFF (a white color) + Normal map: screwdriver_head_normal_map.jpg + Displacement map: screwdriver_head_displacement_map.jpg Step 5: Assemble the Screwdriver Model -------------------------------------- To assemble the screwdriver model, we will use a combination of merging and scaling. Start by selecting the handle and head objects. * Select the merge tool from the toolbar * Merge the two objects together to create a single object * Scale the object down to match the size of the reference image Step 6: Final Touches -------------------- To add final touches to the screwdriver model, we will use a combination of materials and shaders. Start by selecting the material editor from the toolbar. * Select the material editor from the toolbar * Create a new material with the following properties: + Color: #CCCCCC (a light gray color) + Normal map: screwdriver_handle_normal_map.jpg + Displacement map: screwdriver_handle_displacement_map.jpg Congratulations! You have now completed the tutorial on creating a realistic screwdriver model using hard surface modeling techniques.
With this file you will be able to print Exercise: Hard Surface Screwdriver with your 3D printer. Click on the button and save the file on your computer to work, edit or customize your design. You can also find more 3D designs for printers on Exercise: Hard Surface Screwdriver.
