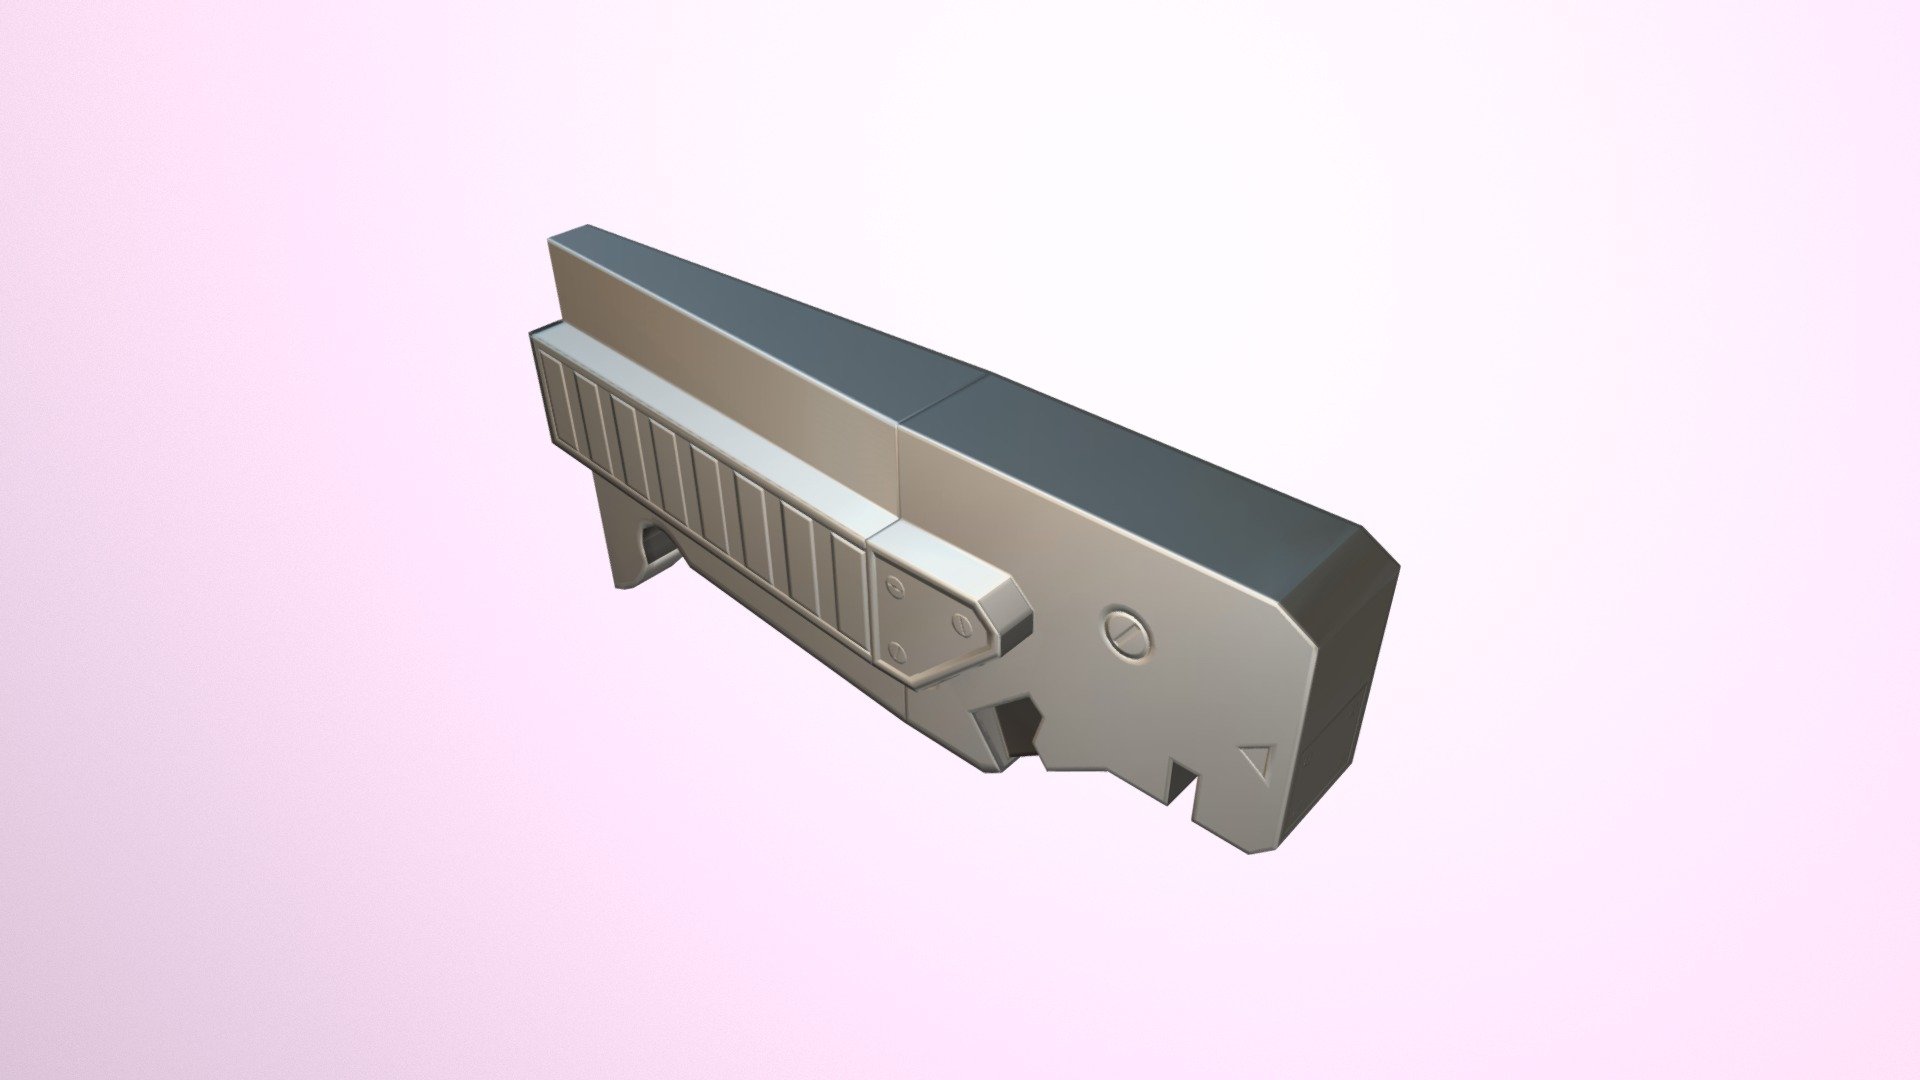
Exercise: Bake A Hard Surface Normal Map
sketchfab
Here's a step-by-step guide on how to bake a hard surface normal map using Blender: 1. Start by selecting your object and navigating to the Materials tab, where you'll find the Normal Map setting. Make sure it's enabled. 2. Next, switch to the Texture Paint mode and create a new texture that matches the resolution of your object. You can do this by going to Image > New Image, and then adjusting the dimensions accordingly. 3. In the Texture Paint mode, select the Brush Tool and choose the Normal Map brush from the Brush Picker dropdown menu. This will allow you to paint normal maps directly onto your texture. 4. With the Normal Map brush selected, start painting a normal map onto your texture. You can use any brush settings you like, but it's best to keep them simple for this tutorial. 5. Once you've painted your normal map, select it and navigate to the Materials tab again. Here, you'll find the Normal Map setting, which we enabled earlier. Click on it and adjust the settings as needed to achieve the desired effect. 6. Finally, bake the normal map by going to the Object Data Properties panel and selecting Bake. This will create a new texture that contains the baked normal map. 7. To apply the baked normal map to your object, select the object and navigate to the Materials tab again. Here, you'll find the Normal Map setting, which we enabled earlier. Click on it and adjust the settings as needed to achieve the desired effect. That's it! With these steps, you should now have a hard surface normal map baked onto your object using Blender.
With this file you will be able to print Exercise: Bake A Hard Surface Normal Map with your 3D printer. Click on the button and save the file on your computer to work, edit or customize your design. You can also find more 3D designs for printers on Exercise: Bake A Hard Surface Normal Map.
