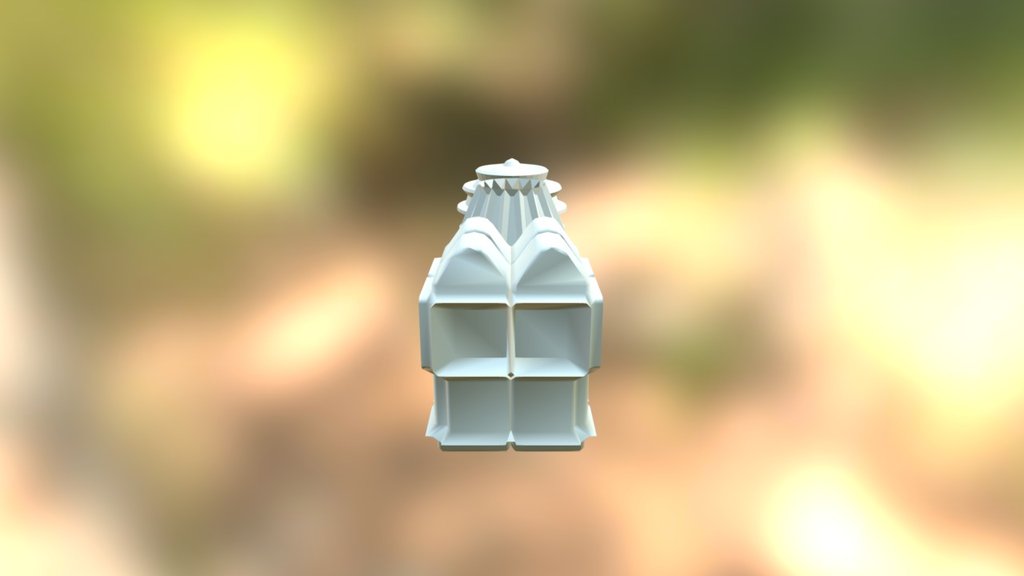
Exercise 1
sketchfab
CG Cookie Student Task: Mesh Modeling Exercise 1 Objective: Create a simple mesh model using Blender's basic tools to demonstrate understanding of fundamental mesh modeling techniques. Materials Needed: * Blender software installed on computer or laptop * Familiarity with Blender interface and basic navigation Step-by-Step Instructions: 1. Launch Blender and create a new project. 2. Set the units to meters and work in orthographic view mode. 3. Create a new cube by going to "Mesh" > "Cube". 4. Scale the cube up or down using the "S" key while holding shift to maintain aspect ratio. 5. Move the cube into position by clicking and dragging it with the left mouse button. 6. Duplicate the cube by pressing "Ctrl + D" to create an exact copy. 7. Select both cubes and merge them together under "Object Mode". 8. Add a new vertex to one of the merged cubes using the "V" key while in "Vertex Select Mode". 9. Extrude the added vertex to create a new face on the mesh by pressing "E" and moving it with the left mouse button. 10. Repeat steps 8-9 several times to build up the mesh model. Challenge: * Use Blender's loop cut tool to refine the mesh and add detail. * Experiment with different scaling and rotation techniques to manipulate the mesh. * Add lighting to the scene by clicking on the "Lighting" tab in the top toolbar.
With this file you will be able to print Exercise 1 with your 3D printer. Click on the button and save the file on your computer to work, edit or customize your design. You can also find more 3D designs for printers on Exercise 1.
