Example-46
grabcad
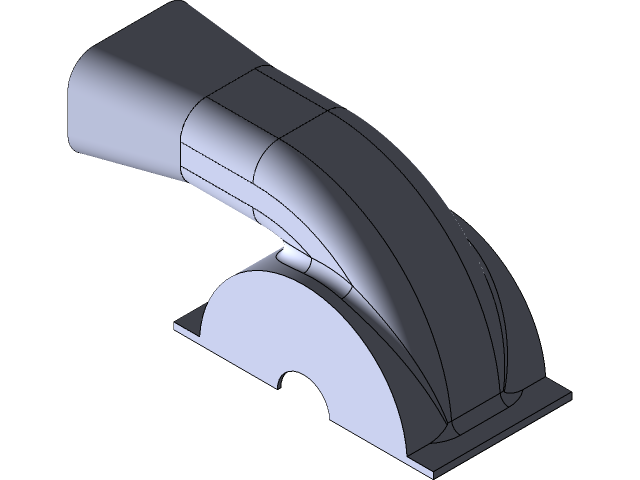
Developing a 3D Model of a Mechanical Component in SolidWorks To effectively utilize the capabilities of SolidWorks, it is essential to grasp the process of creating and editing complex models. This tutorial will guide you through constructing a mechanical component using the software. Step 1: Launching SolidWorks Begin by launching the SolidWorks application on your computer. Once the program has loaded, navigate to the "File" menu and select "New." This action will prompt a window asking for the type of document you wish to create. Choose "Part" from the list, as this tutorial focuses on part modeling. Step 2: Creating a New Sketch In the SolidWorks workspace, click on the "Sketch" tab located at the top of the screen. This will open a new sketch plane where you can begin creating your model. To start, draw a rectangle using the "Rectangle" tool found in the "Sketch" toolbar. Step 3: Adding Dimensions and Constraints Next, add dimensions to your rectangle by clicking on the "Dimension" tool in the "Sketch" toolbar. This will allow you to specify the length and width of your component. To ensure that the model is accurate, add constraints to the sketch by selecting the "Constraint" tool. Step 4: Extruding the Sketch With the sketch complete, use the "Extrude" tool found in the "Features" toolbar to create a solid body from the sketch. This will extend the dimensions of your component into three-dimensional space. Step 5: Adding Holes and Features To add holes or other features to your model, navigate to the "Features" tab and select the corresponding tool. For example, to add a hole, use the "Hole" tool found in the "Features" toolbar. Step 6: Editing the Model As you continue working on your model, it is essential to edit and refine its features. Use the "Edit Feature" tool found in the "Features" tab to make adjustments as needed. Step 7: Saving Your Work Once you have completed your model, save your work by clicking on the "File" menu and selecting "Save." This will ensure that your design is preserved for future use. By following these steps and practicing with real-world examples like this one, you can become proficient in creating complex models using SolidWorks.
With this file you will be able to print Example-46 with your 3D printer. Click on the button and save the file on your computer to work, edit or customize your design. You can also find more 3D designs for printers on Example-46.