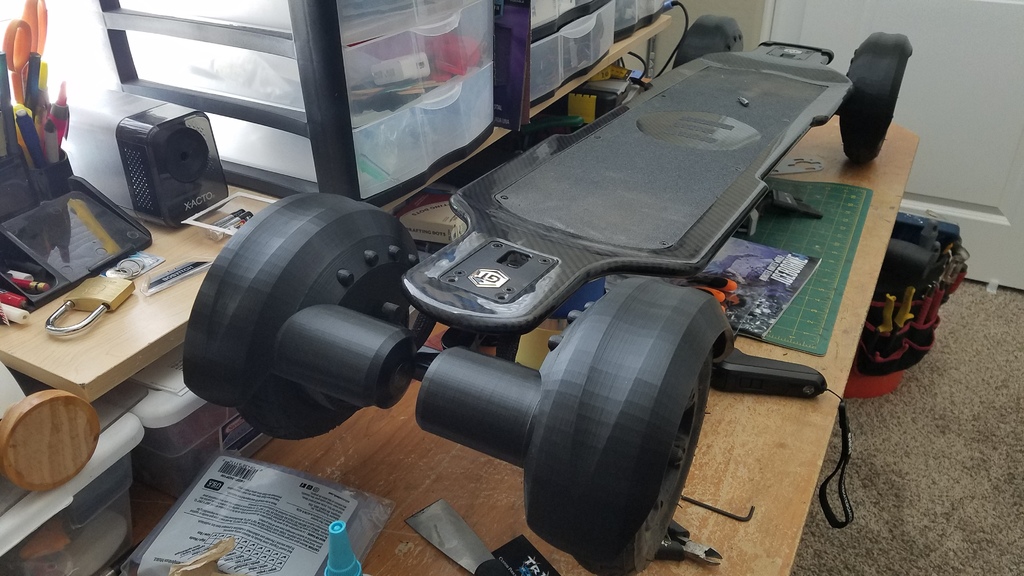
Evolve AT Back Splash Guards
thingiverse
Finally completed the back splash guards!!! I divided them into sections in case you don't have a large print bed. Additionally, I added a full cover base to safeguard your motor from the sun or other damage. The Evolve Guard Full comprises the Guard, Base, Pin, and Clip. **Installation Directions** 1. Remove the wheel, 2 drive cover screws, drive cover, drive gear, and drive belt. 2. Insert the Evolve base and 4 pins into the base (you might need a hammer). 3. Once the pins are flush with the outside surface, apply superglue or bonding agent to the other side with the non-rounded pins facing upwards. 4. Slide the Guard around the first pin, and the rest will snap into their grooves (act quickly as superglue dries rapidly). 5. Ensure the base is flush with the Guard during the drying process. 6. You can sand or file the drive gear groove and internal drive cover (after removing supports). 7. Loosen the top bracket lock-nut (Evolve clip secure point). 8. Place the drive belt on the motor drive bit. 9. Slip the Evolve clip into the base hole (which may require sanding). 10. Tighten the top bracket lock-nut to secure the base to the drive bracket. 11. Tighten the drive cover screws (starting with the top one first). 12. Slide the drive gear into place with the drive belt. 13. Test the rotation of the belt drive; if you hear scratching, sand down support areas. 14. If the gear functions smoothly, deflate the tire and slide it back onto the strut, securing it with the lock-nut. 15. Re-inflate the tire and test the motor function again. 16. If it operates correctly, the tire and motor should work as normal. 17. Exercise caution, inspect your board for issues, and enjoy!
With this file you will be able to print Evolve AT Back Splash Guards with your 3D printer. Click on the button and save the file on your computer to work, edit or customize your design. You can also find more 3D designs for printers on Evolve AT Back Splash Guards.
