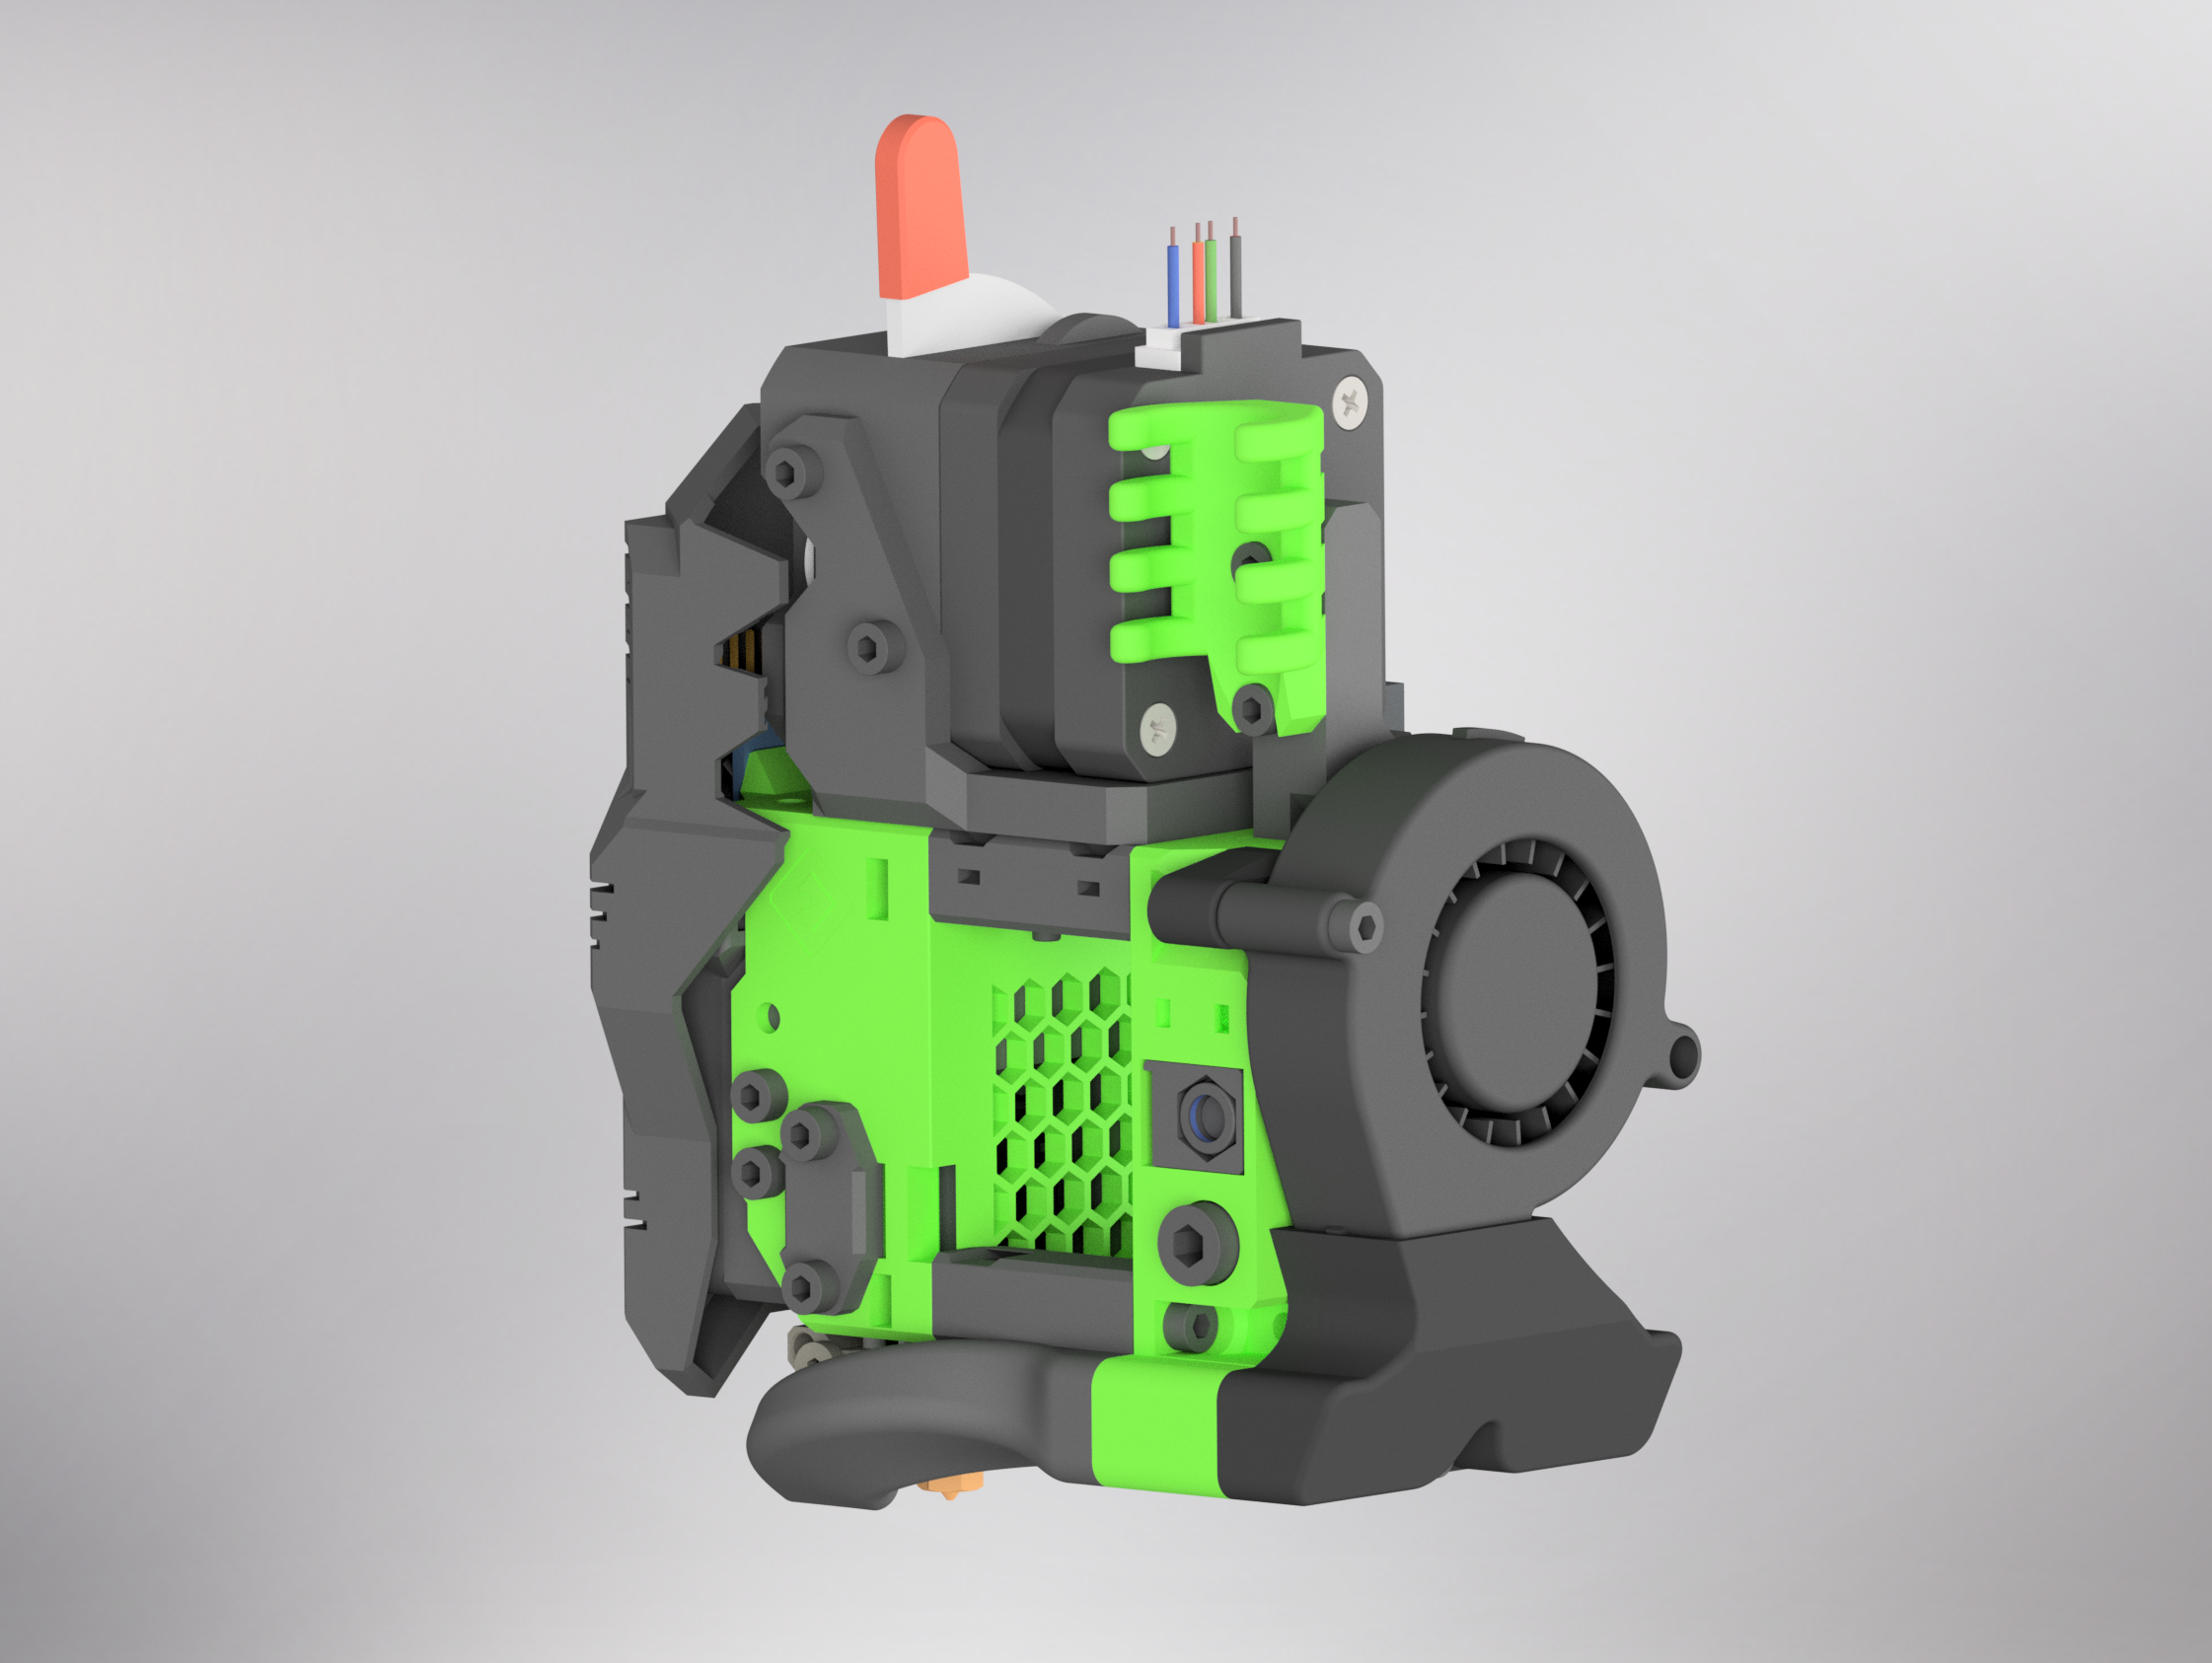
EVA 3 Inlet for 5015 fan parallel to backplate
prusaprinters
<p>This is a <strong>5015 fan</strong> inlet for <strong>EVA 3</strong> where the fan is oriented parallel to the backplate. Use this part if you have not enough space in the back of your printer for the new fan orientation of EVA 3.</p><p>Print one of the three arms to attach the fan on the top left hole to the backplate.</p><p><i><strong>EVA-3-Inlet-5015-Parallel-Arm-Screw</strong></i></p><p>Screw directly into the printed part. You need one M3x10 screw to attach the arm the the backplate and one M3x20 screw to attach the fan to the arm.</p><p><i><strong>EVA-3-Inlet-5015-Parallel-Arm-Heat-Set</strong></i></p><p>Use two M3xD4.6 heatset inserts with a maximum length of 6mm in the arm. You need one M3x10 screw to attach the arm the the backplate and one M3x20 screw to attach the fan to the arm.</p><p><i><strong>EVA-3-Inlet-5015-Parallel-Arm-Hex-Nut</strong></i></p><p>Remove the sacrificial layer from one hole and press one M3 hex nut into the bottom of the printed part. Use another M3 hex nut with a corner pointing down in the other hole. Use one M3x12 screw to attach the arm to the backplate and one M3x25 to attach the fan to the arm.</p><p><i><strong>Warning</strong></i></p><p>If you use this part on the RatRig V-Minion make sure that the right mounting arm of the fan does not colide with the x-axis motor mount. It might be necessary that you trim down the right fan mounting arm.</p>
With this file you will be able to print EVA 3 Inlet for 5015 fan parallel to backplate with your 3D printer. Click on the button and save the file on your computer to work, edit or customize your design. You can also find more 3D designs for printers on EVA 3 Inlet for 5015 fan parallel to backplate.
