EVA 3 Chonky Shroud - Better Bridging
prusaprinters
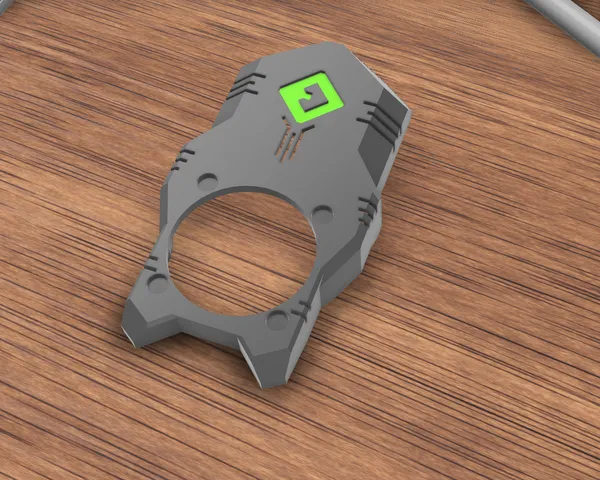
The bridging area of the model was pulled 0.2mm forwards so that the bridging would be 2 lines. This not only added a layer of solid infill to strengthen that area but also changed how prusaslicer (and other Slic3r derivatives; super/bambu/orca) treated the bridge infill. It now anchors well into the shroud part (See pictures).I also didn't like the three lines indicating that it's the EVA 3 toolhead as they felt separated from the EVA logo. So, I modified them to look better integrated into the logo.
With this file you will be able to print EVA 3 Chonky Shroud - Better Bridging with your 3D printer. Click on the button and save the file on your computer to work, edit or customize your design. You can also find more 3D designs for printers on EVA 3 Chonky Shroud - Better Bridging.