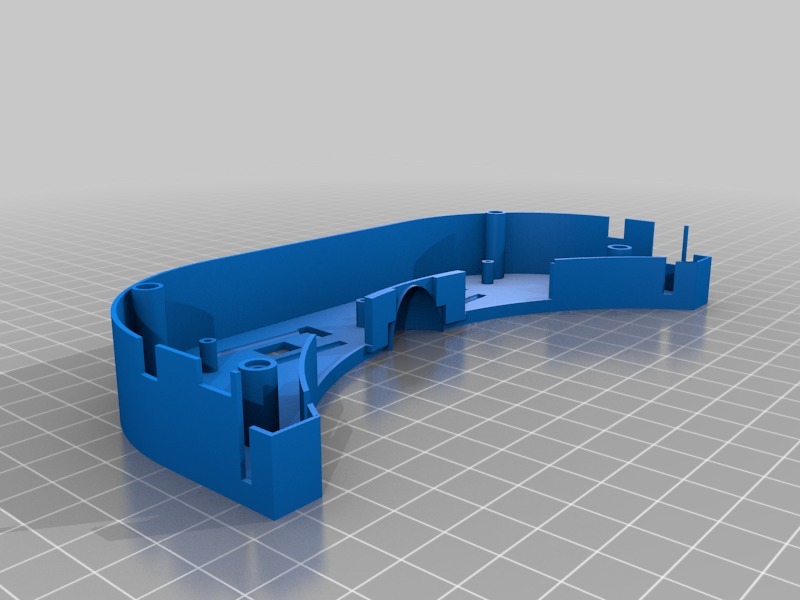
EV100 Bottom Plate (WIP)
thingiverse
I initially encountered an issue with the Eachine EV100 where I saw double screens, so I disassembled it and discovered that a 2-3 degree angle on each eye piece (the left one minus and the right one plus) resolved the problem. I started modeling the bottom plate to mount the eye piece at a 3-degree angle, but the project is incomplete since I found a post suggesting you focus on something far away, then put on the goggles, which solved my issue. Try this approach before attempting any modifications. You can use this bottom plate design as a starting point for your EV100 projects. The modeling was done in Maya, starting with the bottom thin plate that has an angle created by beveling. The remaining components were built using boolean union or difference operations. Although I know it's not ideal to use booleans, it's a quick method. Since each component is separate, you can adjust them easily. The missing elements include: - Four screw pillars to secure the board in place - Additional support for the existing screw pillars - Verification that the existing screw pillars align correctly and are at the right height - Development of the eye piece section where the ski mask snaps into place - Adjustment of the right eye piece to match the left one, which requires relocating it or removing part of the nose section - Printing the entire design and re-verifying its fit The attached files include three Maya files: one with just the bottom thin plate ready for boolean cutout, another with all components prepared for boolean operations, and a third with everything after the boolean operations. The STL file has been optimized using Autodesk Netfabb Premium 2017.
With this file you will be able to print EV100 Bottom Plate (WIP) with your 3D printer. Click on the button and save the file on your computer to work, edit or customize your design. You can also find more 3D designs for printers on EV100 Bottom Plate (WIP).
