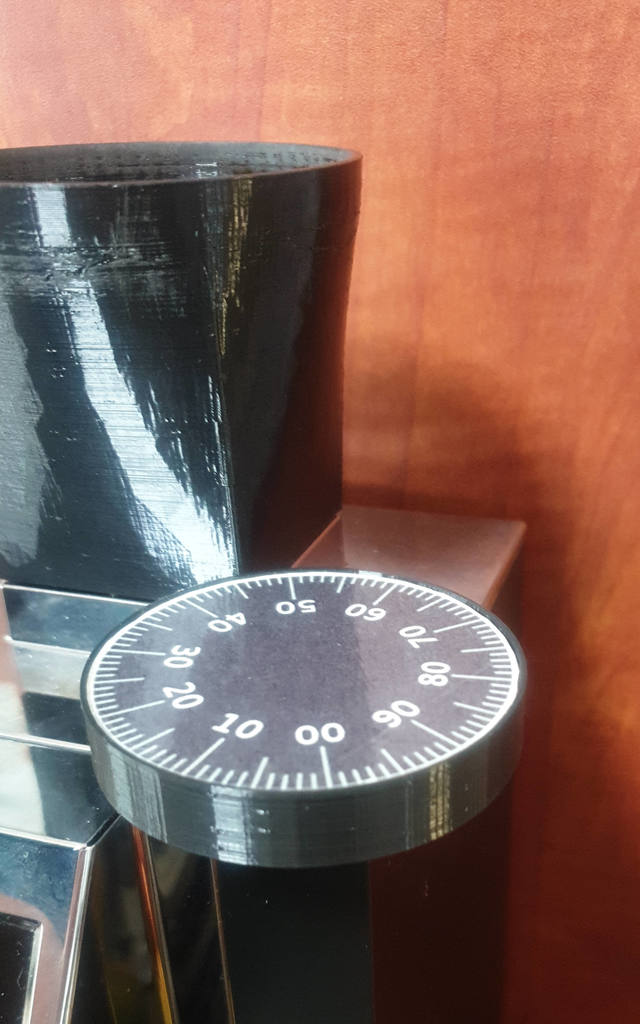
Eureka Mignon dial XL + graphic
thingiverse
I love my Mignon Specialita but it sorely lacked a fine adjustment mechanism. 3D printing to the rescue once more! The dial is now pretty much as wide as it can be without hitting the hopper, the included dial face gives a 1/100 accuracy, and I've found it easy to use accurately and repeatably. I use the corner of the hopper as the indicator for the dial and I find it much easier to read than the little plastic bump (at least if you're using a single-dosing hopper). Different Mignons may have differently-sized adjustments knobs. There are versions for 22mm (Specialita) and 24mm (older Mignon) knobs right now, comment if you need another :) To have a zero point that actually makes sense I recommend you use an 11mm socket or wrench to turn your motor counter-clockwise while making adjustments finer with the dial until you feel the burrs just begin to grind. Go a hair coarser et voila - a meaningful zero point.
With this file you will be able to print Eureka Mignon dial XL + graphic with your 3D printer. Click on the button and save the file on your computer to work, edit or customize your design. You can also find more 3D designs for printers on Eureka Mignon dial XL + graphic.
