Estes Mini Fat Boy Replica Model Rocket
thingiverse
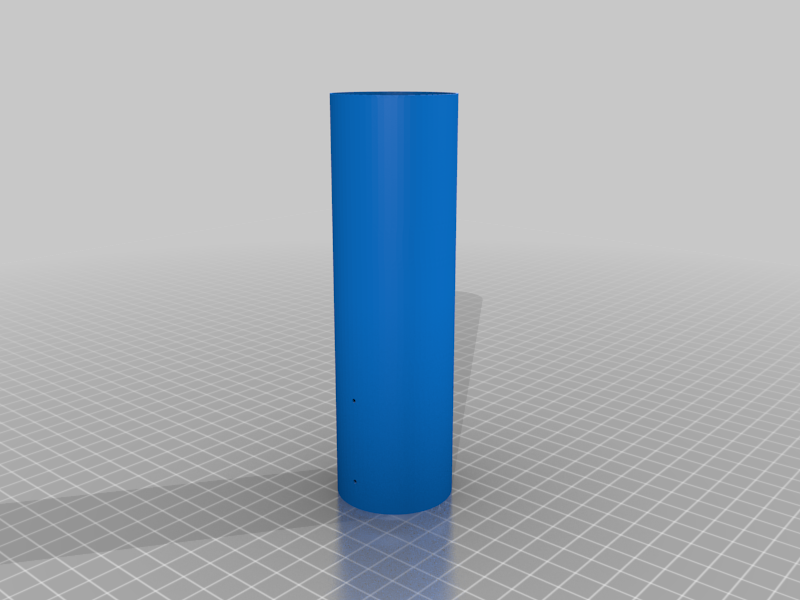
Model Rocket Based on Estes Mini Fat Boy Design To build this model rocket, follow these steps: Firstly, print all necessary parts. Note that three wings are required and can be printed without support. Next, superglue the wings to the lower body. They will easily align with the holes in the body. Create a parachute by cutting a 10" x 10" square from a plastic bag. Use two 22" lengths of fine string (such as dental floss) and attach it to the upper body according to Estes instructions: https://estesrockets.com/wp-content/uploads/Instructions/001499_RTF.pdf Cut an elastic band to about 300mm in length and connect it to both the lower and upper body. Fit wadding and parachute as per Estes instructions. Note that Estes sells wadding, but toilet roll works well too. You may need sellotape to ensure a snug fit between the upper and lower bodies. Insert an Estes motor and ignitor with plug (all parts purchased from Estes). The rocket is designed for Estes C motors; I recommend using Estes C6-5 motors. Refer to Estes instructions for fitting the ignitor. Note that only complete this step before launching, not in a house. At this point, the rocket is ready to fly. You will need a launch pad and launch controller. Either make your own or buy from Estes; they are reasonably priced. Be aware that some batteries may not work with the launch controller, but I've had good luck with Duracell batteries. Note: The design has been slightly modified compared to original images to improve motor retention. If you'd like to see a slow-motion video of the rocket in action, check out this YouTube link: https://www.youtube.com/watch?v=9UFW0dbAG1Y
With this file you will be able to print Estes Mini Fat Boy Replica Model Rocket with your 3D printer. Click on the button and save the file on your computer to work, edit or customize your design. You can also find more 3D designs for printers on Estes Mini Fat Boy Replica Model Rocket.