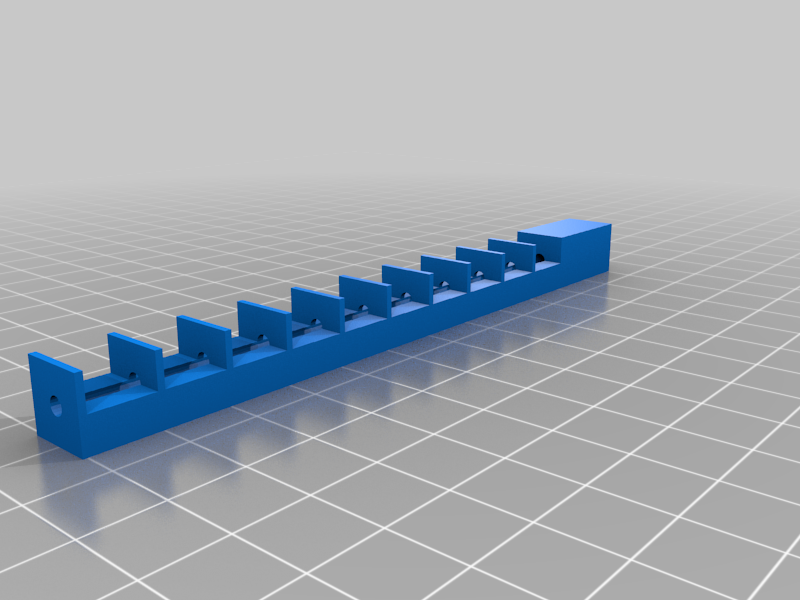
eStep Callibration filament guide
thingiverse
This guide stretches 120mm long with markers every 10mm. This way you can keep the filament aligned while measuring the length of the filament. Grab a piece of filament about 500mm long, insert it into your heated extruder and prime the nozzle tip. Use this guide to measure 120mm from the extruder arm. Mark it with a permanent marker on the outermost end of the guide while pressed tightly against the extruder arm. Preheat the nozzle tip. Run G-code commands: M92 E100 This will simplify the math calculations. Extrude 100mm of filament. Measure the space between your marked spot and the extruder arm. Take that number and subtract it from 120 for the amount of filament extruded. Solve 10000 divided by the amount of filament extruded equals a new estep value. Run G-code commands: M92 E(new estep value) M500 (this will save the setting to the motherboard) Treat yourself to a celebratory drink, snack, or nachos.
With this file you will be able to print eStep Callibration filament guide with your 3D printer. Click on the button and save the file on your computer to work, edit or customize your design. You can also find more 3D designs for printers on eStep Callibration filament guide.
